
Last week I shared a post with you about the new Great Big Stitched Postcard Swap in which Melinda and I are participating. If you would like a creative project to work on and then be able to bless someone else somewhere in the world, be sure to sign up. It’s free and the latest you can register is Feb. 25, 2014. The next week you will receive info about where to send your card. There are even some prizes to win. Find all the information here.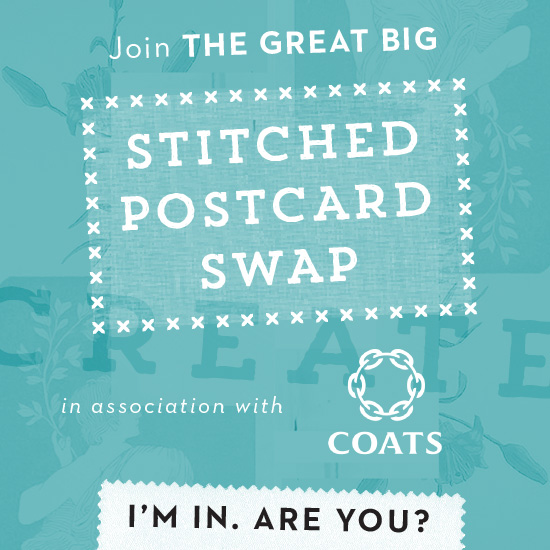
I got inspired this weekend to work on my postcard and want to share with you what I did. Because I am so ready for cold weather to end and spring to arrive, I was looking through some of my pictures I’ve taken of spring flowers in previous years. This photo became my inspiration for the postcard. It was taken in Central Park in New York a few years ago. 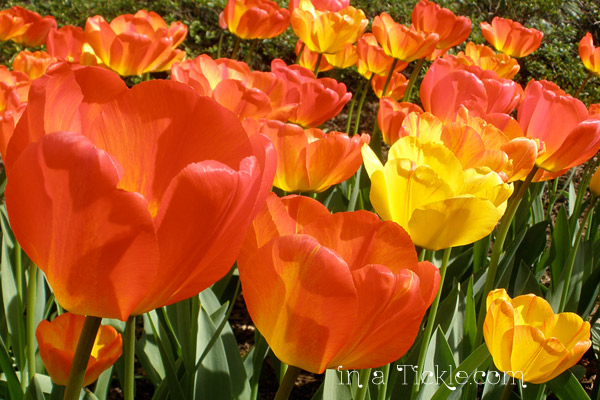
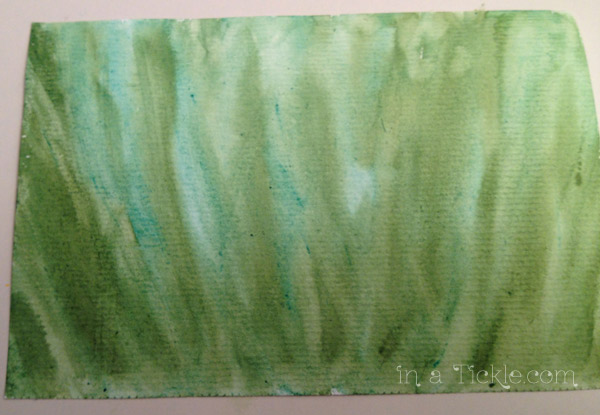
I started with a piece of watercolor paper cut to postcard size (I used 4 X 6 inch). To make the leaf and stem background, I painted with watercolors.
 My plan was to make tulip flowers with tissue paper. I knew the tissue paper would not look as bright glued over this background, so I painted flowers with gesso where I wanted to put the tissue. I left texture in the gesso to give the tissue flowers dimension.
 After that dried, I tore pieces of tissue paper and glued them onto my gesso flowers. I also added a few pieces of bright green tissue for additional leaves and stems.
 I coated the whole thing with a layer of matte mod podge. When that was dry I hand stitched pieces of fabric on top of the tissue flowers to make fabric tulips and stems.
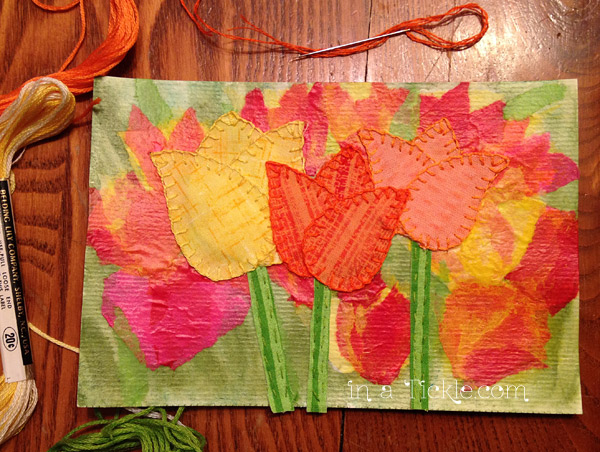 The theme of this postcard swap is CREATE. I found a piece of lace in my stash that would make a cute fence for my tulips and embroidered with yellow floss the letters to spell CREATE in each hump of the lace. Then I hand stitched the lace in place on the card with white floss.
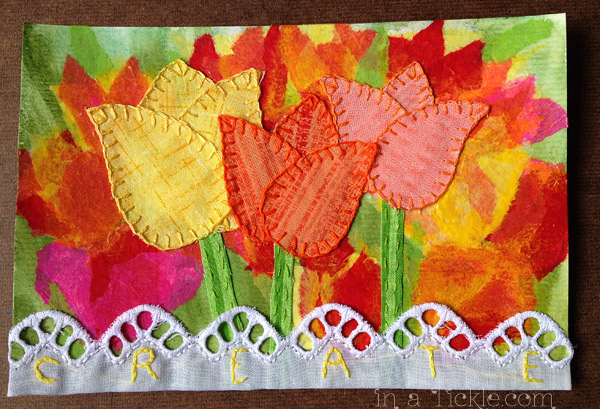 I wasn’t happy with the way the yellow embroidery floss looked and that the yellow threads were showing through from one letter to the next. So I used white fabric paint and painted over the letters as well as the lower part of the lace to brighten it up which I liked much better.
For the back side of the postcard, I printed out my photo of tulips onto cardstock and glued it to the back of the finished card. I added a separate piece of cardstock for the address lines, wrote my message, and to complete the look, added a canceled stamp. I plan to put the postcard into an envelope to mail it. 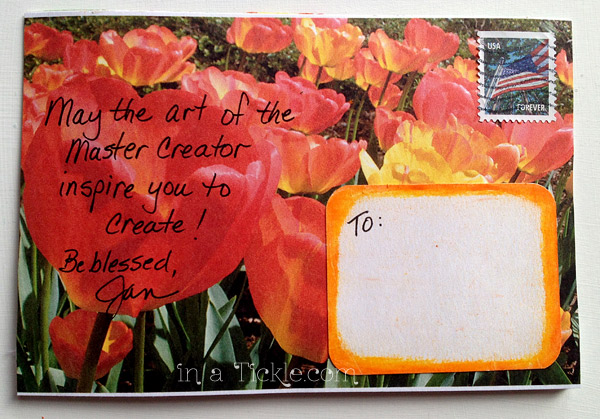 Now I just have to wait until I receive the name and address of the person I am to send the card to next week. Melinda will be sharing her card in another post.
Won’t you join us in creating a postcard to swap?