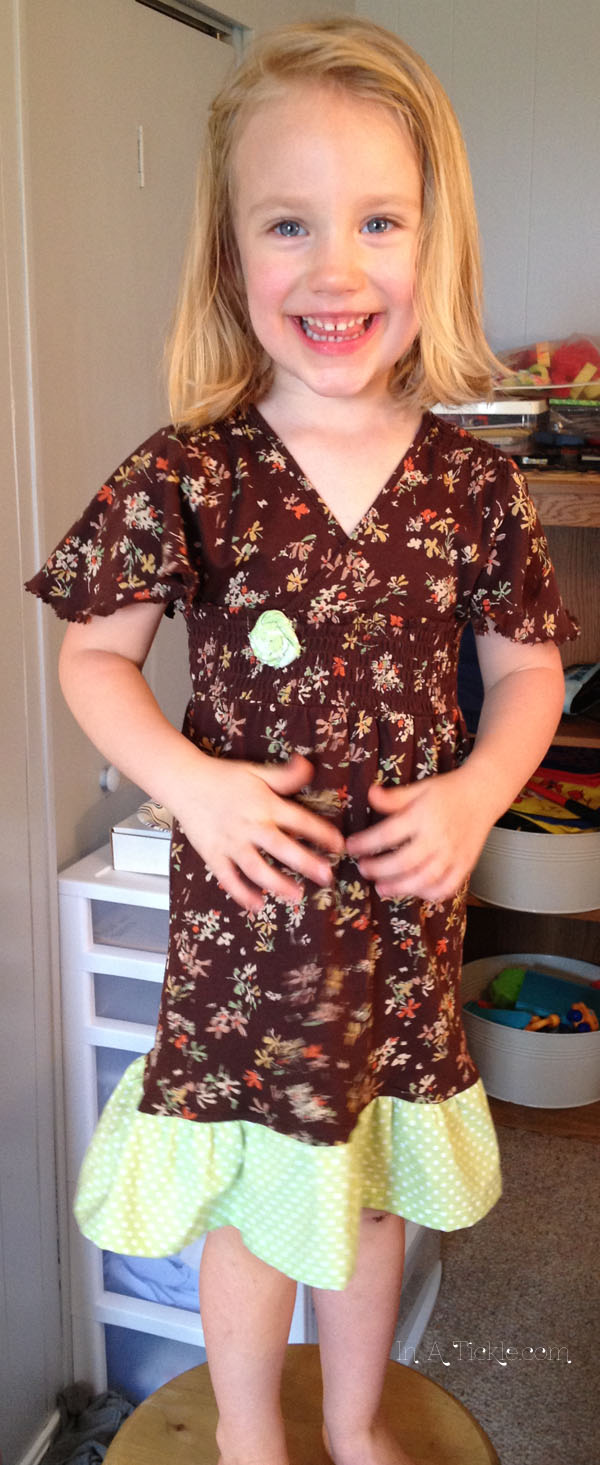
Don’t you love a Buy One Get One Free sale? That’s how we felt when we got finished with this weeks transformation.

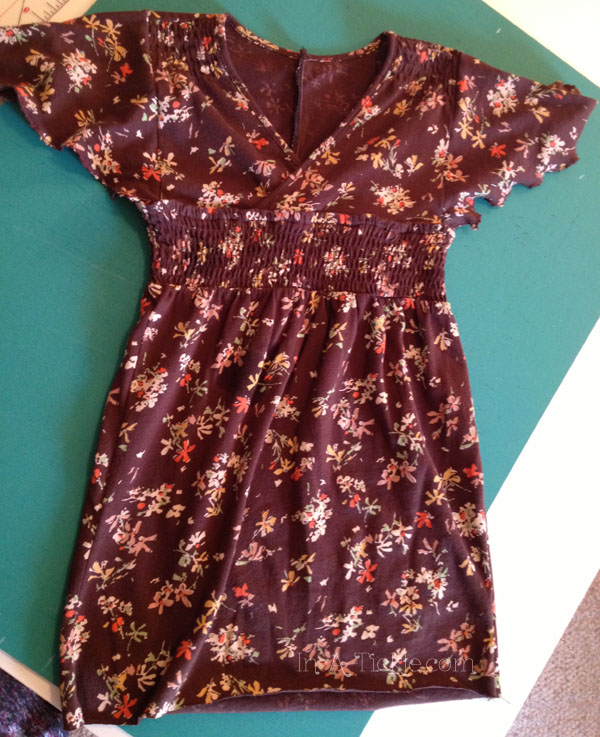
We were so proud that we got the picture of the shirt before we cut it (Yay! We are starting to remember).
In Part 2 of the Let’s Talk Fabric Series, we showed you a picture of what we had purchased at Kohl’s. One of the first items we had found in that shopping trip was a brown long sleeve adult small shirt. We were drawn to it because of the shirring at the waistband. We immediately thought of a sundress for one of the girls. I particularly loved the little buttons at the neckline and knew something had to be done with those. I’ve been drawn to little flower patterns on fabric lately, and thought these were cute. The brown, green, and orange are some of my favorite colors right now, and I thought those colors would be a nice change for the girls whose closets are full of pink and purple.
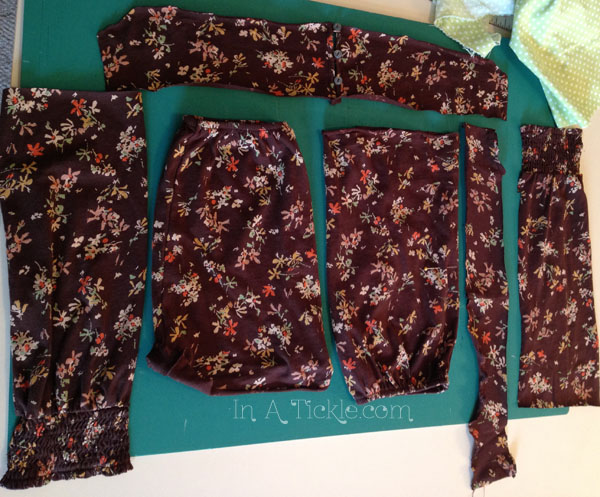
After staring at the shirt awhile, we decided that we needed to make the first cut so we could fully visualize what to do next. You will hear from me quite often, “Don’t be afraid of scissors. Sometimes you can’t see the potential until you make the first cut.”
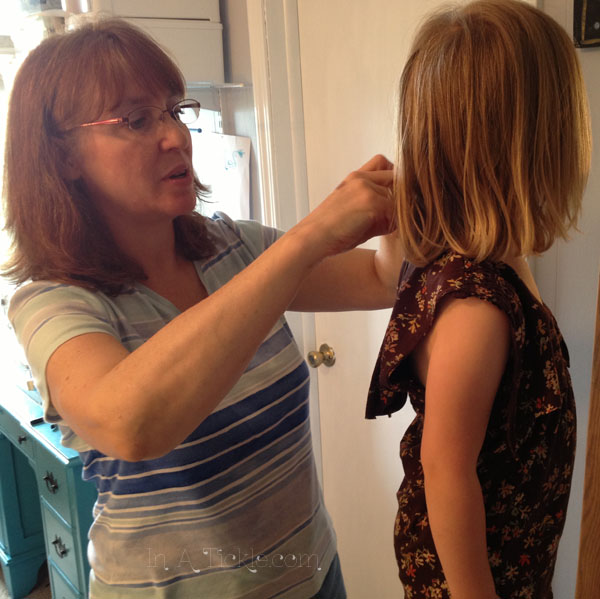
Since we knew we wanted to use the shirring for the top of a dress, we started by cutting the length that we needed and then cutting the width. We measured this one for My Princess.
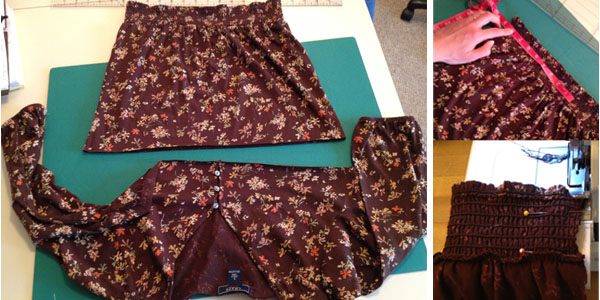
Cut the length. Measure around bust and cut needed width. Pin and sew new side seam. I used the serger.
This can’t be a complete tutorial because you probably won’t find a shirt exactly like this, but we will give you a basic idea of what we did. So much of the process was coming up with an idea and then looking at it on My Princess and then coming up with an even better idea. Our best advice is to not be afraid of the process. Remember that you are just experimenting and should not be afraid to make some mistakes.

We cut off the shoulders just above the cute little buttons. Then cut off the sleeves around the shoulder and cut straight across a few inches below that. We then attached the sleeve back onto the shoulders on the straight cut side and used a stitch along the bottom of the sleeve to give it a finished look without a hem.
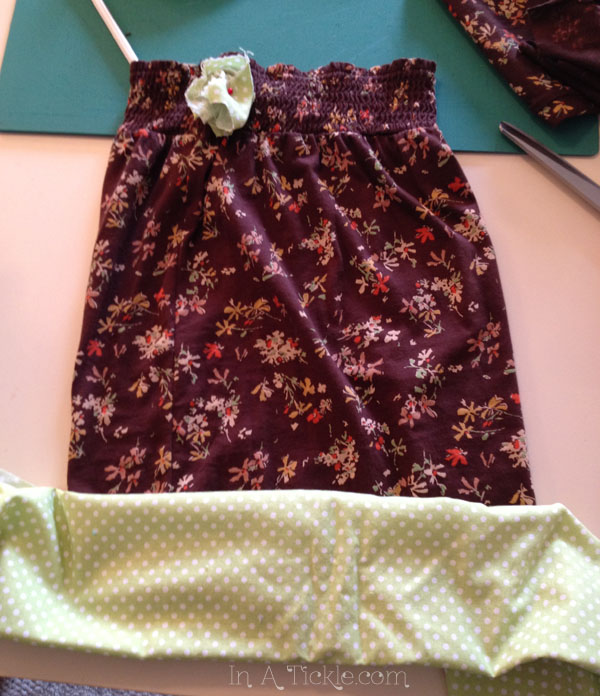
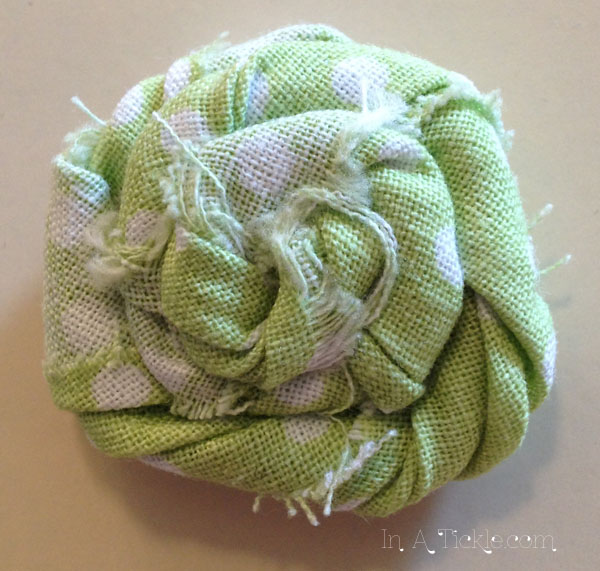
Found a scrap of green fabric from our remnant stash that matched the green of the leaves on the flowers and played around with some ideas.
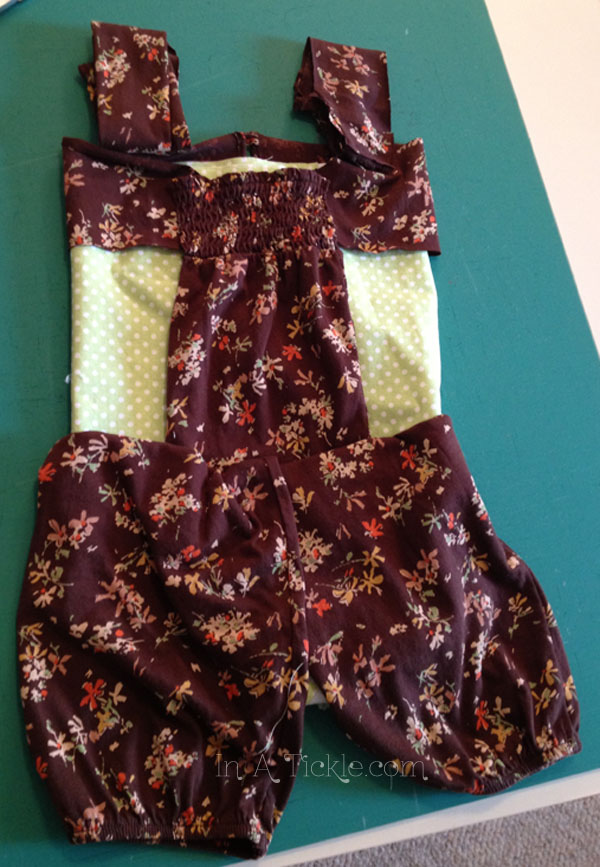
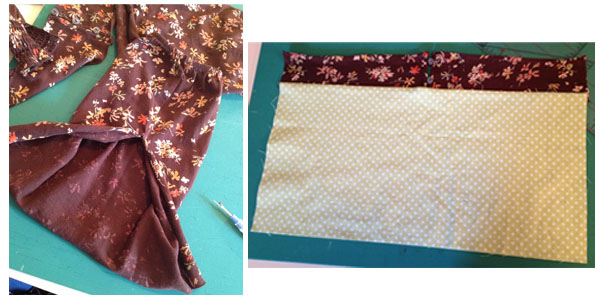
We didn’t take as many pictures of making the romper. We got a little distracted and our model wasn’t as excited to have us trying things on her in the process as her sister was. We were so excited to get two adorable outfits out of only one small adult shirt!
Before:
 After:
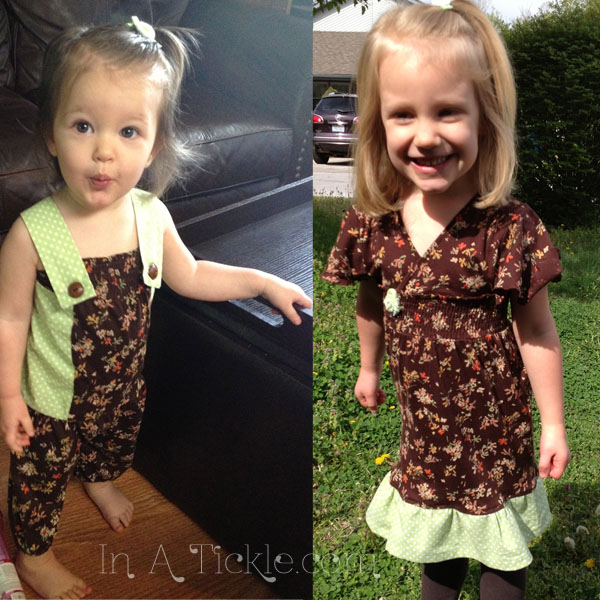
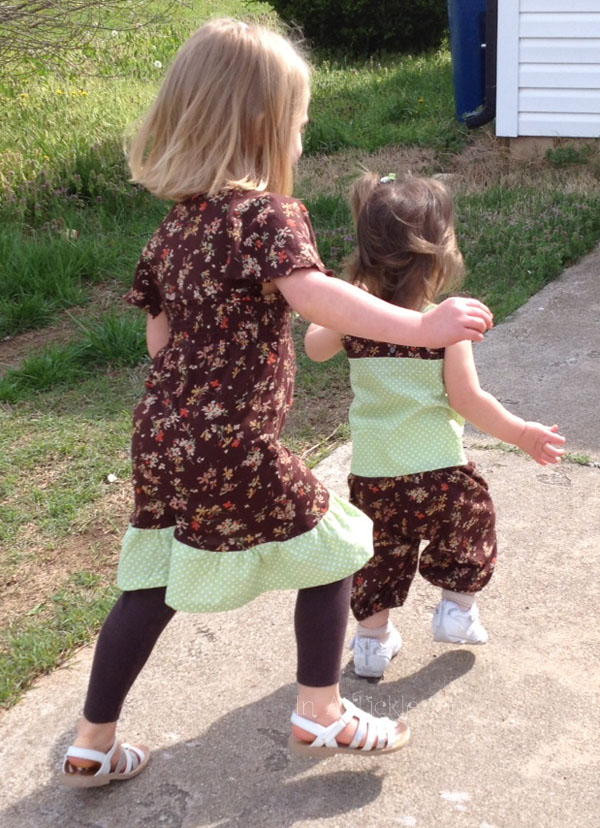


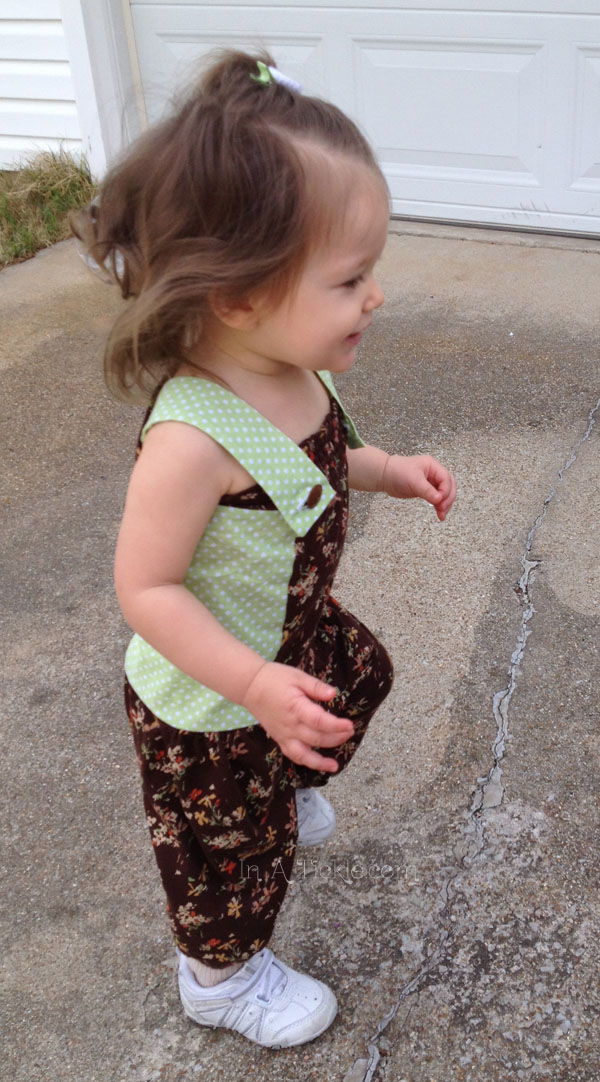 They love their new outfits!


