
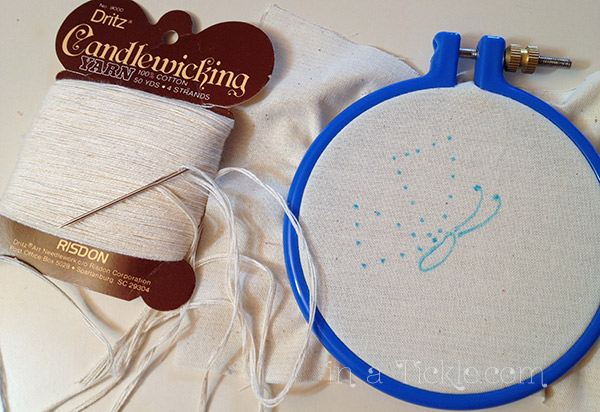
In my stash of craft supplies from many years ago are packages of candlewicking yarn. I remember making several Christmas gifts once upon a time using this yarn. At least one gift was a beautiful table runner and I had intentions of making one for myself (which never happened!) I decided to refresh my memory on how to do candlewick embroidery. The supplies are simple— unwashed unbleached cotton muslin, candlewicking thread, needle, and embroidery hoop.
Candlewick embroidery became popular in the colonial days as families headed west to establish new homes in undeveloped territories. Traveling in a wagon did not allow much room for anything but the essentials. However, the women still wanted to express their creativity and add a touch of “home” to their meager surroundings. The cotton thread used to make wicks for candles was put to use as well to embroider pretty designs on plain unbleached muslin fabric. Rather than doing fancy embroidery stitches that used larger amounts of thread (as in satin stitching) they created outline designs with mostly a series of sturdy knots which came to be called colonial knots. The colonial knot looks similar to a French knot, but supposedly holds up better.
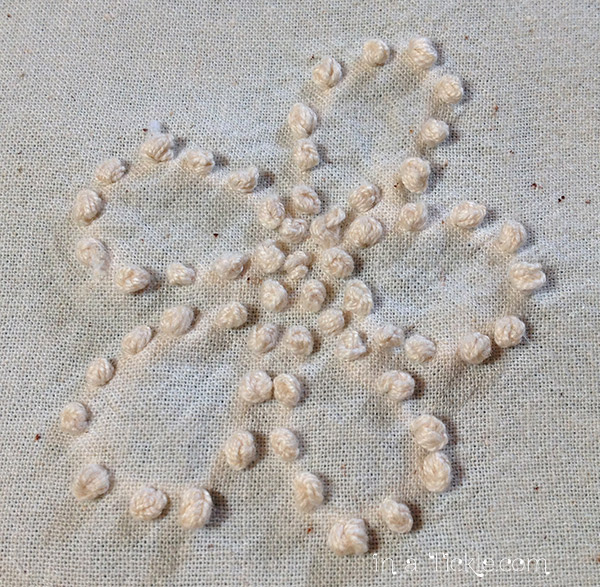
I drew a simple butterfly placing dots for the knots on the fabric with a vanishing marker and stretched the fabric into an embroidery hoop. Depending upon the size of the design, either two strands or four strands of the candlewicking yarn can be used. More strands produces a larger knot. I used four strands for my design. If I had used two strands, I probably would have put the knots closer together.
To make the candlewick colonial knot stitch:
1. Bring the needle up through the fabric from the back to the front. Make a backwards “C” with the thread and stick the needle through the “C” as shown.
2. Loop the thread around the back of the needle as though forming a figure eight.
3. Pull the end of the thread to make the thread snug around the needle.
4. Poke the needle back into the fabric right next to the original hole as you hold the thread taut.
5. Push the needle through to the back side of the fabric as you continue holding the end of the thread taut.
6. Gently pull the thread from the back side of the fabric until the loop is completely closed.
7. And you have a colonial knot!

Here’s a quick YouTube demonstration I found:
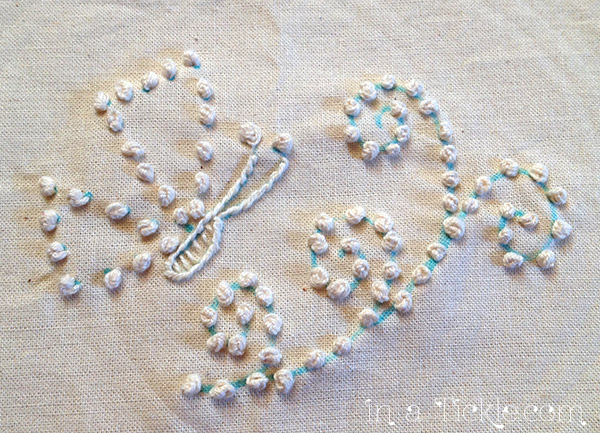
For the body of the butterfly, I did a back stitch using only two strands of thread. After making the butterfly, I added some swirly vegetation to the design. Notice that I did not place dots on the swirls, I just drew a line and estimated where to put the knots as I sewed.
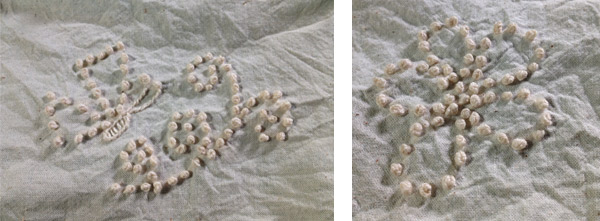
After stitching, the pieces were washed by hand in hot water and hung to dry. The process of washing the muslin in hot water after stitching causes the threads of the fabric to shrink up tight around the knots making them more durable.
I pressed the pieces from the back side to smooth out the wrinkles. (Laying the candlewick embroidery face down on a towel or other soft surface while ironing makes it easier to press without smashing the knots.)
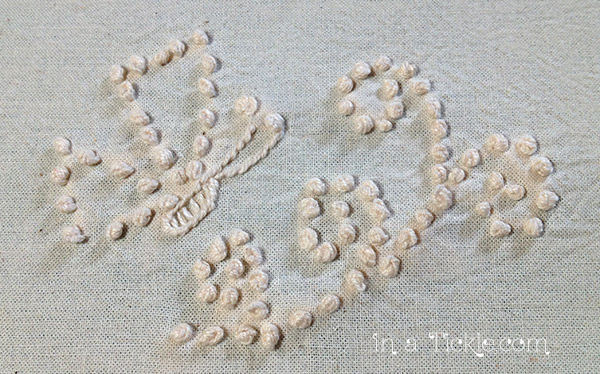
I’ll show you in the next post how I used these two small candlewick embroidery pieces in a mixed media project.