

Not too long ago I saw this pin on Pinterest and thought it would be a fun idea for our craft room: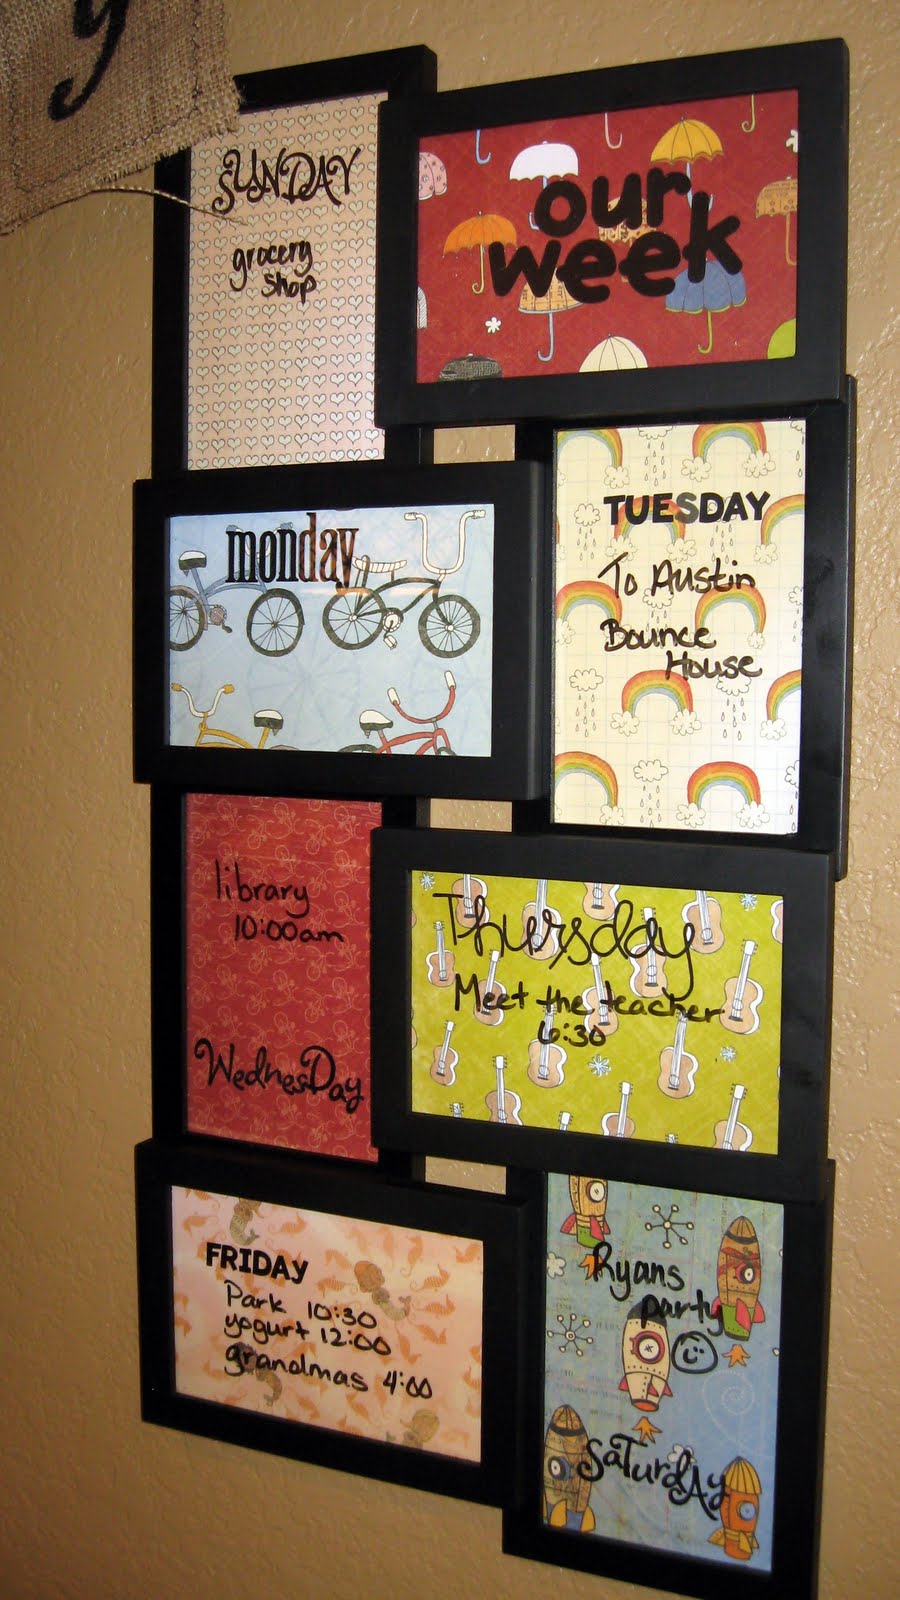 Melinda and I needed some place to jot down ideas we had for future posts. Now I know that the simple way to do it would be to write the ideas in a notebook or a document on the computer. But being the visual people that we are, we wanted something pretty to look at that would also hold our ideas for us. (I also like post-it-notes, but that just doesn’t look as nice on the wall!)
So, I gathered up some frames that were sitting in a box waiting for a LONG time to be put to use. The reason they were in a box is that they were scratched and banged up and I was not motivated to use them like that.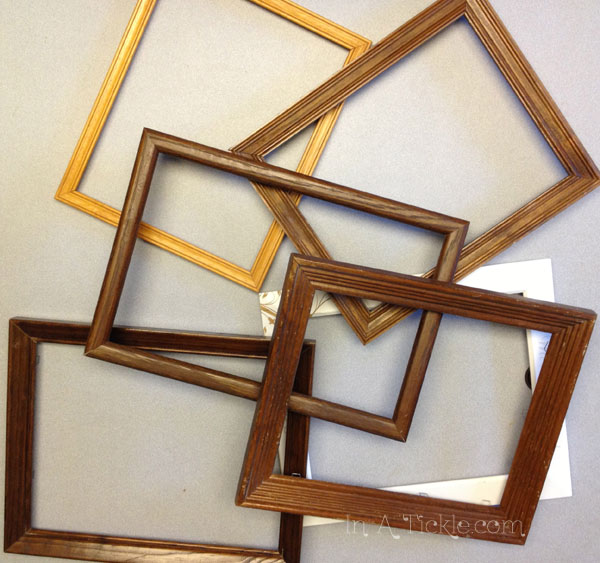
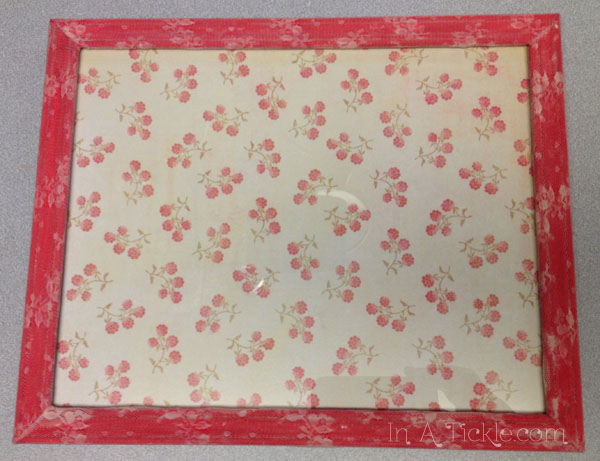
At first I thought I would just paint them all the same color, but decided they each needed a different look. So the first frame got to be covered in fabric scraps. I used random size pieces of fabric, covered the back side with mod-podge and stuck them to the frame. After I had the fabric stuck where I wanted it, I trimmed off the ends that stuck out. It was easier to do it after they were in place than trying to cut it to fit exactly before putting the mod-podge on the fabric. When the frame was dry, I put another coat of mod-podge over the top of the fabric to protect it. I cut a piece of scrapbook paper that went well with the frame to put behind the glass.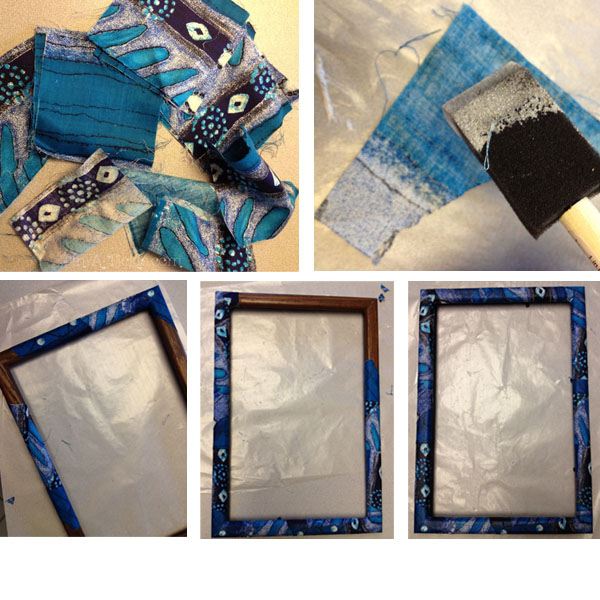
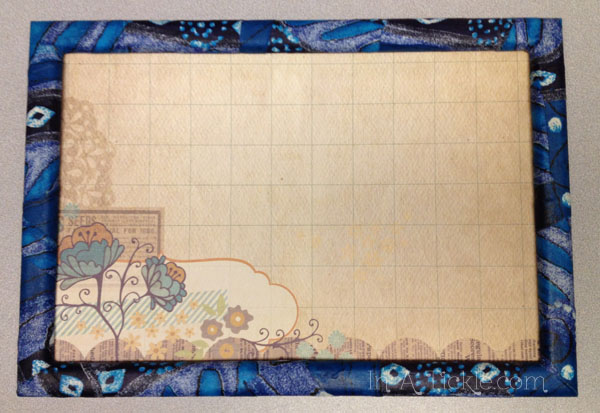
I was really happy with the way it turned out and then broke the glass trying to put it all together. Wouldn’t you know it, this frame is an odd size and I will probably have to get glass cut for it!
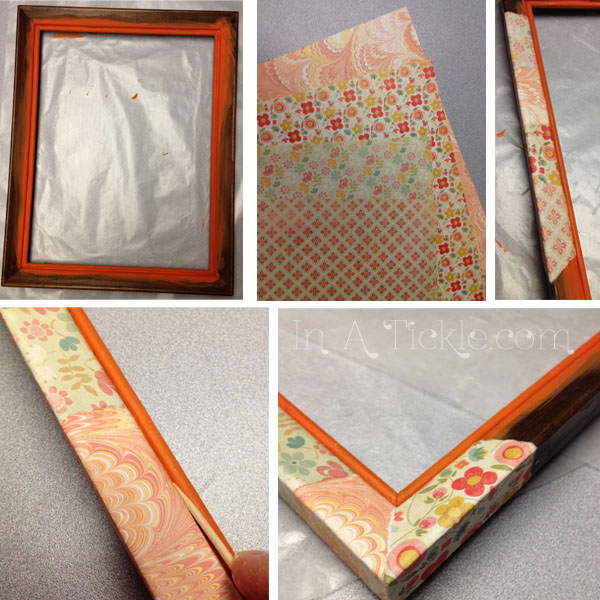
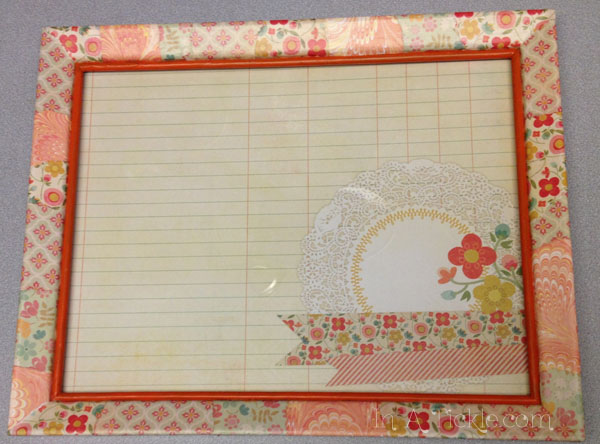
The next frame had a small groved edge around the center that I painted orange. Then using coordinating pieces of scrapbook paper, I tore pieces to put around the edge, giving the frame a patchwork look. Again, I put mod-podge on the back side of the paper before sticking them to the frame. A toothpick helped to push the paper into the groove. Again, after the paper was dried, I put a coat of mod-podge over the whole frame to protect it. The paper behind the glass already had the design shown printed on it (but it would be cute to cut and paste and layer a design like that!)
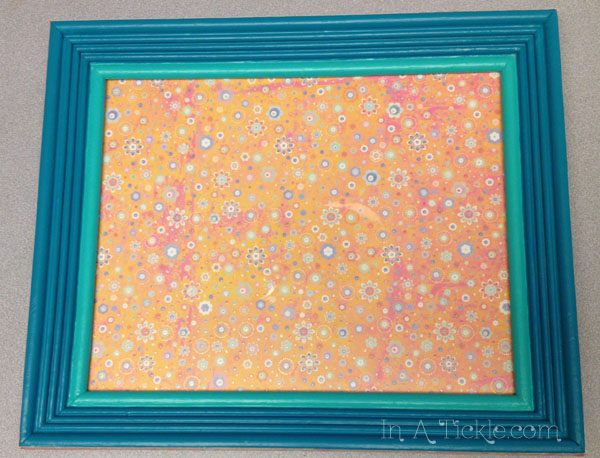
The next frame had way too many grooves to try putting paper or fabric on the front, so I painted it in two shades of turquoise instead. But it did have flat sides to the frame, so strips of paper cut from the same paper behind the glass, were mod-podged to the sides.

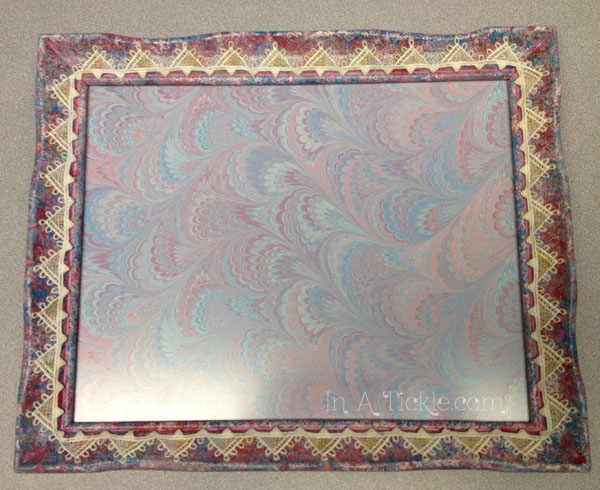
 The next two frames got a lace treatment after painting.
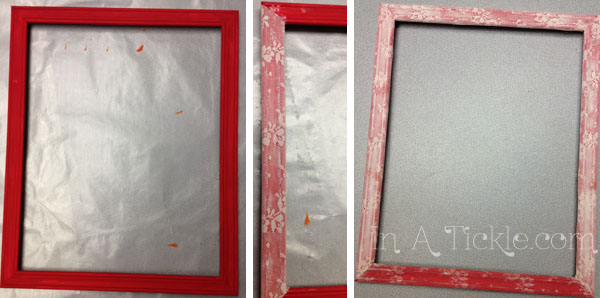
The mod-podge looks white until it dries completely. Then the strips of lace fabric show through very nicely!

The frame was sponge painted with colors similar to the scrapbook paper I planned to put behind the glass. When dry, lace trim was glued to the frame with fabric glue. Then when dry, the frame and lace got covered with a layer of mod-podge.
This next frame was very similar to the orange one I did earlier, but instead of painting the grooved edge, I decided to glue strips of paper over that edge and it worked great! Gives a nice finish to the patchwork look on the rest of the frame.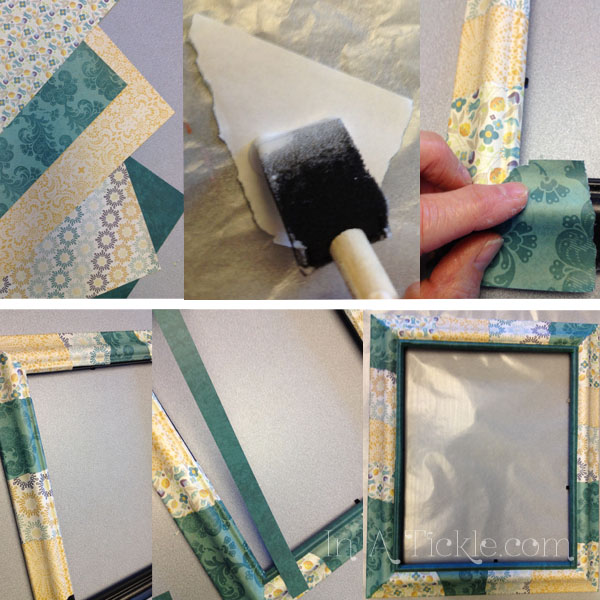
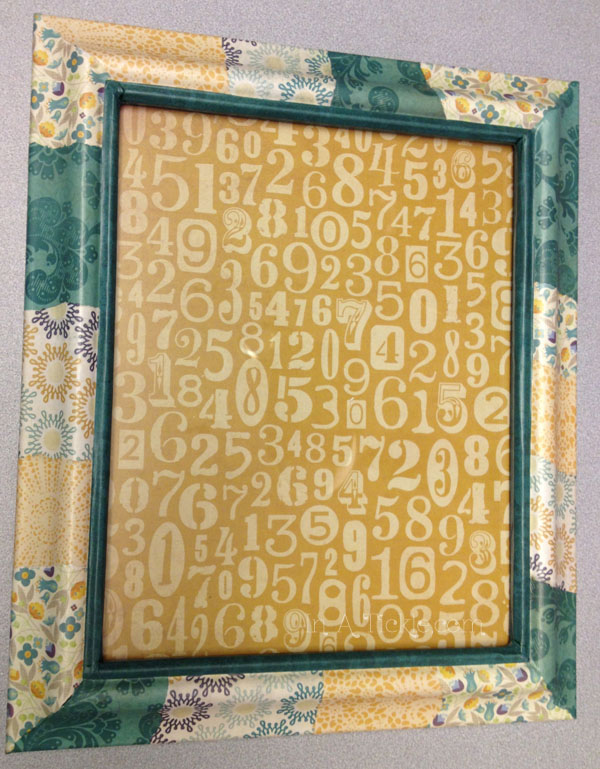 This frame has a wonderful flat groove in the center of the frame edges. So after painting the whole frame green, I put strips of the same scrapbook paper used behind the glass in those grooves and also on the flat sides of the frame.
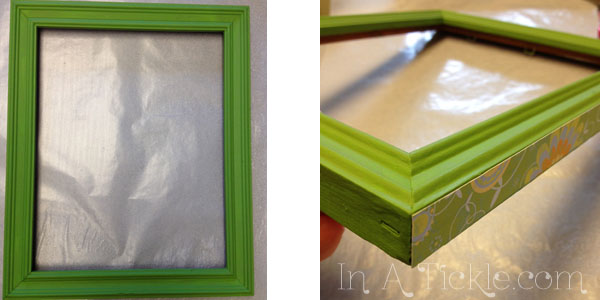


The last frame had a nice flat face and was easy to cover with torn paper.![]()
![]() The frames are ready to be put on the wall (hopefully tomorrow), and we can begin to jot down the ideas we have for upcoming blog posts.
The frames are ready to be put on the wall (hopefully tomorrow), and we can begin to jot down the ideas we have for upcoming blog posts. 
Have we given you some inspiration for ways you could add new life to some old frames you may have sitting in a box at your house? You don’t have to make dry erase memo boards out of them. Pictures of your kids or grandkids would look even more adorable with a cute frame!
Love it ….all so inspirational!!!