Creative Christmas: The Gift of Giving

Merry Creative Christmas

A lot of people are more thoughtful about giving to others this time of year. We are getting presents for our loved ones. And gifts have become a huge part of the Christmas season. While it is fun to receive gifts, there is nothing like the feeling of giving to someone else.

We want to encourage you to use your creativity to bring joy to someone else this season. There are so many opportunities this time a year to give to someone in need. Opportunities are all around us. We just have to stop and take the time to acknowledge it.

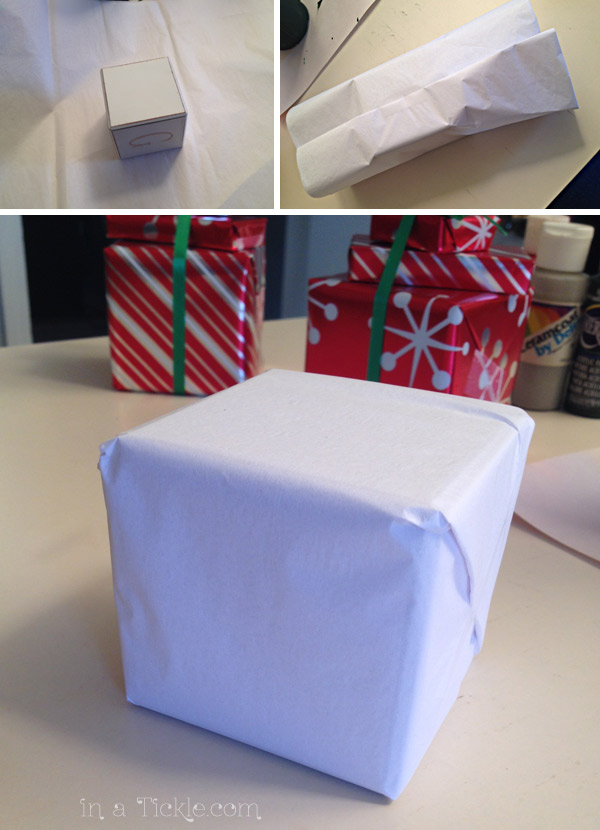
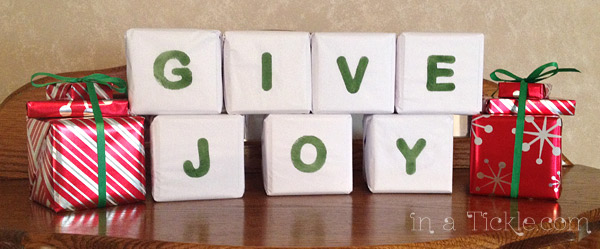
Use whatever skills you may have…

1. Give coins to Salvation Army when you go to the store or sponsor a child who wouldn’t otherwise get Christmas presents.

2. Bake a treat or dinner for a neighbor or family in need, someone who is sick, or new mom that just had a baby.

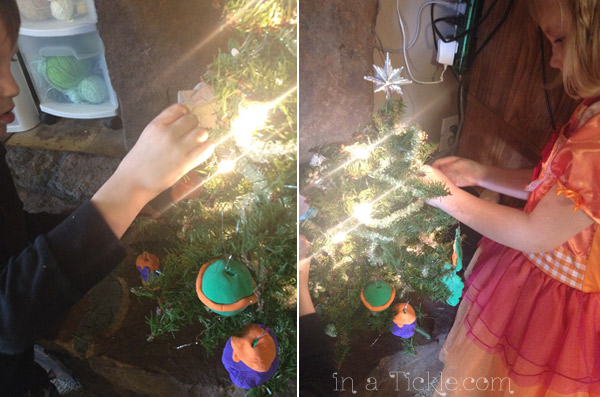
3. Go visit a nursing home and sing a song, read a poem, or hand out homemade Christmas Cards.

Nursing Home Visit

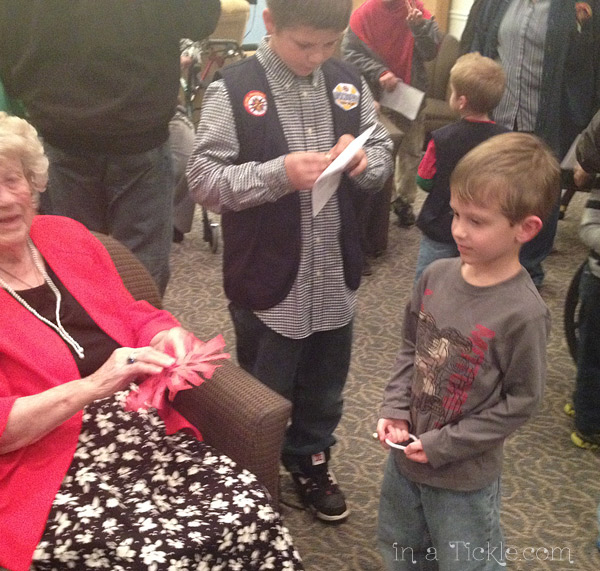
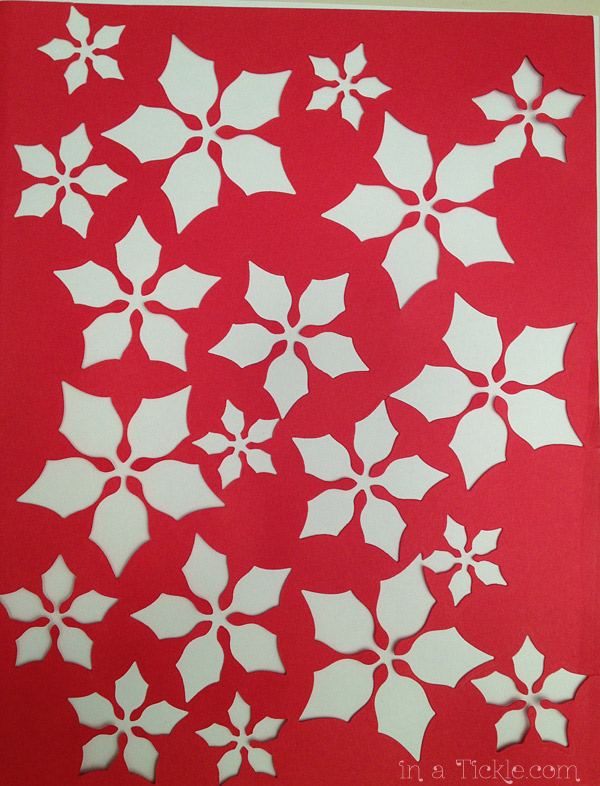
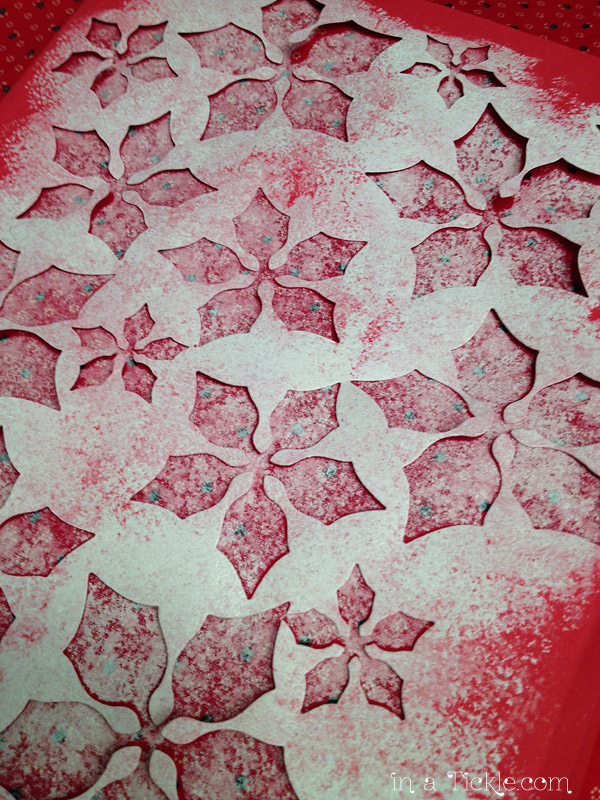
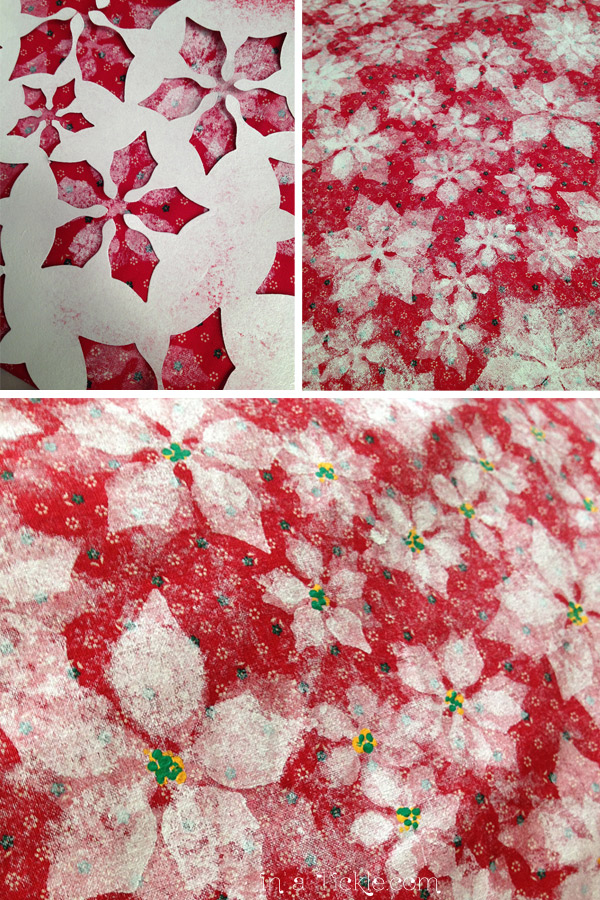
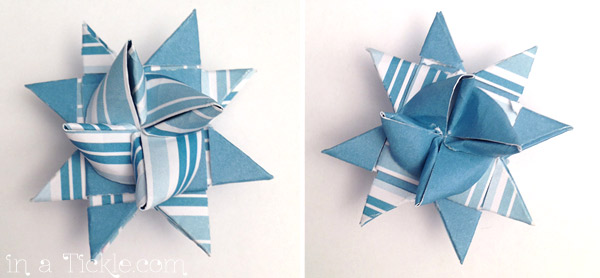
Ninja Boy went with his Royal Rangers group to give paper snowflakes and sing to the the residents.

4. Offer to take Christmas Family photos for a family who can’t afford it.

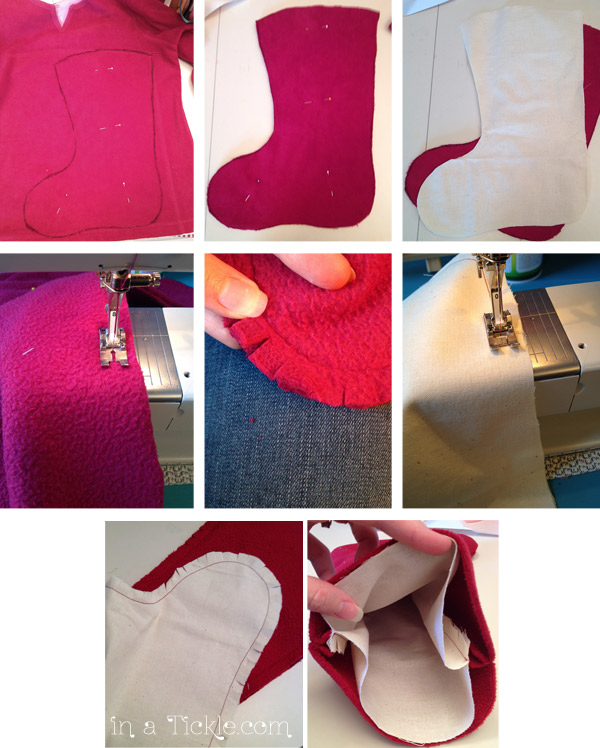
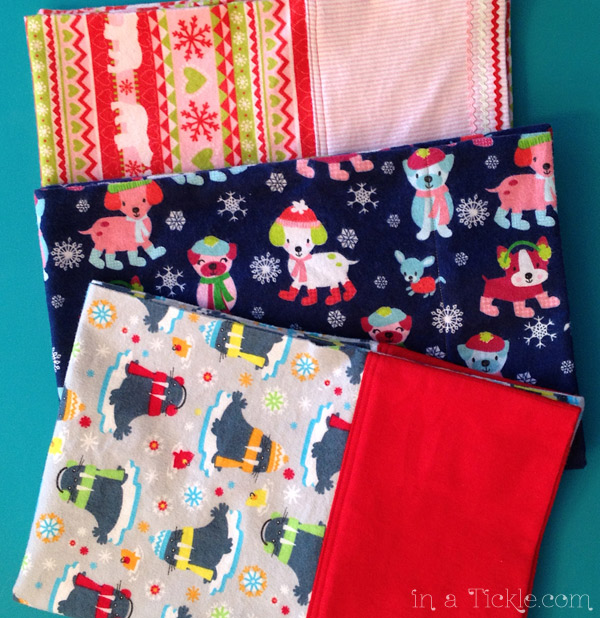
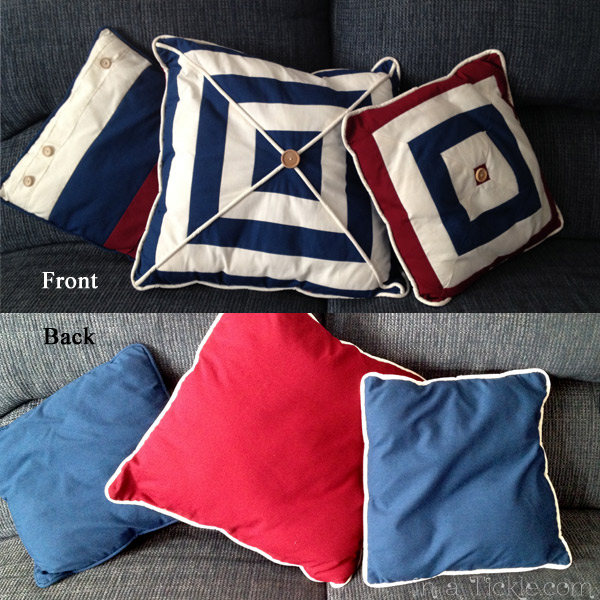
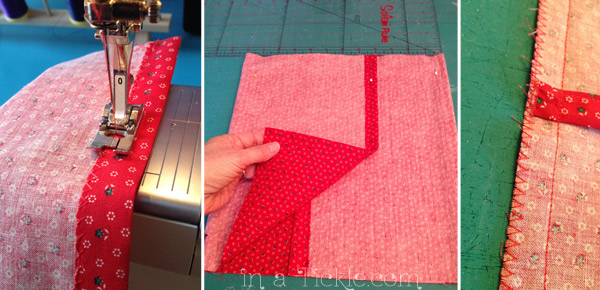
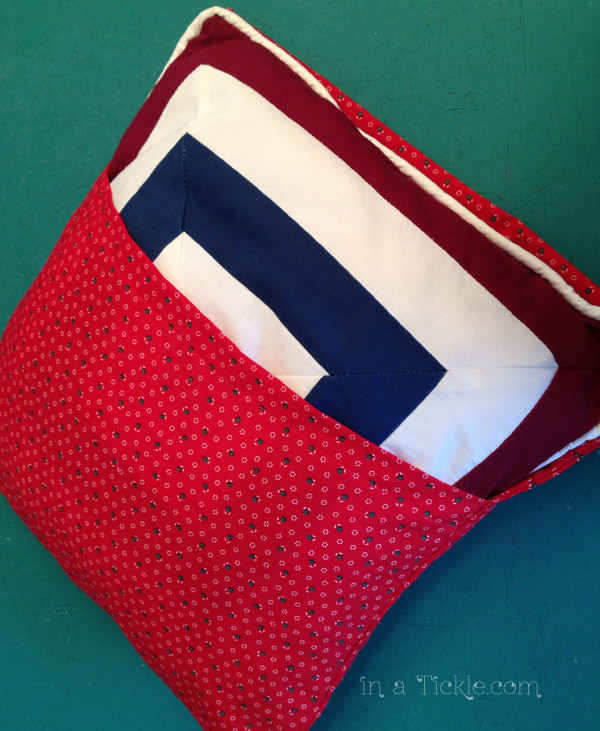
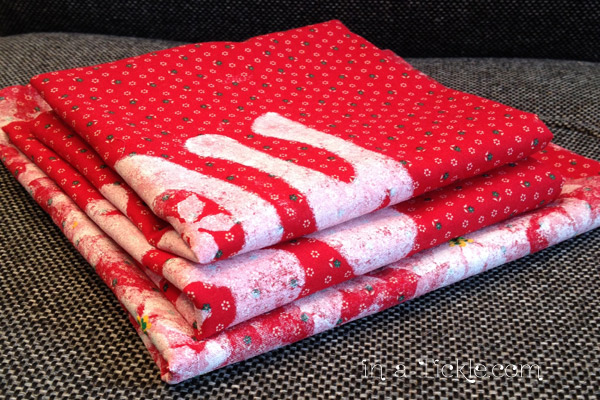
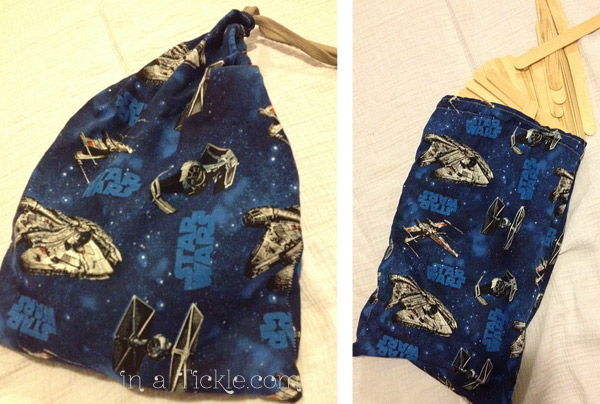
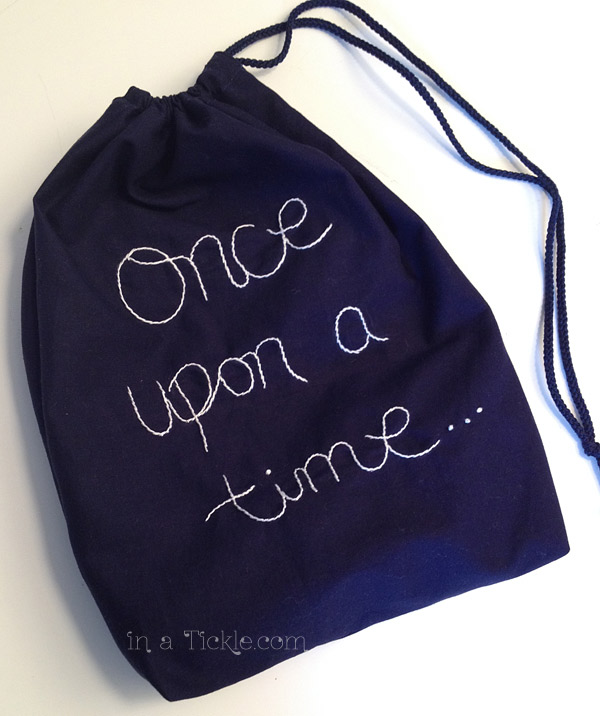
5. Sew blankets or stuffed animals for a family in need.

6. Crochet or knit hats and scarves for homeless people in your area.

7. Instead of gifts, draw names for each family member and give to the charity of their choice.

8. Give someone something nice that was special to you that you already own but no longer need or use (my parent’s gave Ninja Boy a camera for his birthday that they didn’t use anymore. I gave my niece a play tea set because we had an extra one. I gave My Princess an updated version of my sewing basket.  Etc.)

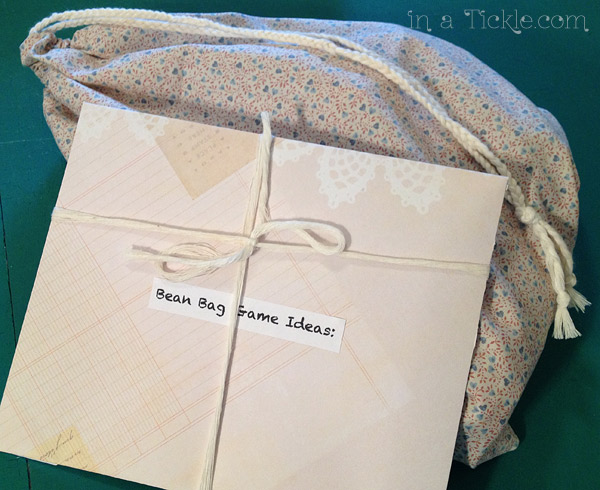
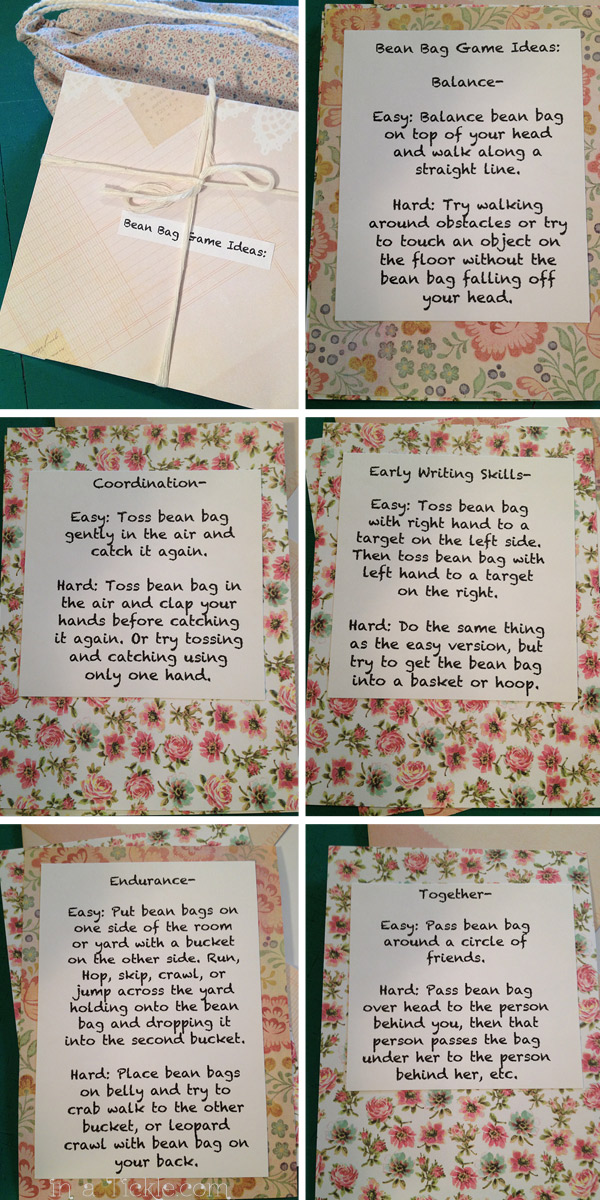
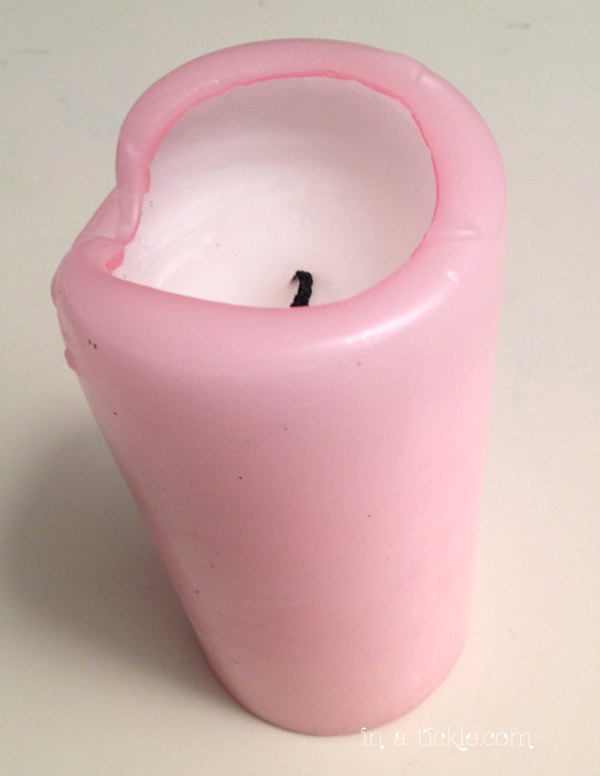
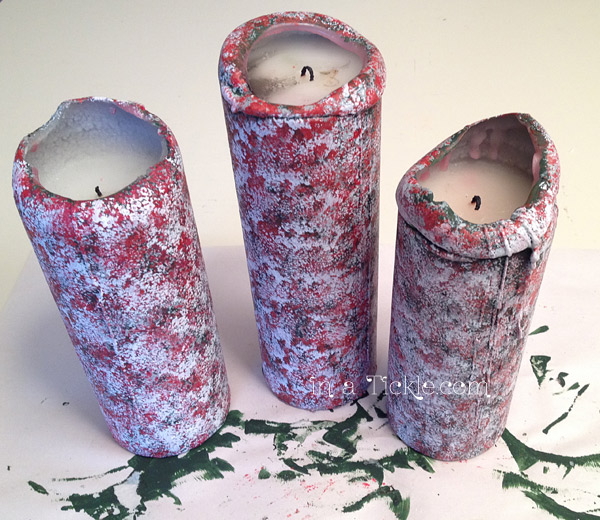
9. Make and give homemade gift cards for a special activity, service, or experience. (babysitting, spending time together doing a project or hobby [card making for example], cleaning, running errands for someone, etc.)

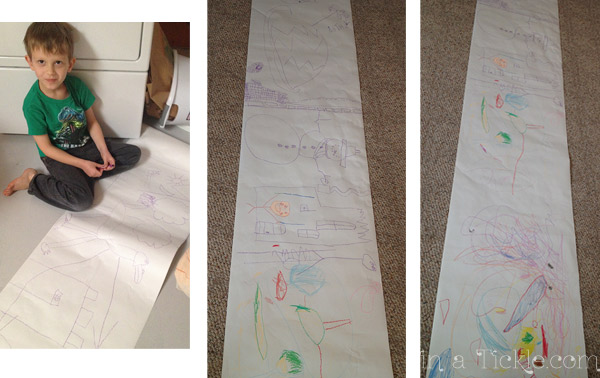
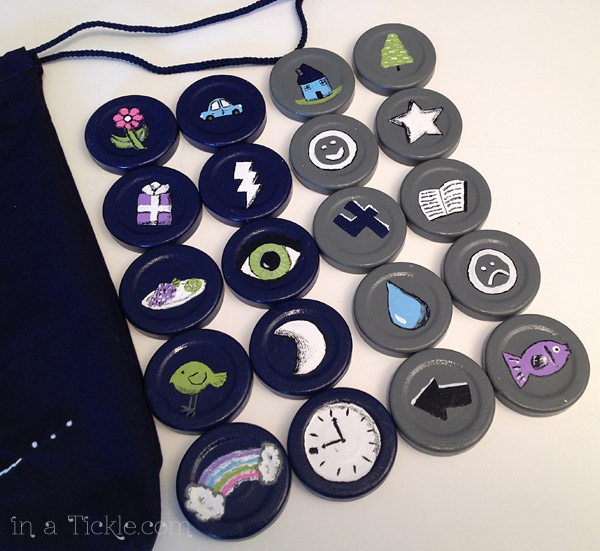
10. Teach someone to do something you know how to do (tech related, painting, sewing, etc).


There are so many ways to give to others this time a year. It’s not about what you get. It’s about family, community, and thinking of others. Find ways to be creative and use your creativity for someone else this season.

Creative Christmas: Family Fun Stocking with Activity Ideas

Merry Creative Christmas

People spend hours (and usually money they can’t afford to spend) shopping for the perfect gifts to give to family members each Christmas. Then the day after Christmas, those family members spend hours in lines at the stores trying to return the gifts they received to get something they like better. Something is wrong with the Christmas focus on gifts. This year we have decided to focus more on family fun experiences and activities than on gifts. Gifts are easily forgotten (or returned), but memories of times together linger for years.

To help accomplish this goal, we decided to make a Family Fun Stocking that we are filling with slips of paper with activities to do together. We will give you a list at the end of this post of some of the ideas we plan to put into the stocking. Some of the family members are arriving after we publish this blog post, and we want to allow them to add ideas to the stocking as well. At various times during our two weeks together we will let the grandkids draw an activity from the stocking and then we will do whatever it says. We are anticipating lots of fun memories!

First we will show you the stocking we made. Melinda took an old sweatshirt that I was no longer wearing, drew a big stocking on it and cut it out. She used that as a pattern to cut out a lining for the stocking from plain cotton fabric. The stocking pieces were sewn right sides together and the rounded seam curves clipped, then turned right side out. The lining pieces were sewn together, curves clipped and the lining left with the seams showing. The lining was then slipped into the stocking and the top edges surged together (you can also zig-zag stitch).

SweatshirtMaking Stocking Bottom

For the cuff of the stocking, a rectangular piece of flannel was cut twice the width of the stocking plus seam allowances and twice the height desired for the cuff plus about an inch. The width of the flannel was folded with right sides together and the seam stitched. Then the height of the flannel was folded wrong sides together to form cuff. The raw edges were surge stitched together. (Sorry, I did not get pictures taken of these steps!)Stocking Top

I positioned the flannel cuff on the stocking with about one inch of the cut edge of the cuff tucked to the inside of the stocking and hand basted it in place. The rest of the cuff was pulled out from the stocking and I machine stitched the cuff to the stocking along the surged edge of the cuff. As you can see from the pictures, the cuff folds over the top edge of the stocking but is not stitched at the top edge. I made a loop by folding a strip of the sweatshirt fabric like bias tape and stitched along the edge. The ends of the loop were machine stitched to the stocking along the sewn edge of the cuff. (Pull cuff away to avoid stitching the loops to the front side of cuff.)

I embroidered the words “Family Fun” using the couching stitch to the front of the cuff.Top of StockingNow the stocking is ready to be filled with lots of Family Fun activities.
Family Fun Stocking


Family Fun Activity Ideas:

  • Make a Christmas treat
  • Make popcorn and watch a Christmas movie
  • Go look at Christmas lights
  • Play charades
  • Play a wii game tournament
  • Color pictures together
  • Take a walk
  • Go caroling
  •  Play dominoes (Chicken Foot, Mexican Train, etc.)
  • Play a card game (Canasta, Blitz AKA Nerts, Milles Bourne, Spoons, Go Fish, etc.)
  • Tell stories (Use your story bag!)
  • Play instruments and sing together
  • Take family pictures
  • Dress up and take pictures of each other
  • Plan a scavenger hunt (in the house or outside depending on the weather and ages of children)
  • Everyone gets a back rub at the same time
  • Each person directs a stretching exercise for everyone to do at the same time
  • Play frisbee golf (weather permitting)
  • Come up with more activities to do together!

What are some ideas for more activities?

Creative Christmas: Christmas Eve Pillowcases

Merry Creative Christmas

In some families, it is a tradition to receive new pajamas to wear to bed on Christmas Eve. Probably the people that started that tradition wanted to make sure the kids were dressed cute when they took pictures of them first thing in the morning checking out their stockings and opening presents.

Do you have a special Christmas Eve gift tradition? Maybe everyone in the family gets a new pair of Christmas socks or slippers? We thought it would be fun to start something new this year for the kids and give them each a new Christmas pillowcase for their heads to lay on while visions of sugarplum fairies danced through their dreams (or maybe Lego fighter jets).

Pillowcases are easy to make. We bought some flannel that was not particularly Christmasy but was wintery and warm and the kids can use them through the cold months after Christmas. Follow this easy tutorial to make your own pillowcases.Christmas Pillow Cases

One pillowcase I made is just a regular pillow case from one piece of flannel. On the other two pillowcases, I added different fabric bands to the opening and a little rickrack embellishment on one of them. Pillowcase EmbelishmentsThe pillowcases are very soft and hopefully the kids will be so excited to go right to bed to sleep on them! Yeah right!Folded Pillow CasesSince Miss Tickles is not yet old enough for sleeping on a pillow, she gets a new blanket made from flannel.flannel blanket

Homemade Wrapping Paper

We used the kids homemade wrapping paper to wrap up their new pillowcases.

Do you have any special Christmas Eve traditions?


Creative Christmas: Model Magic Ornaments

Merry Creative Christmas

Do your kids want to make their own ornaments this year? A few years ago, we found a simple way to make ornaments at just about any age.

When Ninja Boy was about two or three, we made some ornaments out of Model Magic for ourselves and our friends. We used cookie cutters for the shape, and he added extra embellishments.

Truck ornament

To make it into an ornament, you just mold the Model Magic into whatever shape you want, then insert a paper clip on the backside to hang with string, ribbon, or an ornament hook. Then let it dry out and hang it on your tree!

We received a bunch of Model Magic last Christmas, and this year, Ninja Boy decided again to make some ornaments with it. I didn’t have to help him at all with these except with a couple of the paper clips.

New Model Magic Ornaments

The kids were excited to put the ornaments Ninja Boy made on their own little tree.

Hanging OrnamentsWhat kind of ornaments will you make this year?


Creative Christmas: Throw Pillow Coverups

Merry Creative ChristmasDo you have pillows on your couch but wish you had some festive pillows for Christmas decorations? You don’t have to buy new pillows, just make some new slip covers for the pillows you already have.

My sister came to visit at Thanksgiving, and while she was here, she got busy playing with my mom’s new Spellbinders die cut machine. She cut out a bunch of poinsettia petals from a piece of red card stock. She handed me the paper she had cut from and suggested I use it for a stencil to print some fabric like I had done for my fall table runner.Poinsettia StencilSounded like a great idea to me, but I decided to make pillow covers instead. I pulled out some old Christmas fabric I already had with tiny designs (vintage fabric from the same era as my tree skirt.) Since the fabric was red, I decided to make white poinsettias. I used a sea sponge to put my layers of fabric paint on the material.Stenciling Fabric

This was my first layer:First Layer Stenciled FabricThen I laid the stencil over the flowers varying the angle to add more petal layers. I had to do each flower individually. I even added a little light sponging of the white paint between flowers (that’s how I covered up the “overspray” from my flower stenciling.) When the white paint dried, I added flower centers of yellow and green paint.Christmas FabricI decided to cover a couple of smaller pillows with the word JOY stenciled on the fabric. I drew and cut a stencil out of a piece of thin cardboard, sponged it with the same white fabric paint and added a poinsettia flower in the middle of the “O”.Joy StencilJoy Fabric StencilThese are the pillows I was covering. (They’ve been around my house for a long time. Melinda’s older sister designed them years ago for her Grandma to make for her bed. This is only three of the many! Grandma used new sheets for fabric and except for a few missing buttons they still look great.)Original PillowsFor each pillow, I cut panels double the width of the pillows plus an additional 6 inches and the height plus 1 inch. I zig zag stitched the shorter ends and turned those edges under 1/2″  and straight stitched along the edge. Then I folded the panel with right sides together overlapping the ends so that the panel measured the correct width of the pillow and pinned in place. I also made sure that my stenciled design was centered. I stitched the top and bottom edges of the pillow cover 1/2″ from the edge and then zig zagged the raw edges to finish. Making Pillow CoversI turned the pillow cover right side out and stuffed the old pillow into one side first and then scrunched it down to fit into other side. I put my pillows into the covers with the button on the back side.  Stuffing PillowNew Christmas pillows for the couch!Christmas Pillow CoversThe really nice feature to these Christmas pillow covers is that when it is time to put the Christmas decorations away for another year, they only take up this much space:Stacked CoversIf I had bought new pillows (or made my pillows and stuffed them with regular stuffing) I would have to find room to store this:Stacked PillowsChristmas Throw Pillow CoversDo you have some pillows you can cover for the season?

Creative Christmas: Make a Moravian Star

Merry Creative Christmas

About 15 years ago, I visited Bethlehem, PA. It is a quaint and beautiful town originally established by a group of Moravians in 1741. The Moravians were the first organized protestant denomination in the world. I loved the architecture and the streets and felt like I was back in a European town. I also began to notice unique multi-pointed star shapes in lamps and decorations all over town. In one of the shops I found out they were Moravian stars.

The Moravian star originated in Saxony, Germany, in the two towns of Niesky and Kleinwalka in the 1830s. The stars were used as craft projects to help demonstrate geometry lessons to young boys attending Moravian school. The stars were quickly adopted by the Moravian Church as a symbol of the birth of Jesus and represented the star of Bethlehem. Traditionally, the star is hung the first Sunday of Advent and remains up until Epiphany, January 6, or the time of the coming of the Magi. (More history of the Moravian star.)

Traditionally the Moravian star has 26 points but there are many variations and they can be found with any where from 6 to 100 points. Just type “Moravian star images” into your web browser to see all of the variations of the Moravian star.

I found a small kit to purchase with instructions and paper strips to make paper Moravian stars. Once I learned how to make them, I was cutting my own strips of paper and ended up making over 4 dozen little stars which have adorned my Christmas tree every year since then. I store them in a plastic shoe box size container to help keep them from getting squashed in storage. Moravian Paper Star

If you would like to try your hand at making some Moravian stars, the supplies are simple. You need 4 paper strips cut 12″ X 1/2″. I used regular copy paper that was 8.5″X14″ and cut 2 inches off the long end so I would have 12″ paper. The stars can be made in different sizes as long as the strips are cut in a 1:24 ratio. I am not going to give you instructions because you can go to this website for detailed instructions with pictures. But I will share a couple of helpful hints.

First, make sure your strips of paper are the same width and cut straight. Even slight variations will make it hard to pull the strips through the various folds.

Second, when you make the first fold, do not fold strips exactly in half. Rather fold them so that one side is approximately 3/4″ longer than the other side. Then when you start the basket weave in the second step, make sure that the longer side of each strip is face up. See picture below.Folding strips

If you fold the strips exactly in half, one side of your star will have shorter strips of paper to work with on the final step. It’s not impossible to do it, but it makes it so much easier if you fold with one side 3/4″ longer. In the picture below, the star on the left was made with strips folded exactly in half and the star on the right folded with one side longer than the other. As you can see, the star on the left has very little strip to pull through the folds on four of the points. The ends of your paper strips are trimmed off when the star is completed. There is no need to glue anything as it all stays together.

Assembling starsIn the picture with the blue strips of paper, I tried making a star with two sided card stock weight paper. You can do it, but I don’t recommend it. It doesn’t pull through as easily and seems to tear easily as well. However, regular weight paper that is printed on both sides would work nicely. Scrapbooking paper comes in 12″ square sheets. Here is how the card stock star turned out (one star- front and back sides).Card stock starsStiff decorating ribbon can also be used to make Moravian stars. The ribbon is slippery and curly though so I would not try to use ribbon until you have practiced on paper a while first to get the hang of it.Ribbon Moravian StarsRemember, these stars were originally used to help young boys learn geometry, so let your kids or grandkids give it a try as well. I taught several elementary age kids how to make them at the time I first learned. Have fun making Moravian stars for your Christmas tree!Moravian StarsMoravian Star


Creative Christmas: Homemade Wrapping Paper

Merry Creative Christmas

I sat my kids down with crayons and a roll of easel paper and said, “color this.” My Princess did the first part and was extremely colorful as usual. Then Ninja Boy joined her and started drawing big, mostly one color pictures (with a few exceptions).Making Wrapping Paper

I’m excited for them to see their Christmas Eve gifts all wrapped up in wrapping paper they made themselves. (Post about their Christmas Eve gifts coming soon.)

Homemade Wrapping PaperMy kids used crayons, but you could make your own wrapping paper with stamps, paint, stickers, whatever you can think of! Instead of buying rolls of wrapping paper, buy a roll of butcher paper or easel paper and create!


Creative Christmas: Simple Homemade Drawstring Gifts

Merry Creative ChristmasI love making gifts for people. I feel like I have put a part of myself into their gift, and to me, handmade gifts are so special.

Earlier this year, I made a couple drawstring gifts for some kids in my life and thought they would be great ideas for Christmas gifts as well.

Drawstring bags are easy to make (here are a few tutorials), and there are plenty of ideas for gifts to put in them. I will show you three ideas.

Bean Bag Game

Bean bags are easy to make. Just cut whatever size squares of fabric, sew them right sides facing leaving a couple inches unsewn to turn, clip the corners and turn, fill with beans or rice, sew 1/8 in along the edge to finish.

Bean Bag Gift BagBean Bag Game IdeasBean Bag IdeasPDF of game ideas:

Bean Bag Ideas Page 1

Bean Bag Ideas Page 2

Exploding Sticks or Stick Bombs

Exploding Sticks Gift Bag

Woven sticks

Check out our post about it for some examples and how-to videos.

Once Upon a Time Story Bag

My kids love telling stories. I saw this on Pinterest a long time ago and thought it was a cute way to give inspiration for story telling. Then on Amazon, I found these Rory’s Story Cubes, and my aunt bought them for Ninja Boy for his birthday. They are so much fun! We roll the dice and tell a story using every object or idea that are on the cubes. They are not expensive and have a lot of different sets, so if you want to buy the story cubes and make a cute little drawstring bag to put them in that would be ok too! Or if you are feeling creative, you could make your own story prompts.

I have been saving juice bottle caps for awhile knowing I would use them for a project one day. I finally found my project! You could use blocks stones, or baby food jar lids.

Painting Story Coins

I painted the caps with about three coats of acrylic paint. I had considered printing off some clip art to mod podge onto the top, but I decided I needed to stretch myself creatively a little more. So I made a list of things I wanted to paint on the tops and got busy. It was a long but fun and rewarding process. If you don’t want to paint, you could use clip art and mod podge them onto the lids. After the lids were painted and dry, I sealed them with a couple coats of mod podge. I also painted and sealed the backs of the lids.

Story Bag CoinsOnce Uopn A Time Gift-BagI used this tutorial to make my drawstring bag. I used a chalk pencil to write out “Once upon a time…” then used white embroidery floss to stitch using something like a stem stitch because a plain backstitch wasn’t looking right.

Coin Story BagThere are many more ways you could use a simple drawstring bag. They are not complicated to make and are fun as gifts or even as reusable gift bags instead of wrapping.

What will you make a drawstring bag for?

Creative Christmas: Transformed Candles

Merry Creative Christmas

Mom had the great idea to transform some candles for Thanksgiving. You can see them here. Of course, now that it’s Christmas time, we had to do some more candles for Christmas! We have so many extra candles leftover from my wedding that we could probably do every big holiday this year.

Pink candleI started with three pink candles of different sizes and painted them with a green acrylic paint. I didn’t take pictures of the whole process because I forgot and you can see the process in mom’s previous post about transforming candles.

I used gray, red, and white acrylic paint and sponge painted in layers until I was happy with the outcome.Painted Christmas CandlesAfter they were all dry, I added some felt embellishments. Using the Christmas tree stencil from my Christmas card post, I cut out a felt Tree and cut slits in the middle to thread ribbon through and around the candle. I attached the ribbon on the back with a glue dot to keep it in place. I drew the snowflake and bell on felt with a washable pen and cut them out.Three Christmas CandlesCandle Makeover

What have you done with old candles to give them new life?


Creative Christmas: Updated Blocks

Merry Creative Christmas

Before Thanksgiving, mom transformed a few of the blocks she has for my kids to play with and turned them into Thanksgiving decorations.

Give Thanks Blocks

We planned to use them again as Christmas decorations, and I decided to be the one to make it happen since mom got to do it the last time.

I wanted to wrap some in Christmas wrapping paper, so I started off with wrapping up two blocks for the ends. Since we have some other size blocks for the kids, I wrapped those up to make a stack of presents.Wrapping Blocks

Since we had “Give Thanks” on the last blocks, I thought it would be cool to put on our Christmas blocks “Give Joy.” I used the same foam letters that mom used before.Give Joy

To have a surface to stamp on that wouldn’t be permanent on the blocks, I wrapped them in a couple sheets of white tissue paper folded over so there were four layers covering up the other lettering already on the blocks.Tissue wrapped blocks

I was then able to stamp the letters onto the blocks, and now we have our new temporary Christmas decoration.Give Joy BlocksWhat can you do with some blocks for a temporary Christmas decoration?