Creative Christmas: Garland Possibilities

Merry Creative Christmas

Make Your Own Christmas Tree Garland

I was looking at mom’s tree the other day and saw her garland. I was inspired! Why buy garland when you can make it!

I thought we could share with you some easy ways to make your own garland for your tree. Back in the day, people would put popcorn or cranberries on a string as garland. We wanted to share you some of our crafty versions that you could try too.

Crochet Yarn Garland-

Single crochet your choice and color of yarn with whatever gauge you like.

Crochet Garland

Ribbon and Bead Garland-

We had some large perler beads (you could use any bead you happen to have or like) and strung them on a 3/4 in. rainbow colored ribbon. Great for a colorful kids tree.

Bead Ribbon Garland

Fabric Strip Garland-

Rip or cut strips of your choice of fabric however long you want. Ours was about three feet long strips. Tie them together at the ends, and tie knots spaced out between.

Fabric Garland

Burlap Strip Garland-

Cut the burlap into strips like for the fabric garland and tie ends together. You can also tie knots between strips.

Burlap Garland

Finger-Crochet Ribbon Garland-

Ribbon Garland Chain


How to do it:

Start with a slip knot.

Loop the extra ribbon over your left index finger for a little tension. Place your thumb and index finger through the slip knot.

Pull the extra ribbon through the slip knot with your thumb and index finger until it’s the same size as original loop.

Start again.

Ribbon Chain Demo


What else could you use to make your own garland?

Creative Christmas: Ornament Makeover

Merry Creative Christmas

Before setting up our tree this year, I decided it was time to sort through all of the Christmas decoration boxes and get rid of things we no longer used or wanted. I found a box of bright purple ball ornaments which I have never used and am not really sure where they came from. Rather than get rid of them, Melinda and I decided to give them a makeover, and she would use them at her house.

We decided to cover the balls with pieces of paper from a paperback. The paper strips were dipped in a watered down solution of mod podge and applied randomly to cover each ball completely. The kids were excited to help with a craft project. However, Ninja Boy quickly determined that it did not make sense to cover perfectly good bright colored balls with dull plain printed paper and declined. My Princess thought it was a wonderfully fun thing to do.Covering the ornamentsAfter the balls were completely dry we lightly painted them so the words still showed through. I rubbed the ornaments with a glue stick, sprinkled glitter lightly on them, and then tied them with ribbons.Paint Glitter OrnamentsOranamentsOrnament MakeoverDo you have ball ornaments that you don’t like any more? Don’t toss them and buy new ones. Use your creativity and give them a makeover.

Creative Christmas: Modify if You Can’t Buy

Merry Creative Christmas

We have shared in the past that my youngest, Miss Tickles (who turned 2 on Thanksgiving! Happy Birthday!) is allergic to polyester. She needed a new coat, so her granny bought her a cute purple coat with butterflies on it for an early Christmas present. Though she tried, she had no luck finding a coat that wasn’t polyester.

100% Polyester Coat Since she needed a new coat so badly, she gave her the coat anyway hoping it would be all right. As I looked it over, I had an idea!

We have bought several pieces of cotton flannel fabric lately, and at our last fabric trip, I bought a purple flannel remnant. It matched perfectly and was just the right size. So, Mom figured out a pattern and worked her magic and made a new liner for her hood.

Flannel lined hoodNow Miss Tickles has a nice warm coat that won’t make her face itchy.

New Coat

Miss Tickles on her second birthday/Thanksgiving!

We knew that we wouldn’t find a coat without polyester (at least in our price range and stores). However, we know that all it takes is a little modification, and we can make it work! If you are looking for a specific gift for someone and can’t find the right thing, maybe you can modify it!

Creative Christmas: Christmas Tree Card

Merry Creative Christmas

This year, instead of buying Christmas cards, how about making them.

We have made our own stamps in the past and had considered making some for cards but, this time, decided to try something new. We made our own stencil.
Stencils are easy to make and all you need is some cardboard (I used a cracker box), a pen or pencil to draw your design, and an xacto knife to cut out your pattern. I decided to make a Christmas tree for my cards.Christmas Tree Stencil After cutting out my tree, I used some distressed ink and a cosmetic sponge to make my tree on cardstock.Ink Stenciled Tree I wanted to try a few different looks so I also used some acrylic paint with a sponge and a paintbrush for the trunk.Sponge Painted Stencil Tree You can use all kinds of materials to decorate your tree.
I used a hole punch and colored paper and glued the circles onto the tree as ornaments.Hole punched ornaments I also used buttons, sequins, googly eyes, and ribbons.Stenciled Tree DecorationsbuttonsUse whatever you have on hand or buy whatever decoration you like best.
You can also leave it plain and stamp or paint around the cut out of your tree if it is still in tact.Stenciled Trees Your friends and family will love receiving a unique homemade card from you this year.

Creative Christmas: Finish a Project

Merry Creative Christmas

I have a confession to make. It’s pretty serious. Ok, here it is… I have a few unfinished creative projects hidden away in my house. And I am not talking about things that I started a few weeks ago. These are projects that have been in hiding for years. Whew! Glad to have that off my chest.

We will stop right now for a moment so you can make such a confession yourself if you need to. There. Doesn’t that feel better?

Now what are we going to do about it?

I came across a bag with the top, batting and backing fabric cut out for a tree skirt that I am sure is about 25 years old. It even had printed fabric cutouts for country designs to be appliqued onto the fabric. They had been ironed on with adhesive webbing (which wasn’t sticking very well).Original unfinished projectOk, while I am being honest, there were actually TWO tree shirts cut out in that bag. Not sure if I was planning to make them both for myself, or what?

The designs on the skirt were not really appealing to me now, though I am sure they were going to be very cute when I originally planned it. So I pulled them off and cut out some tree shapes from Christmasy fabric I had- which, believe it or not, was the same green fabric you see pictured above. (I have a hard time getting rid of stuff that could be used someday.)

I stitched the skirt fabric and batting wrong sides together, turned it right side out and topped stitched around the edges to hold it in place. Because it is so much fun, I decided to play around again with free motion stitching. I stitched around the edges of the tree in green thread and then doodle stitched around the trees unevenly adding ornaments and trunks. I also free motion stitched garland in the middle of the trees. To finish the plain fabric skirt background, I free motion stitched loops around the topstitched edges. Pieces of ribbon were sewn to the skirt opening to tie it around the tree. Tree Free Motion SewingTree SkirtTree SkirtTree with Skirt

It really did not take long to finish this tree shirt (well, if you don’t count the 25 years, that is) and was fun to do. It was also very satisfying to know I had one less unfinished project tucked away. I am not sure if I will make another tree skirt (from the second piece) or just use that fabric for a different project.

As you are decorating your home this year or trying to figure out presents to give, maybe it’s time to pull out some of those unfinished projects you have stashed away. You may need to modify them from the original intent, but it just might save you some money and give you the satisfaction of finishing something. And you can have the joy of creating!

What unfinished project are you going to pull out of hiding?

Creative Christmas: Let Them Decorate

Merry Creative Christmas

Now that Thanksgiving is over, more and more people have started decorating their houses for Christmas. We shared in an earlier post that my family decorates for Christmas on Halloween. So we have had decorations at my house for a month now.

This year, my kids were old enough to get into decorating even more, and this time, they were actually helpful.

My hubby took care of putting lights on the tree while we set up the other decorations around the room.
Tree Lights
We were going to wait a little later to finish the tree after our Halloween fun with family. However, Ninja Boy found the ribbon and decided to take matters into his own hands.
Hanging the garland
He put up every kind of ribbon we had until he couldn’t reach anymore. Then we got him the ladder so he could finish.
Decorating tree
The next day, we had the time to finish decorating the tree with the ornaments. I got each one out of the box and talked about the ones that held special meaning before letting the kids put them on the tree. They put every ornament on themselves with no help from mommy or daddy. They were so proud when it was all done.

I grew up with a hodge podge of ornaments on our family tree. I loved it as a kid, but when I got married, I wanted a pretty color-matched tree like in magazines and stores. A few years ago I realized that since having kids, I was liking the hodge podge tree even more than my matchy matchy tree.

After the kids decorated our tree all by themselves for the first time, I realized that it was my favorite tree ever. Every time I look at it, I get a warm feeling and am so proud.Christmas Tree I could have had a “beautifully” decorated tree that I carefully placed each ornament and decoration on, but I don’t think that kind of tree would ever produce the same feeling as this one that’s full of memories of fun, childhood, and the people I love most.

So I say, let them decorate. Perfect is never as meaningful as the imperfect done with joy and love.

Choose to be Thankful

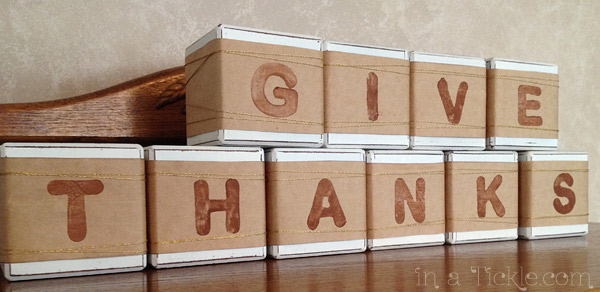
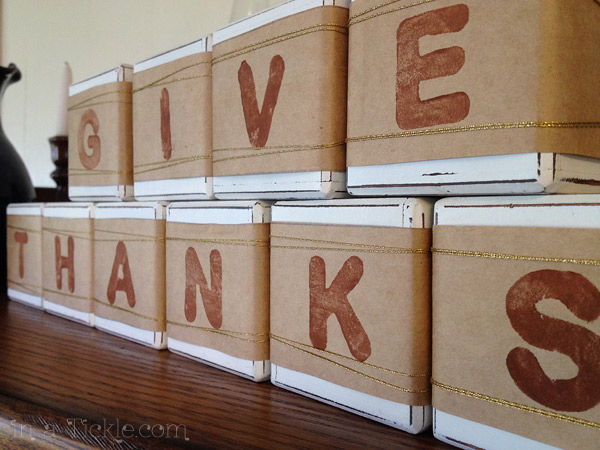
It’s the week of Thanksgiving…the time we are all supposed to be thankful, right? Actually, our lives should be overflowing with thankfulness all through the year. No matter what our circumstances, no matter how much we have or don’t have. Even if you are not feeling very thankful, you can choose to be thankful. Find at least one thing each day for which you can choose to be thankful and say out loud that you are thankful for that. Just hearing it with your own voice will help your heart feel more thankful. My guess is that if you keep that up, pretty soon you will be finding many more things throughout your day for which you can say thanks.

This time of the year it is easy to become more focused on the material things you don’t have because people are asking what you want for Christmas. And the advertisers are trying so hard every day to convince you that your life would be so much better if you only had their products…and here’s a coupon that you can’t pass up to make sure you get their products. Today Becoming Minimalist shared a photo with these words, “If your biggest dreams in life can be found on sale in a catalog you should be dreaming bigger.”

We could make a huge long list of art, crafting, and sewing supplies and equipment that we would love to have. We could do so much more if we only had this, and that, and that, and… but we do have a lot, and there is so much more we can do with what we already have. Sometimes it takes a little more creativity to figure out how to do something we want to do but don’t have the exact tools we think we should. But being creative and inspiring others to be creative is what we want to do, so that means it isn’t always necessary for us to have the latest greatest tools.

We decided we would share with you the creative tool we are each most grateful for.

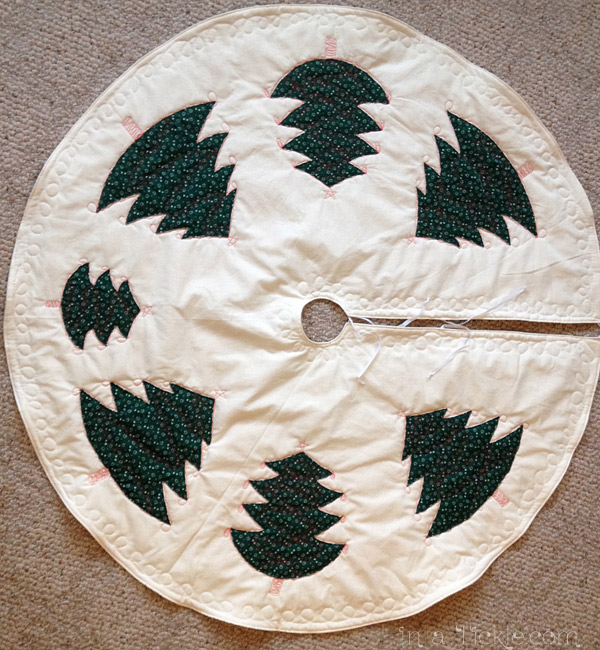
Jan: The creative tool I am most grateful for is my sewing machine. My current machine is about 25 years old. Too bad sewing machines don’t have odometers, because it would be interesting to see how many miles I have put on this machine!Sewing Machine
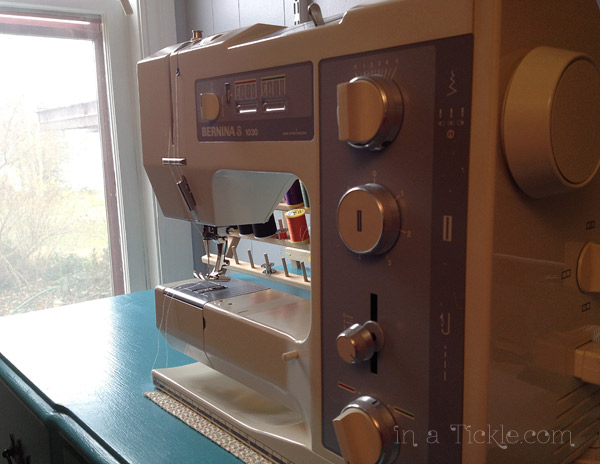
I learned to sew as a young girl making most of my own clothes in high school, college, and as a newlywed and sewed many home decorating items, gifts and toys through the years. I did not make as many clothes once the kids arrived, but it is fun to see my granddaughters wearing some of the dresses I made for my daughters so many years ago.

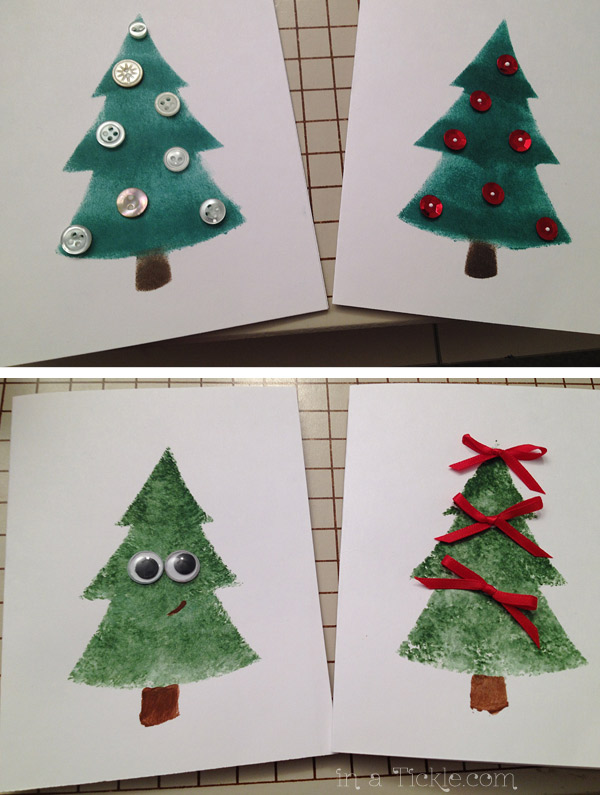
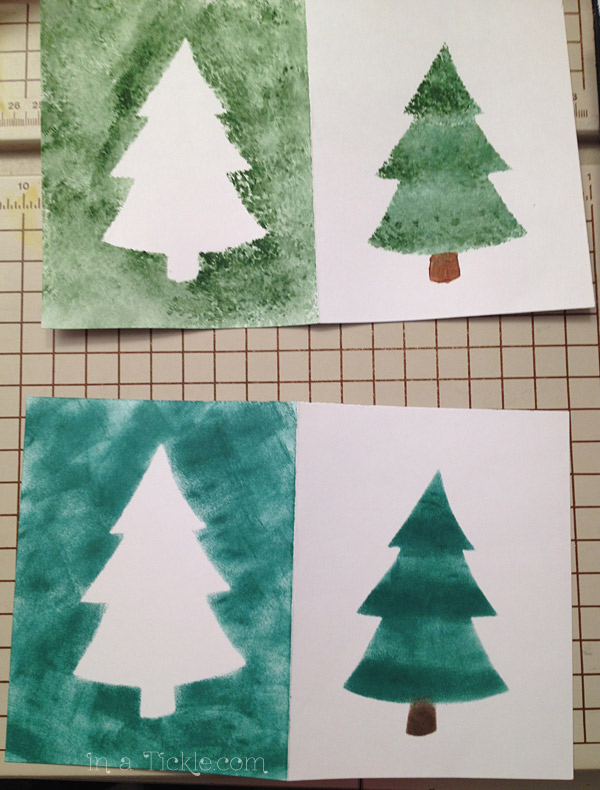
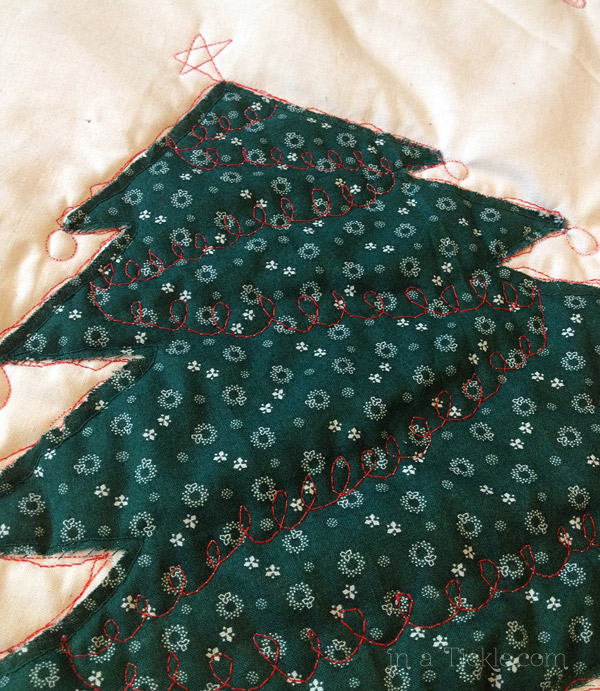
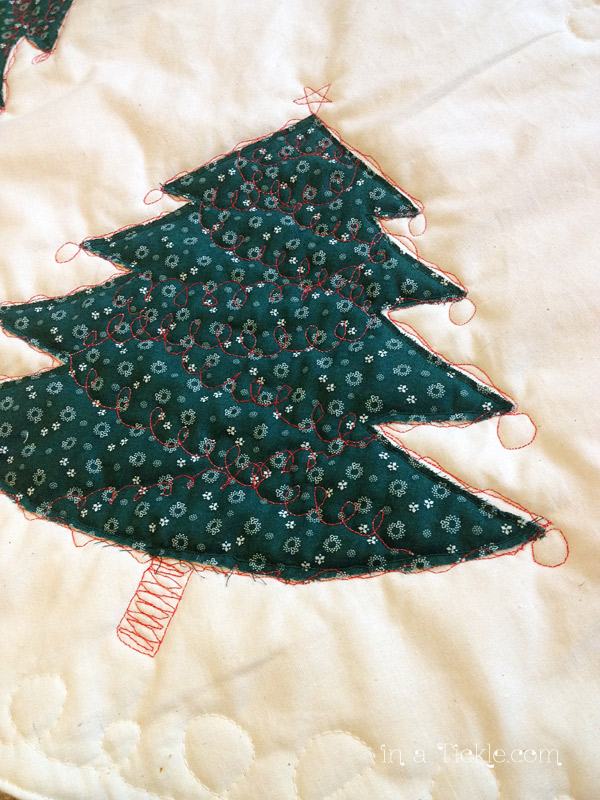
A sewing machine can be used to create, recreate, or repair so many things. After all these years, I still don’t know how to use it to it’s fullest potential! A few weeks ago, I shared with you what I learned about the darning foot. I still have other feet I never use, but plan to in the coming months. My machine can do several kinds of stitches, some practical, some just fancy. Do I use them? Occasionally. But if I really learned to use them, it would probably help me come up with even more creative ideas.

Thank you sewing machine for all the things you can do to help me be a more creative person. I am grateful to have you in my life.

Melinda:

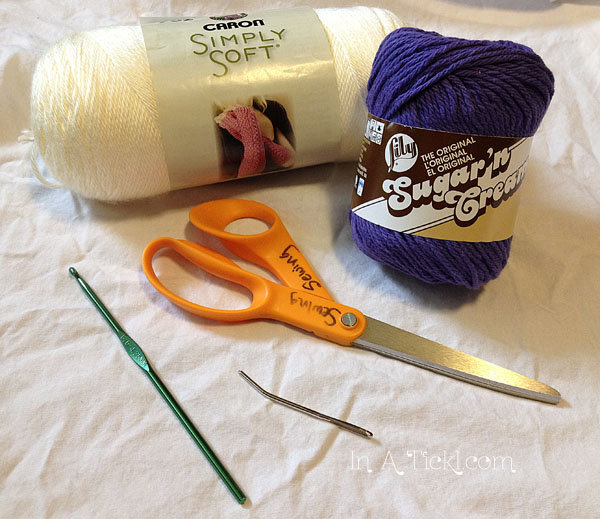
I am thankful for my crochet hooks and knitting needles. I learned how to crochet when I was a young girl–mostly pot holders. I picked it back up in college making scarves as Christmas presents. As a poor college student who liked to be crafty, crocheting was one of the cheapest mediums to pursue. I kept doing it after college when I was pregnant with Ninja Boy making baby blankets for my pregnant friends. I have made a lot of other things since them and have used my skills as a business as well.

Crochet Basic Tools

I am thankful to have a form of crafting that does not require a lot of space and is easily picked up and put down as I am needed with the kids. They are portable. I have crocheted/knit in the car, at coffee shops, on the subway while visiting my sister, waiting in line somewhere, at friends’ houses while hanging out, etc. All you need is a small project bag, and you can do it anywhere. I don’t have a lot of space at my house for craft stuff, so crochet/knitting supplies are some things I can keep on hand without taking up too much space (especially if I don’t go crazy with my yarn stash).

I crochet and knit for my sanity. When I don’t have some kind of creative outlet, my life becomes more stressful. I don’t have to think about other things when I crochet or knit because I am either counting stitches for a pattern or just counting out of habit. I can forget about the issues for a moment and give my mind a break. I can feel productive while resting my body, which has helped me get through each of my pregnancies toward the end. If I am not stressed, it just feels good to see something come together from start to finish. I feel like I’ve accomplished something no matter how big or small the project.

I am thankful for my mom and grandma who taught me how to crochet. I am thankful for my sister and my friend in college who took multiple sessions to teach me how to knit even though I just wasn’t getting it. Thank you for your patience because I finally got it!

Thank you specifically size G crochet hook and size 8 knitting needles because you were my firsts, and you two get used the most of all.Knitting Basic Tools

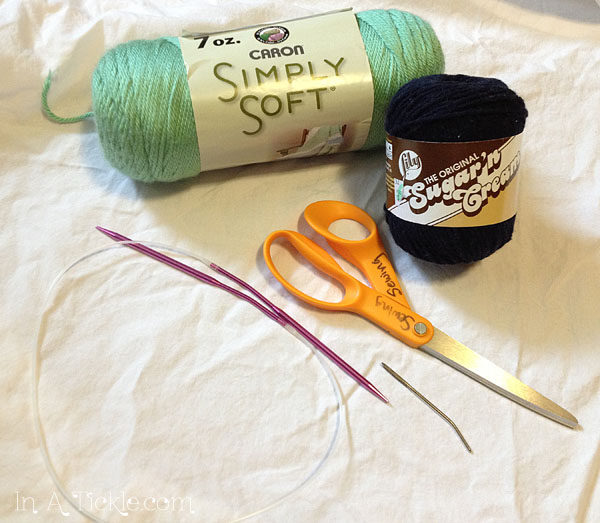
We are looking forward to sharing time together the next several days with part of our family to celebrate Thanksgiving. Hard to believe December 1st is part of Thanksgiving weekend! We will be back next week with ideas for having a Simple Christmas. Enjoy time with your loved ones this week and remember to find something every day of your life for which you can be thankful.

…”give thanks in all circumstances…” ~ 1 Thessalonians 5:18

What Have the Dinosaurs Been Doing?

Just wanted to give you a quick update on the antics of the dinosaurs at Melinda’s house this week. If you missed the original post, you can read it here. Even though the couple who started this fun activity do it in November, you can be creative and do it any time of the year. Let your imagination have some fun!

Dinos dressup

The dinosaurs raided Barbie’s wardrobe to play dress-up.

Dinos reading
They decided to spend a quiet evening reading.

Dinos drawing
I wonder which one instigated this drawing activity?


Candle Makeover

We still have candles left from Melinda’s wedding seven years ago. They are not colors that I normally would use, but I don’t like to waste anything. So we just use them because we like the warm ambience of candles in the winter. I wanted some candles for Thanksgiving, but did not want to buy candles right now. I studied this candle a while and decided to give it and a couple others a makeover.Pink candleIn doing some investigating online, it looked like candles could be painted. However there were sites telling me that I needed to use a candle medium mixed in the paint for it to stick. I could not find any at our local craft store. Other sites said that you could paint with regular craft paint on candles without anything added, so I decided to try it. I did wash the candles off first to remove any dirt or oily residue from being handled. The candles got a first coat of orange craft paint. candle paintingPainted candles first coatThe paint seemed to stick just fine. But the candles were too plain. I could have painted a second coat but decided to sponge paint the candles with yellow, green and red paint (colors similar to the fabric paint I used on the table runner I recently made.)Sponge Painting CandlesI decided to add a little more embellishment to the candles and took a walk in the yard. Most of the really pretty colored leaves are on the ground and turned brown, but I found a few that still looked nice. Those leaves got a coat of mod-podge on front and back to preserve them.Modpodge leavesWhen the leaves were dried, I stuck glue dots to the back side of each leaf and attached them to the candles. The finishing touch was tying hemp around each candle over the leaves. Now these old used candles that were the wrong color will look very nice with my table runner.Painted Candles with leavesFall Candles

Now instead of wondering how I will ever be able to use up all those left over candles, I know I can give them a makeover for whatever occasion I need. Do you have candles at your house that you wish were a different color? Try giving them a paint makeover.


Temporary Transformations

I have a bunch of three inch square blocks for my grandkids’ imaginative play. They were actually decorating blocks with letters printed on one side to spell “S-P-R-I-N-G.” I bought a lot of sets of SPRING blocks on clearance a few years ago thinking that I would someday paint them with my grandson. The kids have fun playing with the blocks and the blocks are still waiting for a paint job. Now that he’s learning to read, I suppose I could play a game with him to see how many words he could make with only those letters.Block stacks

I wanted to make another fall decoration for Thanksgiving and figured the kids would not miss a few of the blocks for this project:Give Thanks Blocks However, I did not want to make this transformation permanent and I only wanted to use materials I had on hand. So the materials for this project were:

brown paper grocery bag
letters for stamping (I used foam letters from a kid puzzle)
brown paint
gold string

I cut strips of brown paper bag slightly narrower than the block to fit all the way around the middle of the block. Paper strips for blocksThe next step was stamping a letter in the middle of each strip using the letters from a foam puzzle I purchased a while back for crafting. I started with orange paint but decided I liked the look of brown better. StampingAfter the paint dried, I wrapped each strip around a block and taped the paper together in the back with transparent tape. Then to add just a touch of fanciness to the blocks, I wrapped some gold colored string around each block and tied the ends at the back. It did not take long to transform the blocks and the transformation is not permanent but will add a nice touch to our Thanksgiving celebration. Then the kids can have those blocks back…that is, unless I decide to make some block letters for Christmas. Hmmm….Blocks Give ThanksDo you have some wooden blocks at your house that you could transform for a special celebration? How about a birthday message? Or maybe a congratulations for a special achievement? Be creative and think of things you have around your house that you can temporarily transform to make someone in your family feel special.