Create Wonder

Since having kids, every time I see my kids’ toys laying out or being put in strange situations by my kids, I think about Toy Story and that the toys have feelings and move when nobody is looking at them.

If you have seen all the Elf on the Shelf ideas, parents are capitalizing on the toys coming to life at night idea to give their kids some fun for the holidays.

However, I think the sense of wonder it creates shouldn’t have to wait for a holiday.

This mom and dad have made their own holiday called “dinovember” to bring some wonderment to their kids.

I just think its awesome and creative. You could do this with any of your kids’ toys, even if you don’t have dinosaurs.

Give your kids some excitement of waking up and finding new set ups any time of the year.

We decided to give it a try. The dinosaurs decided to try and put together Ninja Boy’s new Lego® set for him.Dinos putting together Legos

He woke up and said we did it. He’s always been a logical kid. He did later say that the dinosaurs didn’t sort the pieces very well, but he still insists that he knows that mommy and daddy did it.Dinos putting together Legos

Can’t wait to do it again!

Watch Automaton Creativity

Yesterday Melinda shared with you 10 Ways to be Creative When You Have No Energy. In suggestion #8 she talked about being more creative in what you watch on TV or online. She encouraged you to:

“Watch something that will encourage you to think creatively rather than just waste time.”

I came across this fascinating documentary produced by the BBC that I highly recommend you watch. Not only will you learn a little bit of history and the creation of automatons and the inventions they inspired, you will be inspired by the creativity of the artisans from years ago. What is an automaton? Think of it as a distant ancestor to the modern robot.

It’s turned a bit chilly here where we live, so pour a cuppa tea (this is a British documentary) put your feet up and enjoy watching the BBC Mechanical Marvels Clockwork Dreams.

http://www.youtube.com/watch?v=5rVevX-YXqo

The-WriterThen when you are done watching the documentary, check out the movie Hugo for some more automaton fun.

“Set in 1930s Paris, an orphan who lives in the walls of a train station is wrapped up in a mystery involving his late father and an automaton.”

**************

There is still time to make a Christmas Advent Calendar! Purchase our pattern today on Etsy. You can download the pattern and get started today.Christmas Advent Calendar Pattern- InATickle.com

10 Ways to be Creative When You Have No Energy

We know that everybody that reads our blog is in a different situation and coming to creativity from a different place. Some are ready to jump right in and some have a hard time balancing creativity with time, their energy, and their thoughts on their abilities. Mom and I have been at each of those places at some point in our lives. Currently, I have been experiencing one myself. I am not immune to it either.

We found out several weeks ago that my family is expecting another baby in June. We are so excited, and unfortunately, I have gotten sick in the first trimester with every kid. This one has not been the exception. I’ll be 10 weeks tomorrow so I’m hoping to start having more good days than bad as I approach the second trimester. In the meantime, I have struggled with the energy and ideas for creativity. I have relied heavily on mom for many of the blog posts in the last few weeks. Because of this, I have been thinking about our readers who have their own life events happening that might prevent them from feeling on top of creativity.

I want to encourage you to find a way to push through to keep creativity a part of your every day life no matter how much energy you have. So, here are some ways that I have tried to keep myself having some creativity while I have been stuck to the couch the last little while as well as some other ideas mom and I came up with.10 Ways to be Creative When You Have No Energy

10 Ways to be Creative when You Have No Energy

1. Read

I have been reading books a lot lately to keep myself from just laying around creeping social media. I know that reading is better for my mind than mindless internet browsing. Reading will keep you in a more creative mindset. The internet isn’t completely useless either though, if you are going to do some internet browsing stick to creative sites that encourage you but don’t make you feel like you are failing.

2. Handwork

Do some form of handstitching, crocheting, or knitting etc. while you veg on the couch watching tv instead of just sitting there. You can still rest, but you can accomplish a creative task as well. I just made a cowl for my daughter because she needed one for winter, and I worked on it when we watched shows.knitted cowl

3. Journal

If you like to write, but you haven’t felt like you had the energy or motivation to be creative with your writing, keep a journal. Even just writing about your day can either spark something in you for more or at the least help keep yourself in the habit of writing often.
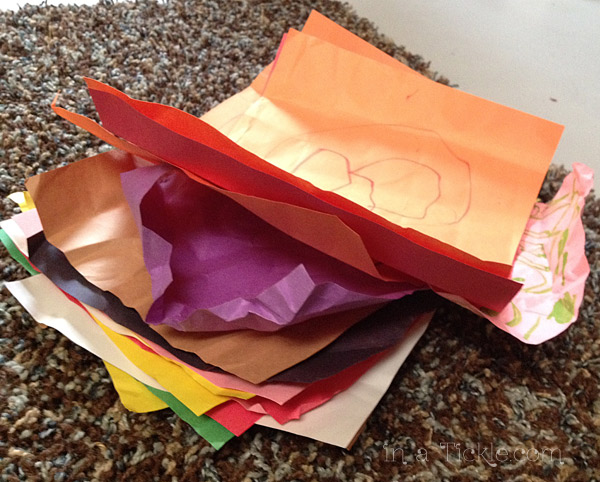
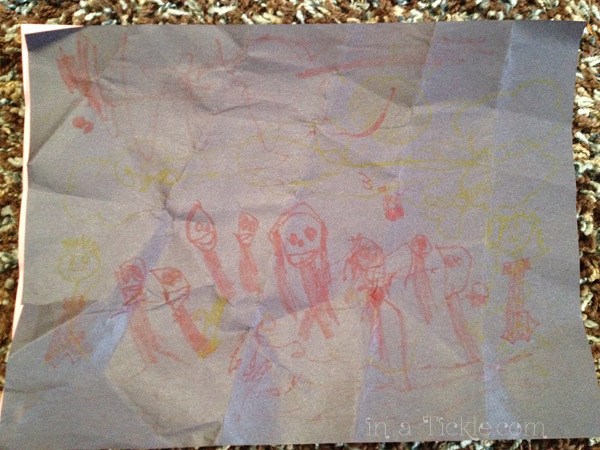
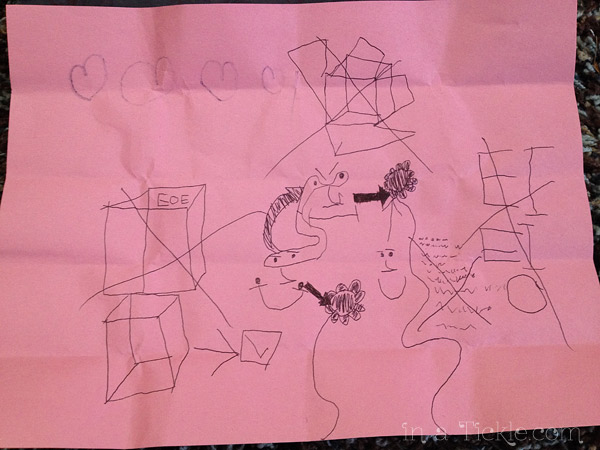
4.  Doodle

Keep a piece of paper or notebook handy and just doodle. Don’t feel like you have to draw something that is wall-worthy, just get your hand moving and get the pictures out of your head and on to a paper.
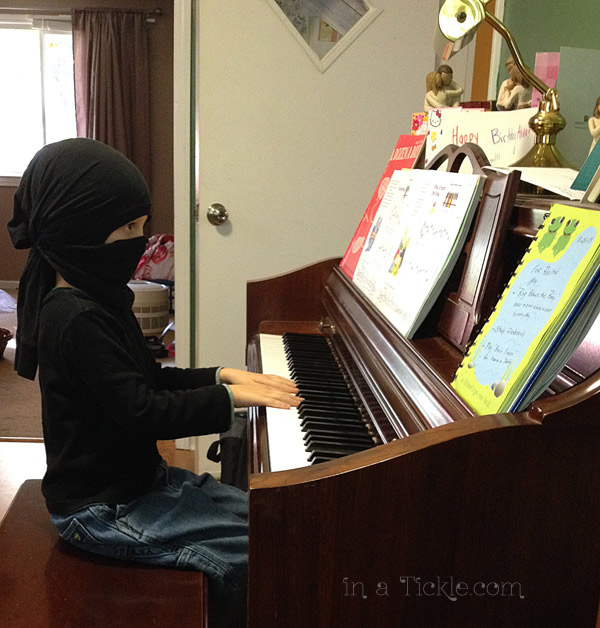
5. Listen

Music, podcasts, speeches, sermons. Listen to something that inspires you. If you play music, play something that is easy for you and just listen as you play. Maybe it will spark something new in you, and maybe it will just be soothing.

6. Cook

Everybody has to eat at some point. Instead of eating out or making the same old thing, find one new recipe or add a new ingredient to your regular fair. Put it on pretty plates instead of leaving the food in the pot. Do something that will bring creativity to your meal.

7. Accessorize

When you get dressed in the morning, put on clothes in a different combination than you ever have. Wear that shirt with that pair of pants, even if you have never worn it that way before. Wear colors that you might not think to put together. Don’t worry so much about matching for just one day.

8. Watch

If you are going to sit and watch tv, stay clear of the reality shows and sitcoms and watch a documentary style show. Watch How it’s Made, Mythbusters, a history documentary, a cooking show, etc. Watch something that will encourage you to think creatively rather than just waste time.

9. Talk

Talk to people who are being creative. Instead of letting it make you feel like a failure, let it inspire you to try something. You may not have the energy to do all they are doing, but their excitement and ideas can rub off on you and help you see what you do have the energy for.
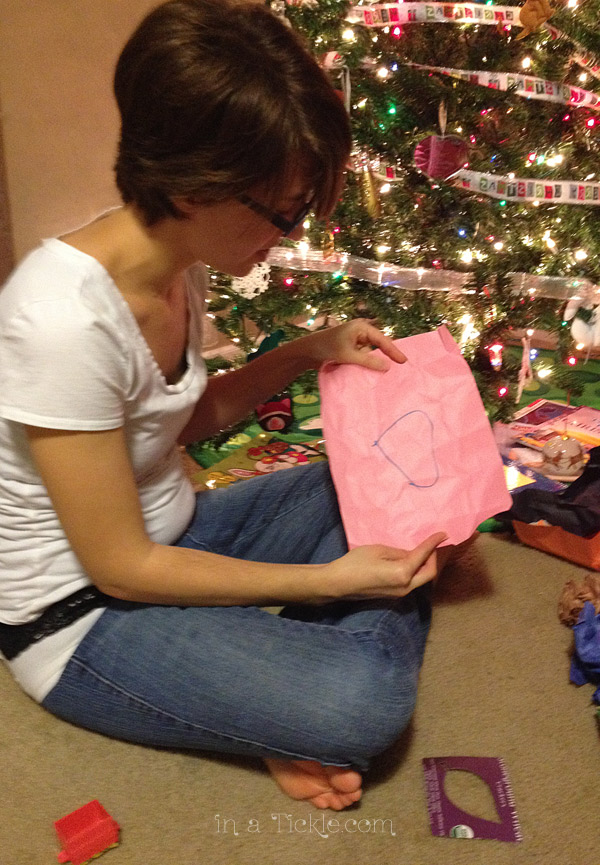
10. Start

Sometimes you just have to get started. Choose a project and do it even if you don’t feel like it. Have a purpose. Have a deadline. Take the time even if it’s a little bit every day to do something creative. One of the best ways I find for motivating me is deciding on a gift for a birthday or Christmas. I have a purpose and a deadline to get it done, which can be helpful to motivate even when you feel like there’s no energy.

What creative things have you done in the midst of your energy slump? What can you do to be creative even if you don’t feel like you have the energy?

Easy T-Shirt Scarf

One of my favorite t-shirts got a grease stain which I missed trying to get out before washing and drying it. After that the spot would not come out. Since I love wearing scarves, especially as the weather gets cooler, I thought I would preserve this favorite shirt transformed as a scarf. Original ShirtI cut paper plate and dinner plate size circles out of the t-shirt. I also cut open the arms at the seams to have more fabric available for circles. There was even enough fabric left to make a couple of smaller sized circles. Cutting circles from shirtI was able to get 12 circles total cut from this one medium sized shirt. Each circle was then cut into a spiral. Notice I did not try to make the spiral cuts exactly smooth.Cutting spiralsAfter cutting the first couple of circles into spirals, I decided to round off the ends as well as cut the center of the circle all the way to the middle like this:Center of spiralWhen you hang the spiral cut strips, they twist and turn looking like ruffles.Spiral RufflesI laid the strips out on the table, alternating the center of the spiral cut circles with the ends so they were evenly distributed on both sides. Then as you can tell from picture 1 below, I took another narrow strip of the t-shirt fabric and tied the strips together in the center. In picture 2, I took one of the strips cut from a smaller circle (that was included with all of the other strips) and looped it around the strips to hold in place around the neck. Picture 3 just shows how that looked. In picture 4, I looped one whole side of strips over the other in a partial knot to hold them around my neck. I don’t have one (yet) but the strips could also be fastened together with some type of broach or large hair clip.T-Shirt Circle Scarf

This is a quick easy project with no sewing involved. Look through your closet and see if there is a t-shirt you seldom or never wear and make yourself a scarf. It will work with striped, patterned, or plain t-shirts.

Do something creative today!

Fall Table Runner

Remember the fall fabric that I created last week? You can read about how I did it here.Fall Fabric When I painted it the thought was to make a table runner, but I was not sure exactly how to finish it until I played around a few days later learning free motion quilting using my darning foot. If you missed that post, you can read about it here. After doing some practice free motion stitching, I got brave, cut some batting and backing fabric for my table runner fabric and started stitching free motion leaves and swirls. Free Motion sewingI had so much fun and was happy with the results!Free Motion QuiltingI needed fabric for the trim and did not have anything in my fabric stash that looked right so I made some. I cut strips of unbleached Osnaburg muslin and sprayed them with the same colors of fabric paint used on the runner.Fabric stripsNow I am trying to decide what kind of centerpiece I want to add to my new table runner. Apples?Fall Table Runner with ApplesTable RunnerOr a pitcher and copper leaf by the Cooper Colorists?Fall Table RunnerWhat are you creating for fall at your house?

What To Do With a Darning Foot?

My sewing machine has lots of feet. I’ve used some of them–a lot. Some I don’t remember ever using and am not sure what exactly they do. When I got this machine (Bernina) about 26 years ago, I took a class to learn how to operate it because it was quite different from my old machine (a Kenmore). I know they must have at least talked about all the different presser feet because I have notes written on that page in my manual. So I got curious this week to finally find out what else I can do because of all these extra feet I have for my machine. I chose to start with the darning foot.Darning FootI know darning means repairing garments and other items made from textiles. I have darned rips in jeans before, but just used my regular straight/zig-zag foot. And my grandma used to darn socks (by hand) but I usually toss out my socks with holes. Free hand monograms, free hand embroidery and quilting had me intrigued. So I started searching online to see how to use my darning foot for those sewing activities. Soon I was coming across the term “free motion quilting” in connection with the darning foot. That looked like fun! This website, A few Scraps, was very helpful in explaining the how to’s as well as giving lots of creative ideas.

To begin the process of free motion quilting, I needed to “prep” my machine. Set-up Steps for Free Motion Quilting1. Attach the darning foot to the machine. Lower the feed dogs. Attach the “sewing table” to the free arm of the machine. (This allows more flat surface on which you move your fabric around. If your machine has one, I highly recommend using it.)

2. Take one stitch into the fabric with the needle and pull the upper thread until the lower bobbin thread pulls to the top side of your fabric.

3. Make sure the machine stitch length is set to 0.

I followed the practice stitching suggestions to get the feel of free motion stitching. When you are used to stitching forwards or backwards, with the machine feeding the fabric under the needle consistently, it really takes practice to get used to the feel of you being in control. The needle will go up and down as you push the pedal, but the fabric won’t move unless you make it move. And you are not limited to forward or backward. You can go sideways or in circles or wherever you want to go! You also determine the stitch length by how much you move the fabric. I also found it easier to stitch faster rather than slowly–it made for smoother stitches.Free Motion Sewing PracticeFree Motion SewingAfter reading through all the possibilities of designs to try, I decided to fix another layer sandwich of fabric to quilt. I wanted to completely fill my sampler with free motion sewing doodles.

To help visualize what this process is, think of it this way. Pretend you have a marking pen in one hand (just hold it perfectly still straight up and down.) Now move the paper around under the pen to draw your design. That is what you are doing with the machine. The needle is your pen and you are moving the fabric (paper) around under it to make your designs.

I did not draw any lines on my fabric ahead of time, I just freehanded the doodles. I even tried some cursive writing! It was so much fun. Free Motion SamplerI wondered if I could do the same process on heavy paper for possible card making designs. (Remember to switch out the sewing machine needle for an old needle when you start sewing on paper!)Free motion paper stitchingIt works, but is not as easy as sewing on the fabric. The stitches can not be too close together or the paper holes tear through. You also cannot go back over previous stitching on paper like you can on fabric. The thread pulls out of the holes. See my stitching on the letter “a”.paper stitchingAnd this is what the back side of the paper looked like:Backside Paper stitchingCheck out the feet that came with your sewing machine. Do you have a darning foot? Yours may not look like mine. There are many different styles of darning feet depending on the machine, but they will have some sort of O or C shape for the needle to go through. Practice making sewing doodles. You just may find it sparks lots of creative ideas for future sewing projects or card making projects.

Remember that fall fabric I created the other day? I can’t wait to show you what I am doing with that. Hint: It just might have some free motion quilting on it. Stay tuned.

Ninja Invasion

I have these sneaky visitors that come to my house frequently, often staying for the whole day. I have Ninjas.

When my Hubby was in his younger days, his friends would have arguments about who were better, Ninjas or Pirates. My Hubby was whole-heartedly on the side for the Ninjas. So, for his birthday one year, a friend bought him a t-shirt that gave instructions on just how to become a Ninja using a black t-shirt.

One day when I wasn’t home, my Hubby decided to turn my sweet angels into stealthy, fighting Ninjas.

Ninjas-2

Ninjas-1

They were pretty darn cute Ninjas. They need some work on their skills, but they are cute.

My son’s nickname became Ninja Boy after the first time they did this because he really got into the character. He practiced sneaking into rooms and trying to jump out and scare me.

Several days, he has become a ninja in the morning and stayed that way for most of the day.

I’ve driven with a Ninja in the car,

Ninja-Boy-1

taken a Ninja to the library,

Ninja-Boy-2

and listened to a Ninja practice piano.

Ninja-Boy-3

If you want to have some fun with your kids, check out this tutorial for how to use a plain t-shirt to become a Ninja.

Music Teacher Fosters Creativity

Ninja Boy performed in his second ever recital a week and a half ago. We are proud of his hard work and accomplishment.

Piano Recital

He has an amazing piano teacher (who taught mommy and auntie when they were younger). She loves encouraging her students to be creative.

Ninja Boy likes to make up his own songs and one in particular she got him to play for her in a lesson one day. When recital time came she asked him to name the song and play it along with his regular piece from his book at the recital. It’s a simple little melody that he titled, “Brain Freeze.”

Piano Recital Program

We are proud of him, and we are so thankful for a teacher who gives the students freedom to create their own songs and embellishments to already written pieces.

I believe this has kept Ninja Boy excited to play and learn because he has his own creativity invested in his piano playing. It gives him a new spark to play the songs in his book when he can get the other songs out of his head first.

If you are a music teacher, I encourage you to allow your students some freedom to be creative and help see their own potential beyond just playing the song correctly.

(Video is quiet so turn your sound up to hear it better.)

Unfortunately one of the piano keys was stuck which threw off his groove a little. We were proud of him for recovering and being able to finish his song.

Create Your Own Fall Fabric

If your yard is filled with fall leaves like mine is, go outside now before they start to crumble and grab several of various sizes. You can use them as stencils to create your own one of a kind fall fabric design. I’ll show you the fabric design I created to help get you started on your own.

I have in mind to make a table runner because my house needs some fall decor. So I cut a piece of pre-washed muslin fabric about 13 X 38 inches. I taped waxed paper to my counter and taped the corners of my fabric to the waxed paper to hold it in place. Then I laid out the leaves in a random design on the fabric, placing rolled pieces of masking tape on the leaves to help them stay in place on the fabric, as well as keeping any curling edges down. Fall leaves on fabricUsing a sea sponge, I sponged yellow, green, orange, and red fabric paint randomly around the leaves. Sponging Leaf StencilsWhen this was dry, I carefully removed the leaves and placed them in new positions on the fabric.Rearrange leaf stencilsThis time I decided to use some spray fabric paints to see what that would do to the design.Spray-painted-leaf-stencils Sprayed-LeavesI removed the leaves carefully again and probably could have stopped there. Leaf Stenciled Fall FabricBut I kept going. This time I held a leaf close to the fabric and sprayed the veined side with fabric paint and then turned the leaf over in another spot on the fabric and rolled my brayer over the leaf. This not only left a stamped image of the leaf, but sometimes the veins showed as well. I used all three of my spray fabric paint colors (red, yellow, orange) but the only one to really show up well was the red. I also tried splattering some brown paint over the fabric, but wasn’t as happy with the way that looked, so did not put much.Brayer on leaf stampFabric PaintFall FabricThere’s my one of a kind fall fabric. Now I will let it dry and show you in another post what I finally decide to make of it. Go gather up your leaves and give it a try. This method would work on paper as well to make cards, or placemats, or whatever you want to create. Let your imagination have fun.

Let Them Create the Best Gift

Yesterday was my birthday. Usually my Hubby helps the kids make cards for me, but we have been so busy lately, he forgot. I didn’t mind though because as soon as my kids found out it was my birthday, they got to work!

Birthday-1

My Birthday presents all wrapped up.

My Princess made me about fifteen pictures and wrapped them using construction paper and paper clips or masking tape.

Birthday-4

Miss Tickles helped with a collaborative project with My Princess.

Birthday-7

And Ninja Boy (the perfectionist) took a long time to finish his one picture.

Birthday-6

It was awesome because it was all their idea.

Birthday-2

Ninja Boy insisted on taking pictures of me opening my presents like I always do with them.

Birthday-3

They made me feel special because they love me, and this is how they were showing me. Best Birthday gifts I could get.