We love creative people, and we love creative businesses. We want to highlight these creative business owners and give you a glimpse into their creative process.
Today’s interview is with a friend Kasey Straub, owner and creator of Kutie Kreations. She has been in the bow and hair accessory business for the last couple of years. Melinda’s girls have several of her bows and can attest to their quality and all around adorableness. We asked several questions, and Kasey was kind enough to give us her answers.

Left- Kasey Straub (owner) Right- Lisa (assistant)
Tell us how you got started making bows.
I started making bows while I was pregnant with my first daughter. I fell in love with the look of bows and started buying a couple from different places. My husband was really not liking the amount of money I was spending on them. So since I LOVE to craft, I thought, “maybe I could make some and not have to spend as much.” The next day, I bought a bunch of ribbon and all the supplies to make them. Then I played around and made some up. They weren’t the greatest looking, but I kept trying and finally was able to make decent bows! Well, I ended up with a TON of ribbon and supplies leftover and didn’t want to waste them. So my husband and I talked about possibly selling pre-made bows that I could make out of the extra ribbon. That is how I started making and selling them and how Kutie Kreations was born.
There are a lot of bow businesses out there, how do you make yours set apart and stand out?
Yes, there are TONS of other bow and hair accessory businesses out there. So many businesses have the same styles, ribbon print, etc. There are only so many ways to make a bow. It is very hard sometimes to stand out from them. With Kutie Kreations, the main thing that we focus on is quality and customer service. There are little ways to separate yours from the rest. However, it usually isn’t long before you see that other businesses are doing similar, or perhaps the same, little details. The bow business is a TOUGH business, so that is why we focus on our customers and our quality. We strive to have EXCELLENT customer service in that we always have a great response time, and we complete and ship out orders in a timely manner. As far as quality, my motto that I always say is, “if I wouldn’t let my daughters wear it, then I will not sell it to customers.” I take pride in each and every bow I make. I make them the best way I can and follow that Scripture that I love, Colossians 3:23 AMP, “Whatever may be your task, work at it heartily (from the soul), as [something done] for the Lord and not for men.” This scripture is what is in my heart when I make the bows. So to sum it all up, we focus on those two things, Customer Service and Quality. We know that those two things are the most important to our customers and that the experience and product quality is what keeps them coming back.
When you sit down to make a bow, what helps you choose the color and style to make?
A lot of times the orders I receive give me specifics on what the customers want, but when I make bows for Ready to Ship nights, I consider the season as far as colors. I also try to remember any style prints and color combos that I have seen on the internet or in stores. All of our bows have a similar style now that we have tweaked as we get feedback on what designs and such our customers love.
What is your favorite part of the bow making process?
My favorite part of bow making is actually two parts. I love the ribbon selecting process, like, when I am about to make a bow, I go over to all of my ribbons and select what colors and prints go together. That is when I can get creative. The second part is after the bow is made, and I get to take a picture of it… I get so excited to share completed products with my customers.
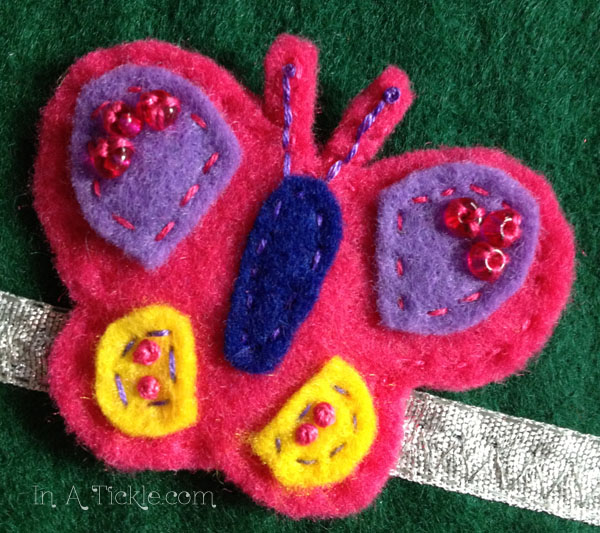
Melinda’s personal favorite product is the ribbon roses Kasey makes. We have several that are just attached to clips.
What are your favorite materials to work with? Favorite color combinations?
I love working a TON of materials, if it can be incorporated into a bow, I will try it! I love shabby chic type of looks. As far as color combinations, I LOVE rainbow and bright colors as well as teals, corals, and rustic colors.
What is it like working from home with young children?
Working at home with children can definitely be trying. When I first started up Kutie Kreations, I became engulfed in the business and almost became a work-a-holic. I had one child at that time, and now that I have three children, I am determined to not let that happen again. My role as a stay-at-home momma is still #1, and my children come first. Working while they are up and playing together is sometimes easy, and sometimes not. There are days when they are having issues getting along, they are more demanding of my attention, or are sick and need me the whole time. Most of the time, I like to work while they are sleeping. It tends to be more productive for me and gives them my time while they are awake.
How do you balance family with work? How has your business affected your family?
This is an important question that every Stay-at-Home Mom that works from home should answer. If you aren’t careful, the home business can quickly consume all your time–it is always there and available to work on. Balancing my family time and work was something that I didn’t get in balance until after I had shut my business down for awhile. When I re-opened my business in August of this year after having my 3rd child, I made a promise to my husband and kids that I would not let it consume all my time again. This time I was going to control how busy I got. This time, I have worked my schedule around to where I am only doing minimal things for the business while my family is awake. This balance allows me to spend time with my family and take care of meals, laundry, errands, cleaning etc.
At first, Kutie Kreations was affecting my family in a negative way, I was consumed by it and wasn’t able to take time for my family like I needed to. Now, it is having a positive effect. Now, I am able to work and help supplement some of our income we need and still have most of my time with my family that they need. Now, I can say that it is worth it and that I am enjoying it.
What kinds of creative things did you do as a child?
My favorite creative things to do as a child were painting, drawing, and sewing. I was always taking art and sewing classes in school and thoroughly enjoyed them. Sitting down and creating something by hand was always a stress reliever for me, and I enjoyed being able to use my imagination.
What other kinds of creative things do you like to do now as an adult?
As an adult, I still love to draw and sew. However, I have come to love building things and most of all doing graphic design (it is like drawing but without the mess! haha). I love being creative, it is a way for me to escape into my own little place and just release all my ideas out and make them realities!
What kinds of things inspire you to be creative?
I find that the two main things that inspire me to be creative are, 1) giving myself a challenge and 2) finding ways to save money. Now that I have 3 kids, most of the time I am being creative because I have to find a way to save money. For example, I gave myself a new challenge now that my girls are getting bigger to make some of their clothing, which will end up saving us money!
What encouragement can you give to someone just discovering their creativity?
My encouragement is to keep working at it. Practice makes perfect. I wasn’t always good at sewing or crafts, and I have had several “pinterest fails” and sewing mishaps. But, I just keep trying at them until I get it. You can’t learn the art of creativity until you practice it. So don’t give up! Everyone has the ability to be creative.
Is there anything else you would like to share about your business or creativity?
I would like to say, if you have the chance to help support stay-at-home mom businesses, please do. I speak for us Moms trying to help out our husbands, who are already working as hard as they can to support our families. Every stay-at-home Mom’s business has a financial goal outside of their hobby. For some it is supplementing income, for others it may provide the finances for their children’s extra-curricular activities like sports, dance, and music lessons. We all appreciate your support of our businesses!
Thanks for taking the time to share with us, Kasey! Please go to her facebook or Etsy page and check out Kutie Kreations. She has pictures of all kinds of colors and styles of bows or hair accessories that you can choose from.
**If you have a creative business and would like to do an interview, please contact us at melinda(at)inatickle(dot)com or jan(at)inatickle(dot)com.**
And don’t forget about our Christmas Giveaway!
{GIVEAWAY}
Ends Midnight September 25, 2013 **CLOSED**
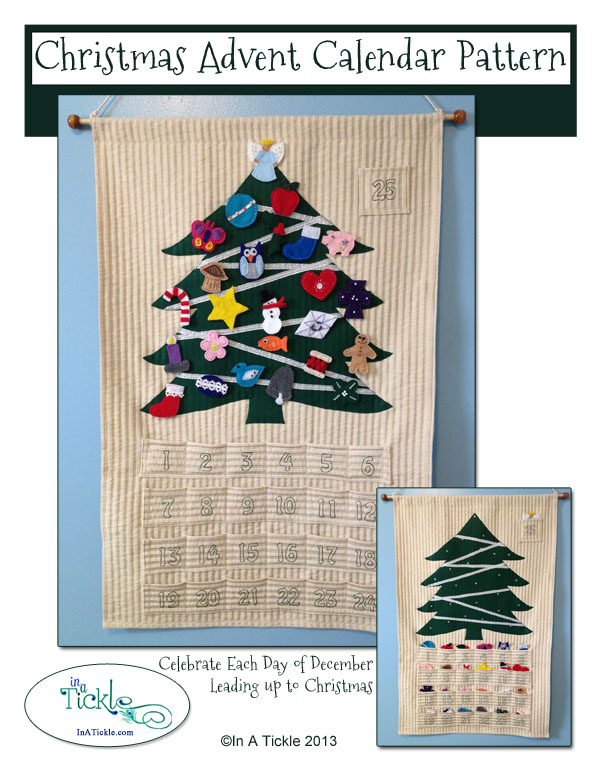
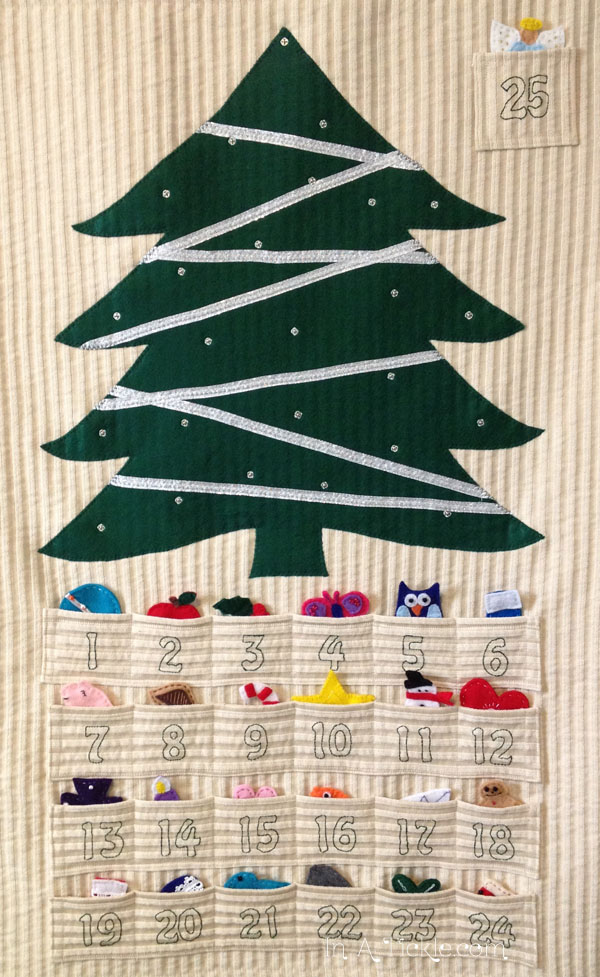
We want to give one of you lucky readers a [FREE] Christmas Advent Calendar Pattern! All you have to do is comment on the original post with a valid email address and tell us your favorite family Christmas tradition. Your name will be entered into the drawing for a chance to win.
Winner will be emailed and must respond within 48 hours or the prize will be passed on to the next person.


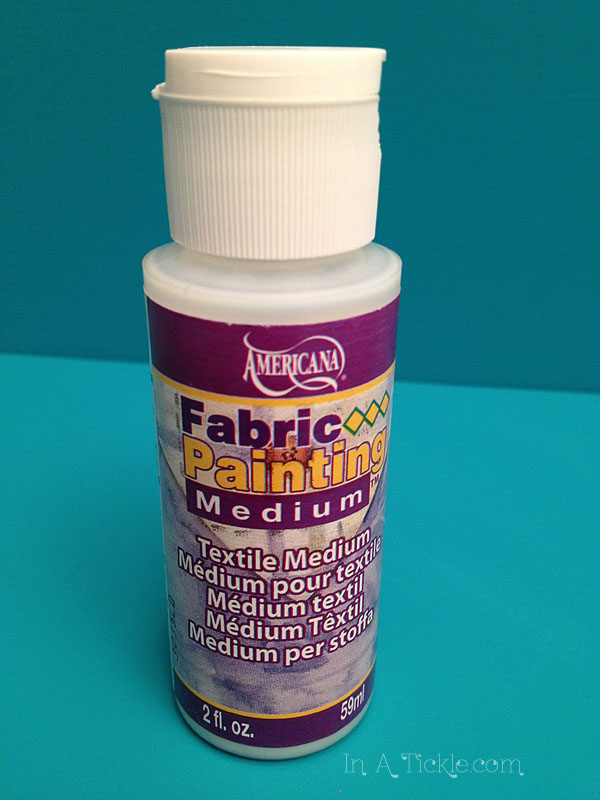

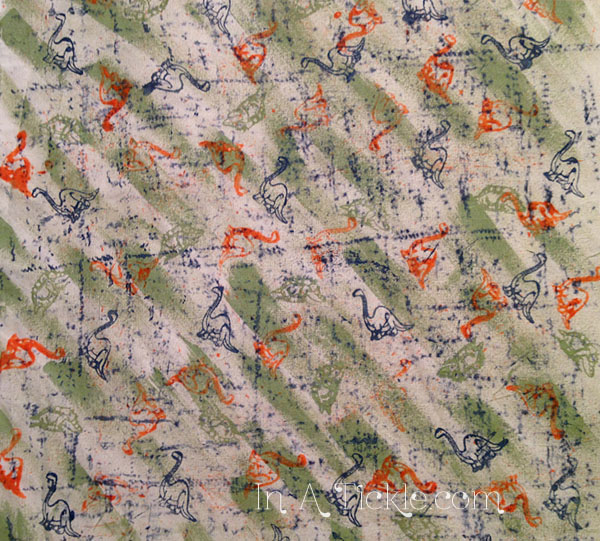
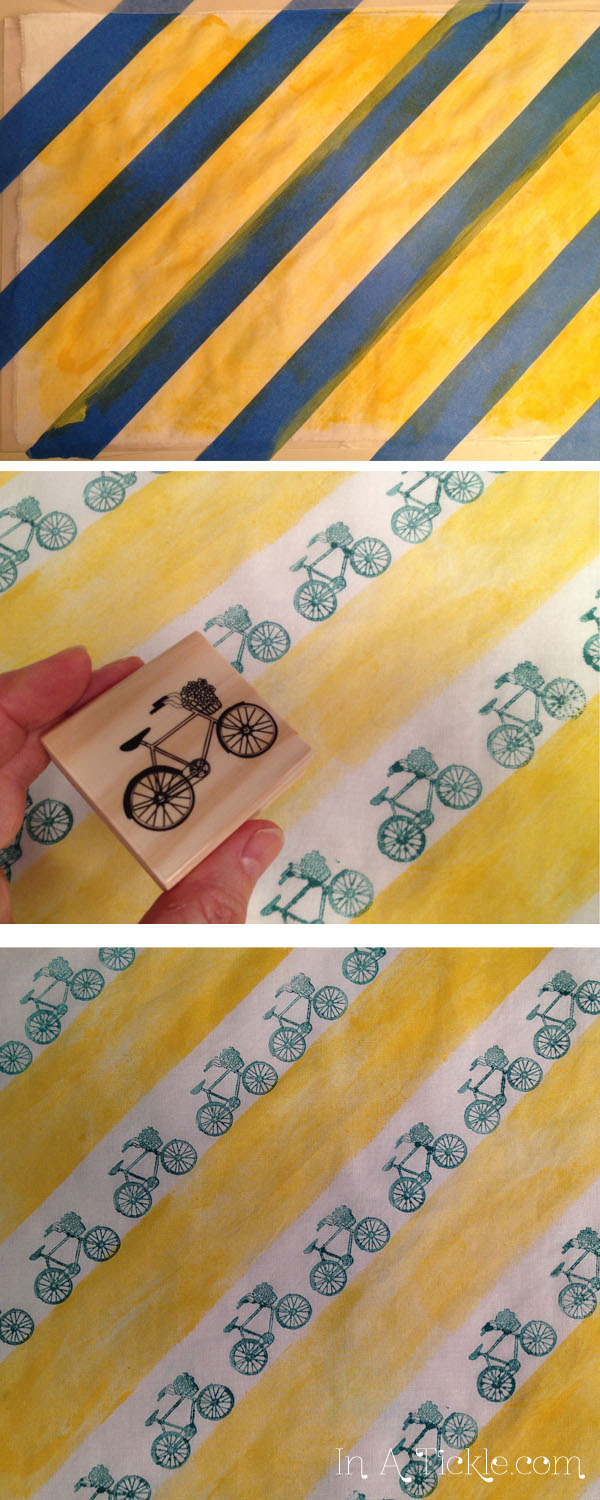
 I cut another piece of white fabric and placed strips of blue painters tape at a 45 degree angle across it. Again, I used my brayer with yellow fabric ink this time and painted the fabric between the painters tape strips. Then I pulled off the tape and started stamping bicycles with fabric ink across each white stripe.