Watercolor With Grandma

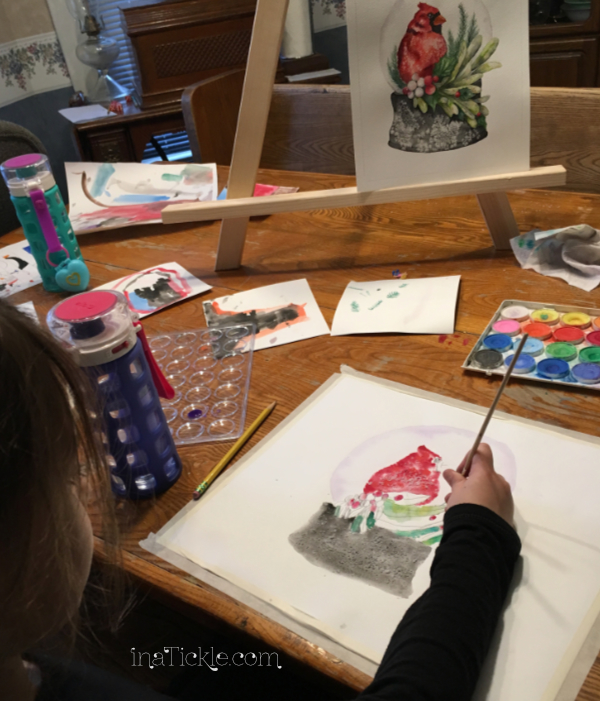
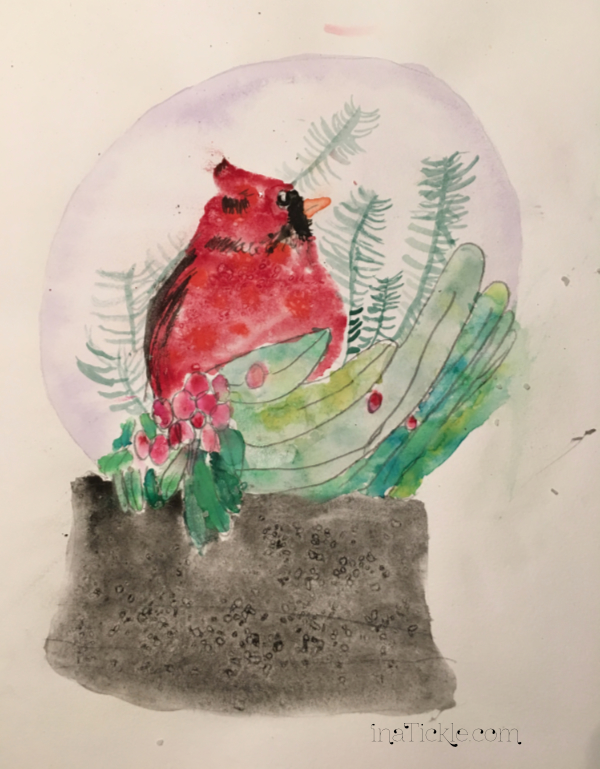
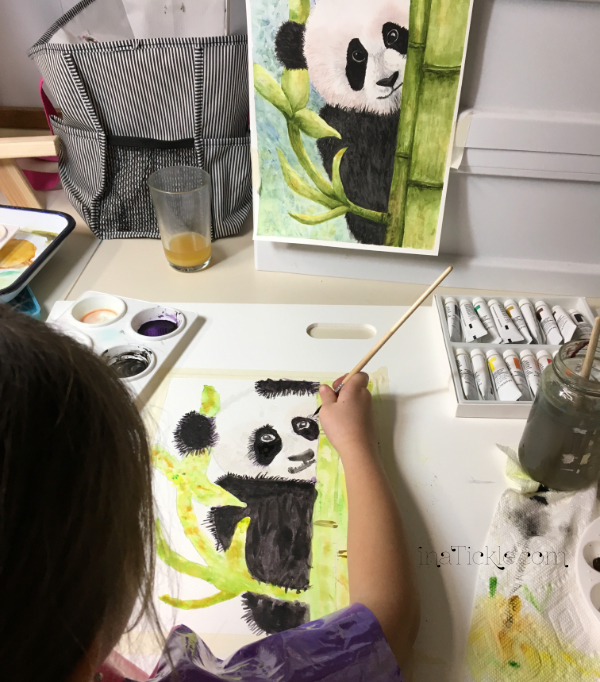
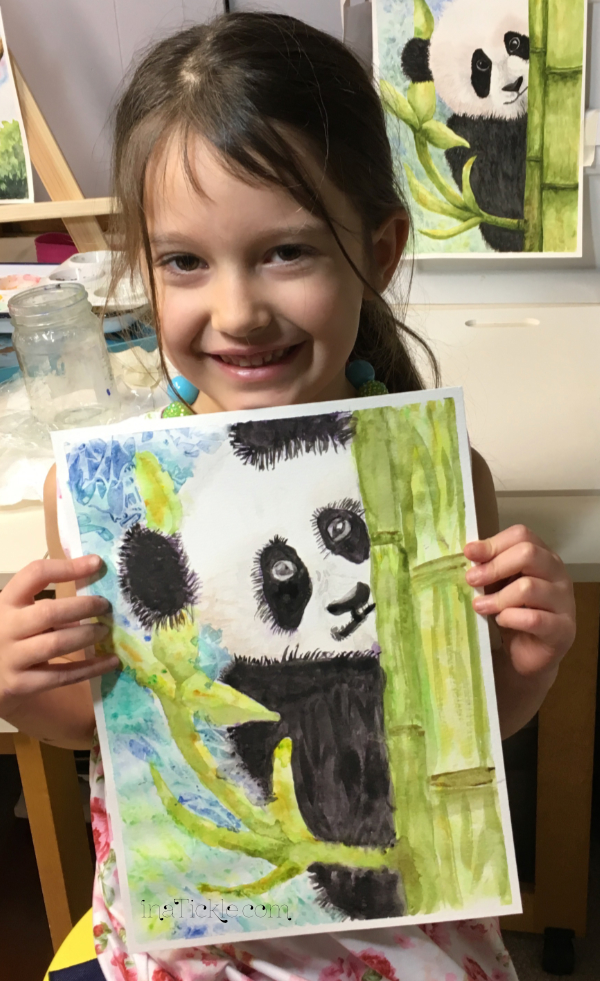
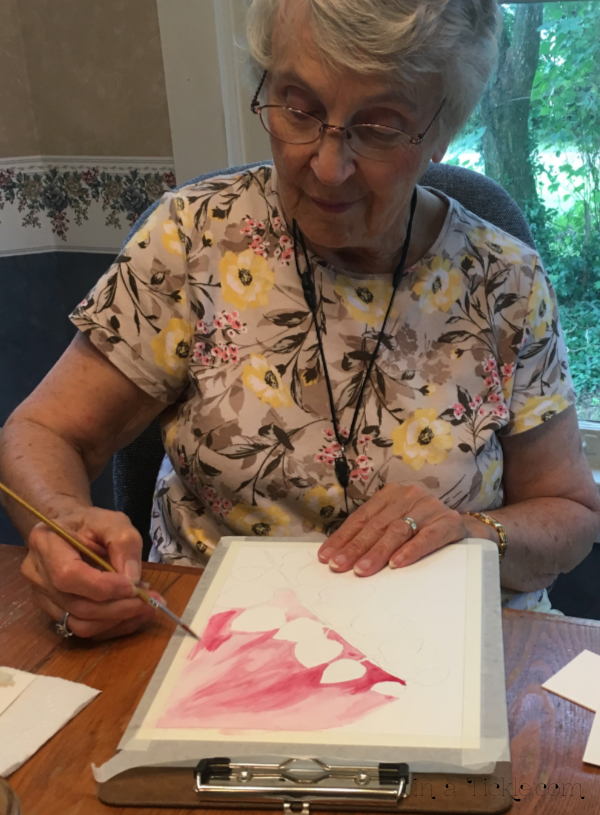
My seven year old granddaughter has declared she is going to be an artist when she grows up. Her favorite medium is watercolor. I declare she is an artist right now who will continue to hone her skills as she grows. She gets to spend one day a week this year doing watercolor with Grandma and we are both loving learning together. I shared a few posts ago how she got started with watercolor that you can read here.

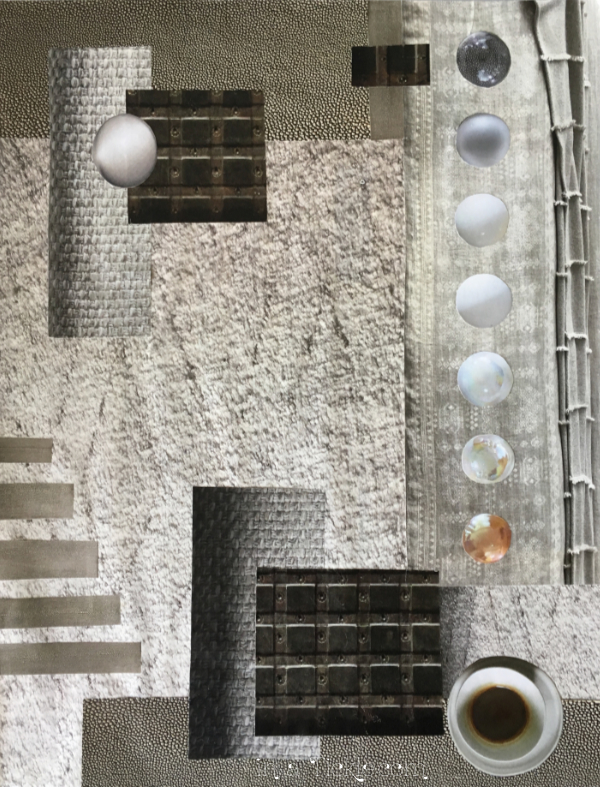
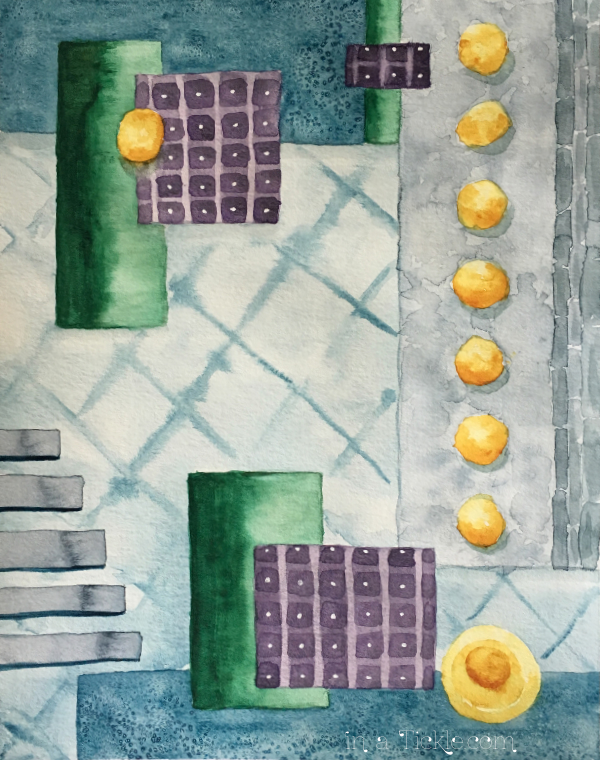
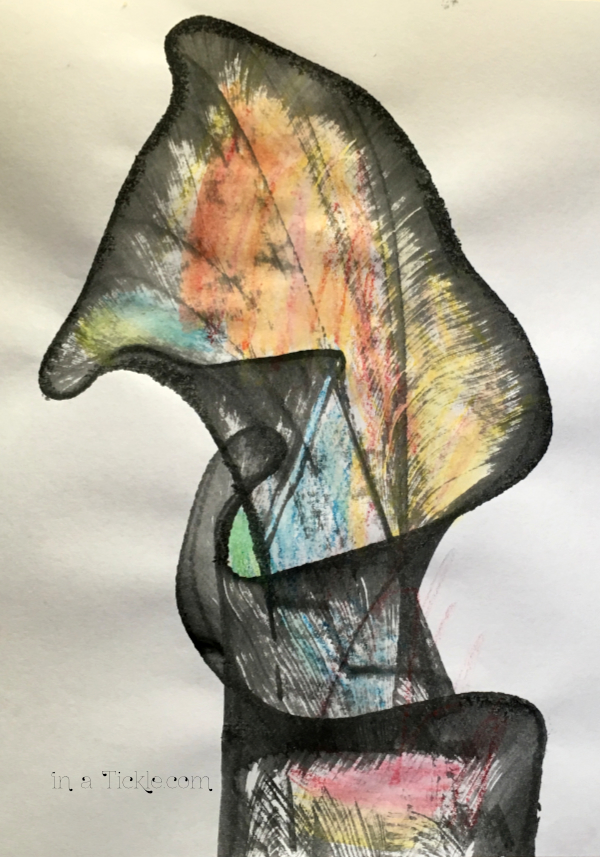
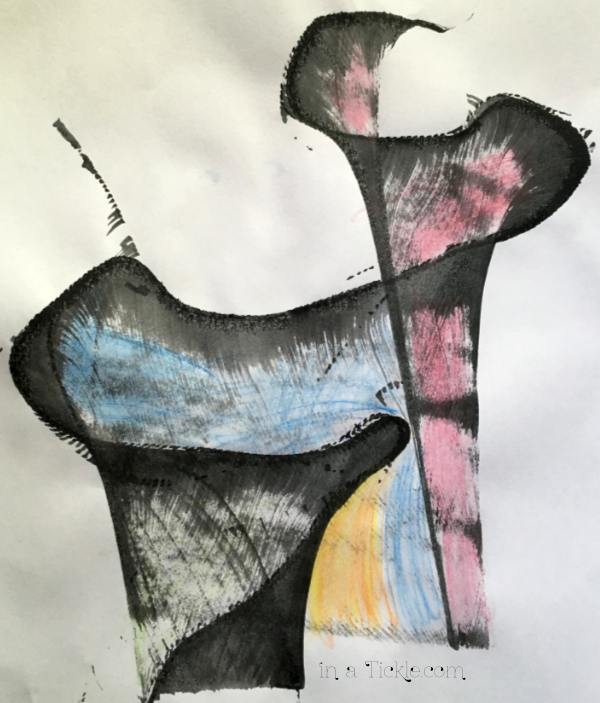
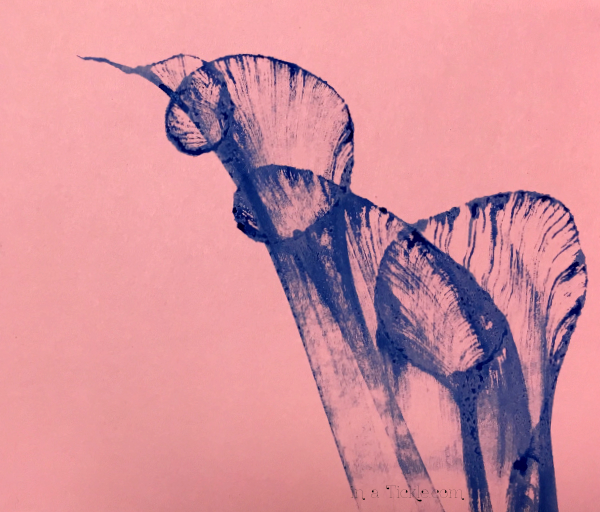
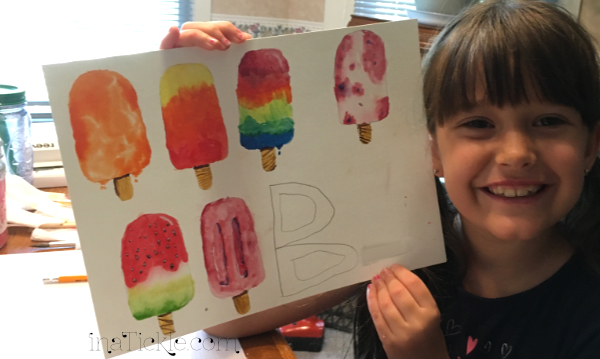
I have a Skillshare membership and she has watched two classes with me. The first class we did together was called How to Paint Ice Lollies, taught by Sharone Stevens from the UK. We would normally call these popsicles, but we had so much fun painting them, we are now calling them “lollies”. After painting three lollies our mouths were watering and we had to take a break!

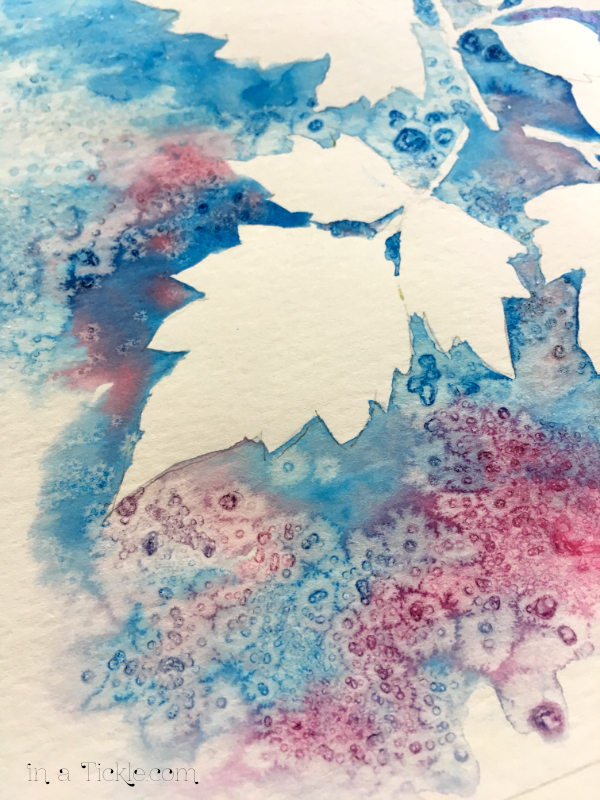
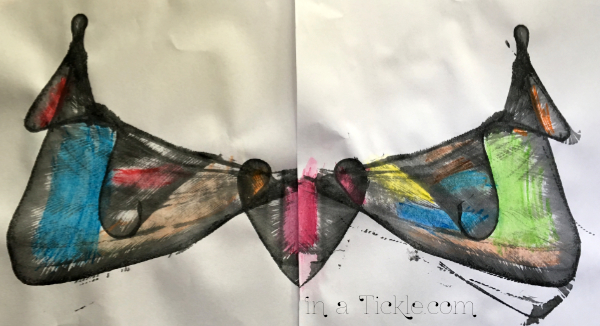
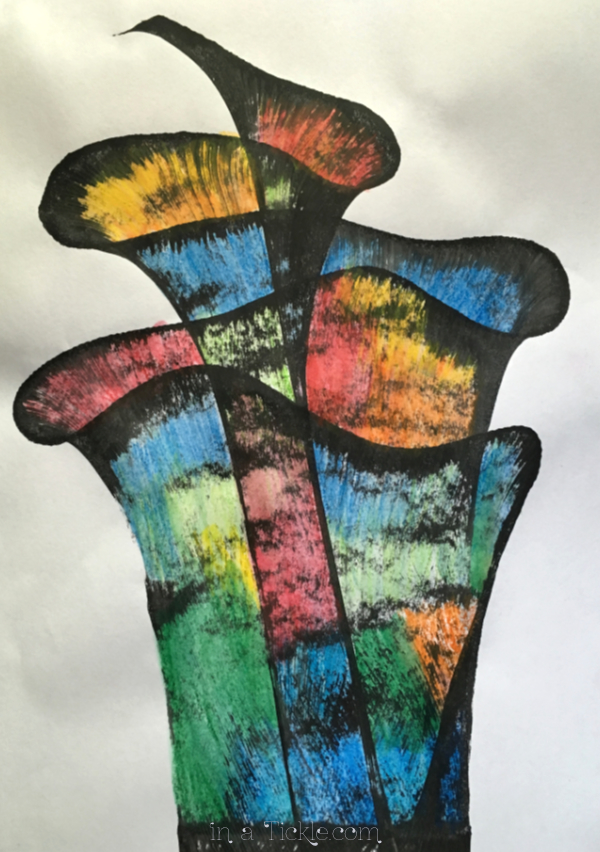
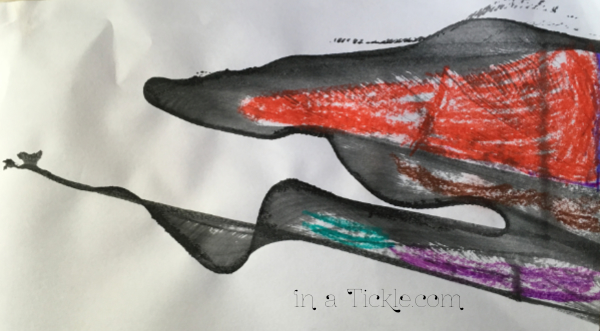
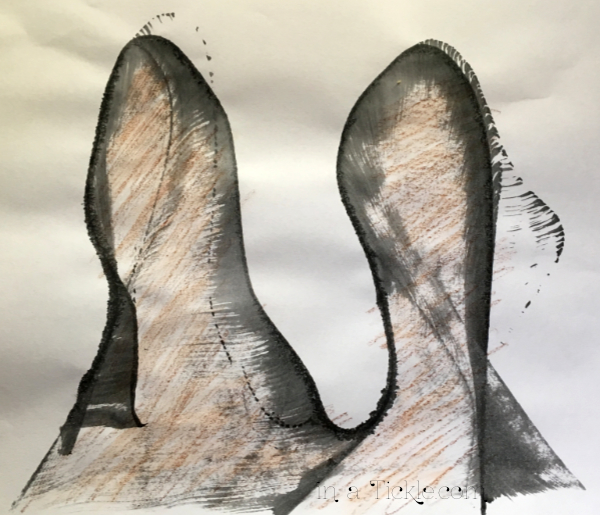
Each lollie was painted using a different texturing or blending effect, so it was a great project for learning different ways to use watercolor.

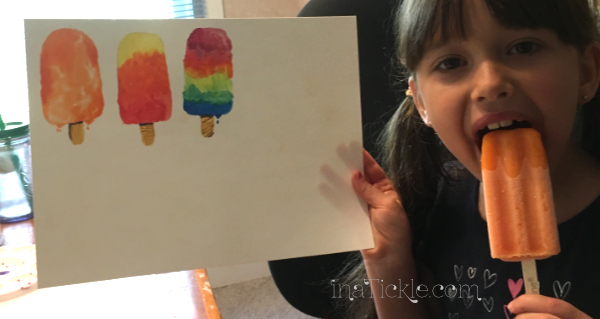
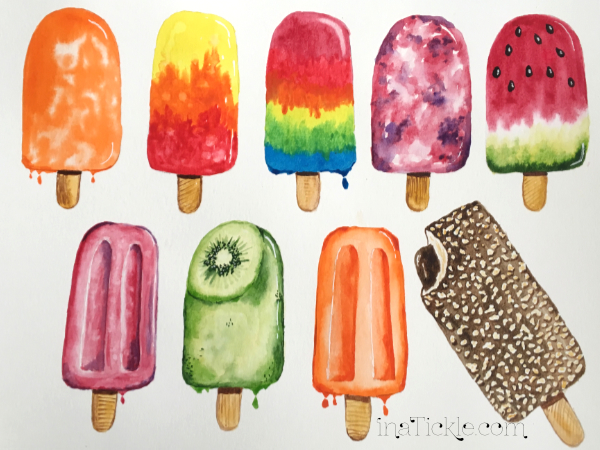
And here are my lollies!

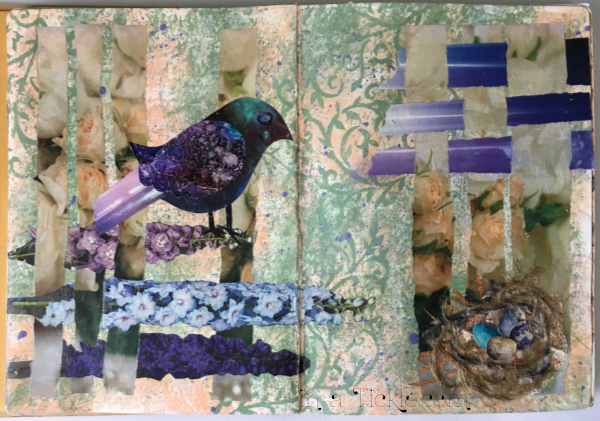
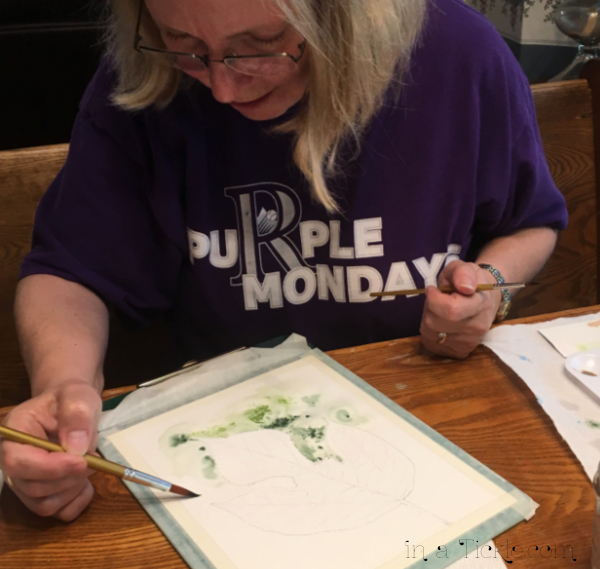
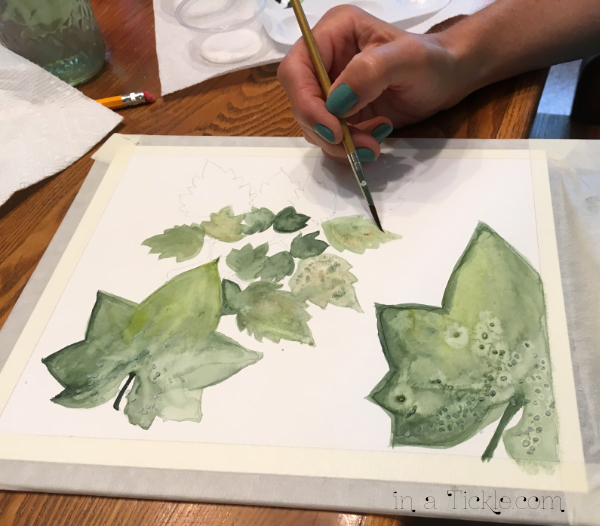
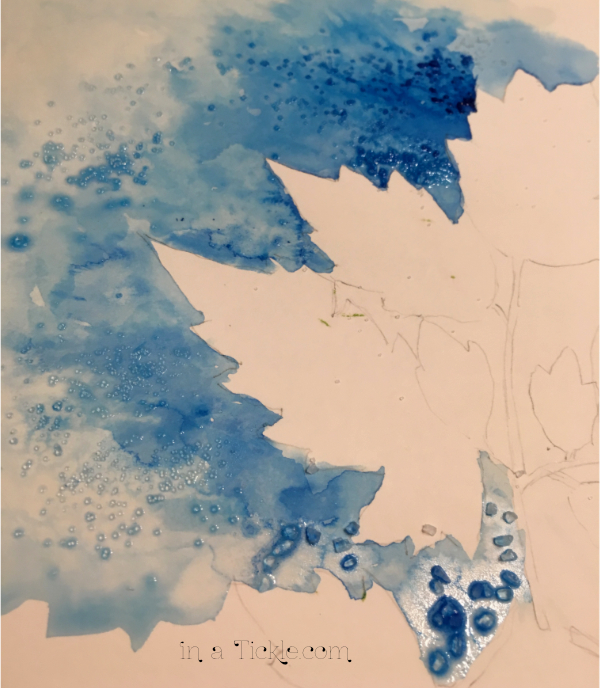
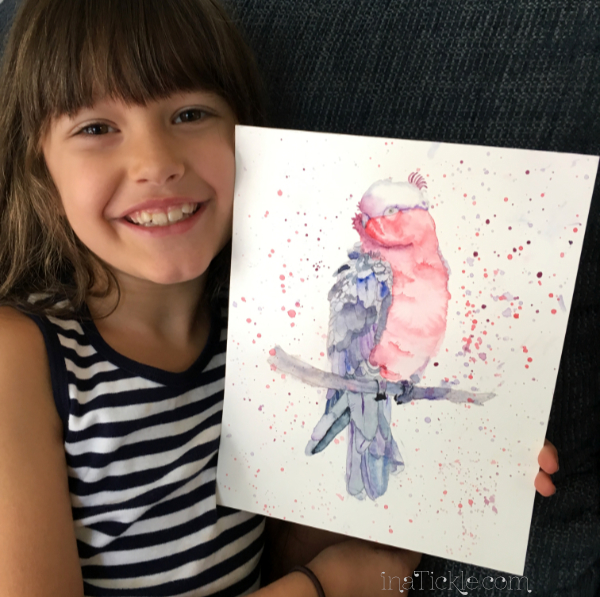
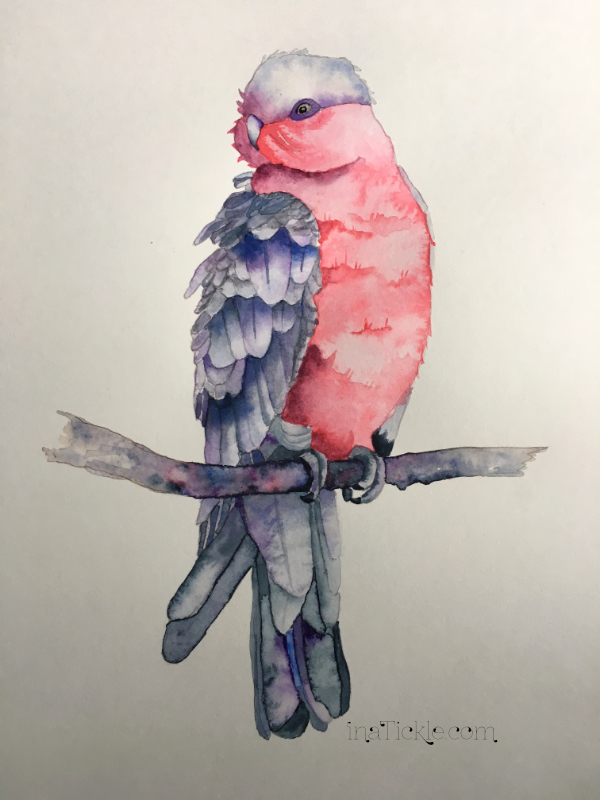
The second class we did together was called Learn to Paint a Galah in Watercolor, by Louise De Masi. The galah is a beautiful bird in Austraila. This project took a couple of sessions for us to complete, but we both ended up with beautiful bird paintings. We each learned more watercolor techniques in the process.

My granddaughter is so proud of her galah! She decided to embellish her painting a little more than the instructions. I love her creativity!

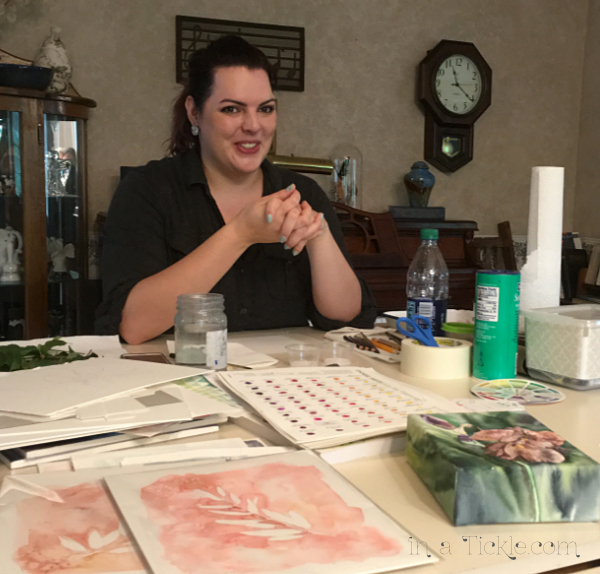
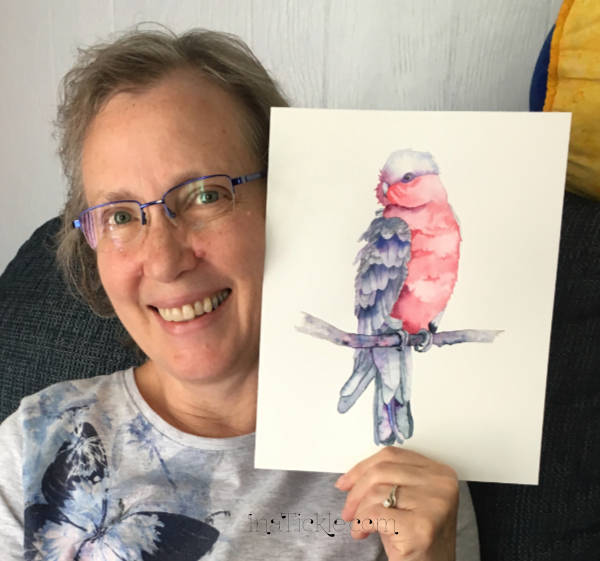
Since I am usually taking photos of her with her paintings, she wanted to take a picture of me with mine!

Both Skillshare teachers gave easy to follow instructions and demonstrated very clearly what they were doing. The lessons are divided into shorter video segments. I look forward to taking more of the classes offered by these two wonderful ladies. Skillshare classes are available covering many subjects. If you are looking for instruction and inspiration to kickstart your creative juices or to learn a new skill, check it out!

(Disclaimer: I don’t receive any compensation for recommending Skillshare. But if someday, I decide to teach a class of my own, I could make money teaching at Skillshare!)

UPDATE! As of Feb 2020, I am teaching on Skillshare. You can take my class and watch thousands of other classes free for two months when you sign up through this link.

Painting a Wall Mural

“I enjoyed painting a dance recital and who knows what I might paint next!”
I ended my post with those words at the beginning of the summer. Little did I know that by the end of the summer the dance studio would be expanding and I would be asked to paint a large sunshine behind the new reception desk. Painting a wall mural was a first for me.

In my planning, I created a design on my computer and printed a grid over the design with each square representing a square foot. Then I taped together long sheets of a thin deli-like paper that I’ve had for years. I’ve made many a pattern from that paper roll. I drew square foot lines on the 12×7 foot drawing surface and then drew my design onto the large paper using the grid as a guide. (If you are not sure how to do that, reference this post I wrote a few years ago.)

Now there is probably a proper professional way to transfer the design to the wall (besides just drawing it on the wall the begin with!) I’m not a professional, so my solution was to tape the whole paper pattern to the wall along the top. Then I began cutting out each ray and taping it in place on the backside until all of the rays were taped to the wall like a reverse stencil. Hopefully you can get the idea from this picture.

My plan was to sponge paint the bright yellow background around the paper leaving the rays unpainted. That was much easier than drawing each ray on the wall and then trying to carefully sponge around the rays. It worked great! This picture shows the wall sponge painted in yellow with the paper still taped to the wall. I forgot to get a photo when I removed the paper!

With the paper removed, I painted the dark orange sun and small rays. I painted some of the long dancing rays with a lighter orange. Even though the wall was already painted white, I still painted the white rays and around the sun with the same brand of paint I used on the rest of the mural so the texture would be the same. I used Liquitex tube paint mixed with a bit of Clear Mixing Glaze (which I left from some house sponge painting projects.)

When all was dry, I mixed some larger gold glitter with gold glitter paint and painted over the lighter orange rays to give them sparkle. That looked great but the bright orange sun needed sparkle as well. For that, I used an iridescent glitter paint giving it a slightly different shine. Depending on how the light hits the glitter the mural changes as you walk by.

I’m happy with my first wall mural (although I’m not really planning on more murals at this point – but who knows?)

Sonshine Dance and Fitness is happy too!

Teach What You Learn

If you want to learn how to do something, seek out someone who knows more than you do, and ask them to teach you what they know. (And be sure to compensate them for their time and knowledge!) Most of time I’ve been learning from watercolor artists I’ve found online that I like. Just before Christmas last year, I had the opportunity to take a watercolor workshop locally from my friend, Mary Evelyn. I had fun learning more techniques and skills from her as I painted a cardinal in a water globe. She taught us wet-on-wet painting, wet-on-dry, how to paint different areas at a time to keep colors from bleeding (when you don’t want them to bleed), how to create beautiful textures with blending colors as well as with salt texturing. I learned so much that afternoon! It wasn’t long before I had the opportunity to teach what I had learned.

Shortly after, the grandkids were over and as usual wanted to make art. When the other kids moved on to other play, my seven year old granddaughter, quietly asked if she could paint a bird like mine. It was my opportunity to “teach what you learn” to an eager young artist. I gave her kid watercolor paper and she used the kids pan watercolors they had all just been painting with. She then spent the next two hours diligently working on her painting. She only asked me to help her draw the shape of the globe and the outline of the bird and then wanted to draw the rest herself. I walked her through the steps of painting the picture as I had learned them a few days earlier.

She was so proud of her painting! And so were the rest of us!

She asked if we could have more painting sessions with just her and me because she wanted to be an artist.

I purchased a set of tube paints, brushes, and good watercolor paper that would be just for her use. She loves pandas and after searching through multiple photographs of pandas, I picked a couple of shots to use as reference and painted a couple of samples for her to choose from. I love trying to figure out how to make watercolor look textured.

We planned a painting day and of course, when given the choice of which she wanted to paint the answer was BOTH! She decided to start on the peeking panda first.

I let her use the light table to trace the basic shapes on her paper on top of my painting, although watercolor paper isn’t very easy to see through. I wanted her to be able to concentrate on the painting and texture instead of being concerned about getting the shapes drawn proportional. I found out a lot of painters do that, so I don’t feel guilty! She draws all the time and can perfect those skills over time.

She’s very focused and had to be encouraged to take breaks!

Her finished panda painting is now framed and hanging in her bedroom.

Our next session together, she worked on the upside down panda in a tree. This time she insisted that I not touch her painting at all since last time I had demonstrated things to her in tiny spots on her painting. She only wanted me to use another piece of paper to demonstrate a technique. I was amazed how quickly she caught on.

And now she has another masterpiece framed and hanging in her livingroom.

I am learning more about watercolor painting all the time and feel I have so much more to learn. However, the little that I have learned, I can teach to someone who doesn’t know but wants to learn. I don’t have to be an expert first! My granddaughter told me she was happy I was teaching her and someday she said she will teach her own kids. I love her attitude! (And by the way, I accept grandkid hugs and kisses as compensation for sharing my love of art with them!)

What do you know? What are you learning? To whom can you teach what you learn?

Painting a Dance Recital

I love to watch people dance, especially ballet and tap. I don’t dance. I did try an adult ballet class many years ago when my own kids were taking dance classes, but decided to vicariously enjoy dance through watching my kids. My oldest granddaughter started dancing seven years ago (at two and a half) and shortly after, my daughter Melinda, began dancing again. You can read her story she wrote in this post a few years back. Some of you who have been following our blog may have wondered why Melinda was not writing posts. Fast forward to the present and Melinda is not only dancing, she is teaching several dance classes and private lessons, doing choreography, co-teaching two musical theater classes with her husband, and all four of her children dance as well. She is focusing most of her creative energies into the dance studio and doing an amazing job! They put on two wonderful dance recitals a year and this spring I volunteered to paint the backdrops needed for the June recital. So instead of dancing a recital, I was painting a dance recital!

With the theme “Dance Through the Decades” they wanted several ways of listening to music through the decades represented to hang on the back curtain. Loaded up with pieces of cardboard and acrylic paint, I began drawing, cutting and painting each piece. The first item I made was a large jukebox. My kitchen island was the easiest place for me to work on these pieces.

The next creation was a gramophone…

A radio…

Fabric netting was used for the speaker screens.

A phonograph…

A boombox…

A Walkman cassette player…

A portable CD player…

An iPod…

A smartphone…

And of course, some 45’s, LP records, and CD’s!

The pieces all looked huge in my house, and not so huge hanging on the back curtain! But they made a nice backdrop for the dance numbers.

If you didn’t read Melinda’s post mentioned above, this is the little girl, My Princess, who started this new generation of dancers in our family seven and a half years ago.

My Princess ballet lesson

And here she is today dancing along with her brother. (These are frame captures from video I recorded so the pictures are not real sharp.)

Miss Tickles (the inspiration for the name of this blog) demonstrates for her younger brother’s class as well as dancing with her own classes.

Melinda dancing on pointe

I enjoyed painting a dance recital and who knows what I might paint next!

Using Collage to Inspire

Sometimes the desire to create in a certain medium is in your heart, but what to create is eluding you. I’ve found that playing around with something completely different than what I really want to do gets the creative ideas flowing. Last fall while going through phase two of my unplanned journey, I wanted to get back to creating and learning watercolor painting but did not know where to start. I bought a heavy duty mixed media sketchbook and started playing around with collage to inspire using magazine cutouts, fabric, string, gesso, acrylic paint, etc.

I made several collages over a few days and a couple of them inspired me to try recreating the collage image using watercolor. I am fascinated with textures that can be created in watercolor and these collages had lots of texture to try to imitate.

This collage was created using magazine cutouts, fabric, white pen, and textured background with gesso and acrylic paint.

Collage-vase-with-flowers

And this is the watercolor version I painted:

I used salt to texture the background.

In the next collage I sponge painted the background and used a stencil to add the vines. Then I added torn strips from magazine images and wove them together. The bird was created from magazine paper and a piece of embossed alcohol printed ink left over from this project. I used strings and lace to make a nest.

This collage had so much texture it challenged me to try to recreate it in watercolor. I even used the stencil with watercolor using a sponge. Here is my watercolor version:

In the next collage I used only magazine images that had various textures in neutral colors to make an interesting composition.

Instead of trying to recreate the textures in neutral colors, I went with color. It was fun to figure out ways to make similar textures with the watercolor.

I made a file filled with various images cut from magazines I can use to make collages to inspire other creative projects. You don’t have to recreate the collage you make though. Sometimes just making a collage will get the creative juices flowing and other ideas will pop into your head for other types of projects. What will you collage today?

Fairy Garden Village

What do you get when you combine a pile of twigs, rocks, shells, popsicle sticks, wire, string, recycling materials, hot glue guns, and other odds and ends with six grandkids ages four to eleven? You get lots of mess and lots of happiness! And a wonderful fairy garden village!

My kitchen counter looked like this most of the week!

To get the creative juices flowing (which doesn’t take long with this bunch) we looked at some images of fairy gardens online. Their imaginations quickly decided they didn’t need other people’s ideas and they dove into the supplies.

As you look through these images of the fairy garden village the kids created, you may notice some items recycled from a fairy garden Melinda and I made a few years ago for a Mother/Daughter Tea.

Fairy Garden Village
Water fountain made with shells, rocks, and hot glue water.
I just noticed the fly checking out the fountain and flowers!
Who wants to go on a bike ride?
Fairies need a picnic table with a lamp
A fairy playground!
Fairy wishing well
Fairy hobbit home
The door knob on this fairy door is a fastener from a necklace, and the door is a plastic flip top lid. The birdbath to the right is decorated with part of a beaded necklace.

Now how long do you suppose it will be before these fairies who were born earlier in the week will find the homes the kids created for them?

If you are looking for a fun project to do with your kids or grandkids this summer, gather an assortment of materials and let them create. I’m sure if I come up with more containers, they will continue adding to their fairy village all summer!

Fairy Doll Fun

How does a fairy come into being? If you ask my granddaughters, they are born in flower blossoms. My mom gave me a big box of old artificial flowers and the girls and I found out it is true! Today we saw thirteen fairy dolls birthed!

I found a video that gave easy to follow instructions for making fairy dolls published by Emilie Lefler. She has many videos demonstrating how to create all kinds of fairies. We watched a couple of them and the girls could not wait to get started.

The items needed are simple: 3/4 inch beads for heads, white florist wire, artificial flowers, embroidery thread, yarn, hot glue gun, wire snippers, scissors, and any added decorations. I didn’t have as many beads as I thought so we made beads for most of the heads from polymer clay. The girls needed a little help getting started but after a short time only asked for glue. The instructions they watched were so clear, they were able to let their creativity flourish.

Wrapping the fairy doll’s arm with thread
Fairy ballerina doll on point shoes
Wrapping the fairy doll’s torso and legs to make bodice and shorts
She was so proud of her little blue fairy doll
She was excited to be able to use the glue gun herself

After the fairy dolls were born, they wanted to go outside and enjoy the beautiful spring weather. They played in the tress and on fences doing all sorts of silly things.

This little fairy loved to hang upside down
This fairy picked a dandelion
This little fairy thought it was a bit cool and wore a scarf
I climbed the highest!
Do you like my hat?
I might take a little nap!
Maybe I can reach that branch with my toe!
The view is great!
Whee!
Hey, try this!
Hi!
I can hang with one arm!
I’ll help you up!

I have a feeling there will be many more fairy births in the days to come! The girls not only had fun making the fairy dolls, but loved playing with them. They fit nicely in the doll house too.

Even if you don’t have little girls to make fairy dolls with, you can bring back your doll playing days and make fairy dolls on your own – and then give them away!

A Watercolor Workshop

After going through phase one of my unplanned journey, I was ready to start doing creative activities again. My sisters came for a visit and since we like to do creative things every time we get together, I planned a watercolor workshop for our special project. I asked my friend Mary Evelyn, who paints beautiful watercolor paintings, to come teach us. My sisters and Mom love to make their own greeting cards, so I asked her to teach a technique they could use in their card making. (You can find out more about her at Mary Evelyn Studio Art.)

Mary Evelyn

She first sent us all outside to collect leaves we liked and then we traced the leaves onto watercolor paper.

Melinda’s painting

She showed us how to paint around our leaf shapes with plain water and then drop in color in the wet areas. The color only spreads where the water is, leaving the leaf shapes unpainted. Dropping in a little or a lot of color gives nice variations.

Before the watercolor dries, salt can be added for unique texture. The salt soaks up the color and water around it, leaving beautiful unpredictable designs. After the paint and water completely dry the salt is easily brushed off the paper.

One of my sisters decided to paint the inside of her leaves instead of outside.

Salt in wet watercolor
Salt textured watercolor after drying

This is my finished picture. I liked adding additional colors to the wet paper before dropping on the salt.

If you are new to watercolor, this is a very easy technique to try. If you like to make cards, choose a small leaf and give it a go. You can experiment with different kinds and sizes of salt crystals and barely wet to very wet watercolor paint to see what kinds of textures you can create. One things is certain — no two paintings will turn out the same! Have fun!

Quilling and Monoprinting

Last fall while visiting a craft show, my granddaughter drew me into a booth to watch the artist roll paper strips into beautiful shapes, creating unique designs for greeting cards, wall art, jewelry and more. This craft is called quilling and dates back many centuries. You can learn more of the history of paper quilling from the Quilling Guild. Quilling is making a comeback in popularity today and is even used in many advertising campaigns and product packaging designs. A quick search on Pinterest for the word “quilling” will reveal many images from simple to quite intricate designs and you can easily find tutorials to get you started on the simple shapes.

I purchased a kit to get started (the only tool you really NEED is a needle quilling tool!) and played around with making some simple shapes and decorating a couple greeting cards. I watched a Skillshare class and learned how to make my name decorated with quilled shapes. It was a great project to try lots of shapes!

I had so much fun doing this, I prepared card stock pages with each of my grandkids names outlined and taught them to quill. They all had a great time decorating their names.

The purpose of this post is not to teach you how to quill since there are already many resources available to show you how. So often when I learn to do something, I want to know what else I can do with that skill. How can I tie this skill into something else I like to do? I decided to make quilling stamps to try with gelatin plate printing.

Using 1/4 inch strips of card stock, I quilled several basic shapes and glued them to small pieces of cardboard.

On the top side of the cardboard I used tape to make handles for my stamps.

Now it was time to try the stamps out on my gelatin plate. I use a homemade gelatin plate (recipe and instructions).

Gelli Plate Ingredients

I made this plate five years ago and am still using the same plate. After each printing session, I rinse the paint off, melt the gelatin plate in the microwave and reset it in the glass pan. I keep it stored in the pan on a shelf in my craft room and have never had it mold. It has shrunk in depth(probably from all the times of rinsing it off) and I’m needing to make a new batch to add to it. I’ve been very happy with this recipe.

I experimented with deli paper to make the following prints using my quilled stamps to remove paint from the plate before pulling a print. I was not trying to make a picture out of the prints, just trying out the stamps. The papers I printed will work nicely with collage art. Where you see white, there is no paint- just the deli paper. When used in collage anything under the white area of the deli paper will show through.

After removing the paint from the gelatin plate with a stamp, I stamped the paint onto another paper I had been using to clean paint off my brayer. No use wasting paint!

Have you tried paper quilling? Have you tried gelatin plate printing (monoprinting)? If you’ve done both, try combining them like I did. If you have not tried either craft, what are you waiting for? You are missing out on a lot of fun!

Pulled String Art

If you like unique, unpredictable, fun art creations, grab some string, ink or watered down acrylic paint, papers, a heavy book, and you can make pulled string art.

Let’s get started!

Completely soak a piece of string in either ink or watered down acrylic paint. Lay the string down in a random design on a piece of paper. Be sure to leave a small portion of the string hanging off the edge of the paper.

Place a second piece of paper on top of the string and first piece of paper. Lay a heavy book (or something flat to add pressure) on top of the papers and pull the string straight out from between the papers.

After the string is pulled out, remove the book and separate your papers. You will have a mirror design on the two papers.

When the ink or paint is dry you can leave it as is or add color to it. The kids choose to use watercolor crayons.

String Art Butterfly

The kids loved doing this project and so did I. It is fun to see what kinds of prints you can get depending on how you lay the string and the direction you pull the string.

Greeting Cards

Pulled string art can also be used for making one of a kind greeting cards. I used a piece of thread soaked in watercolor on a small piece of card stock and this beautiful design happened!

Give it a try and post in the comments other ways you use pulled string art.