Celebrating 100 posts!

Weekend WonderingsToday is our 100th post at In a Tickle! We are so excited to have brought this many posts to you, and we look forward to many more. A lot of people do a top ten kind of thing sharing the best posts again. We decided to do it a little different and share the bottom posts. We figured that you would have already seen the top viewed posts, but some of these posts were missed. We think that maybe they just didn’t get the exposure they needed, so we want to bring them back. We chose the bottom ten based on the number of views they have received since we started. Some are from early on in our posting and some are not.

10. Start a Hobby: Crochet or Knit (Thoroughly Thrifty Thursday)Knitting Basic Tools

9. Easy Peasy Summer Shorts (Transform It Tuesday)Shorts modeled

8. Are You a Maker? (Weekend Wonderings)

7. Let’s Talk Fabric Part 1 (Thoroughly Thrifty Thursday)

Jan checking out the fabric.

Jan checking out the fabric.

6. Writing Inspiration from Scott Berkun (Write With Me Wednesday)

5. Thrift Store Sweater Becomes Dance Outfit (Transform It Tuesday)

If any of you are ballet dancers, please don't critique my form. If you do, I'll deny that it's a picture of me. Thanks!

If any of you are ballet dancers, please don’t critique my form. If you do, I’ll deny that it’s a picture of me. Thanks!

4. Become Like a Child (Weekend Wonderings)Kids play

3. Look Closer for Inspiration (Weekend Wonderings)

Purple Bulb Flowers

2. Start a Hobby: Embroidery (Thoroughly Thrifty Thursday)

Learn embroidery by making a sampler

1. The Doodle Box (Draw with Me Wednesday)

Jan's finished drawing page


Stoplight Bell Peppers Nachos

Foody Friday

Fresh Bell Peppers

Bell Peppers are in season. My kids love devouring pepper strips, especially the sweet red ones. I like to cut up a bunch of vegetables and put them on a tray so I can pull them out throughout the day when the kids need a snack. The only “problem” is they finish them off so quickly!

Veggie Tray

I found a recipe in a Pampered Chef book that I thought was a lot of fun and adapted it a little for us and added a fun twist using three colors of peppers.

Pampered Chef Recipe

Stoplight Bell Pepper Nachos

Stoplight Bell Pepper Nachos

  • 2 Red Peppers
  • 2 Yellow Peppers
  • 2 Green Peppers
  • 3 Green Onions
  • 1/2 cup Cilantro
  • 1/2 cup Greek Yogurt (plain)
  • 4 oz Mozzarella Cheese
  • 2 cups finely diced cooked Chicken Breast
  • 1/3 cup Mayonnaise or Greek Yogurt (plain)
  • 1 Tbsp Chili Powder
  • 1/2 tsp Salt
  • 1 tsp cumin

Step 1. Preheat oven to 400 degrees.

Step 2. Cut peppers into wedges and place them on a baking stone or sheet.

Step 3. Finely chop green onions and cilantro. Grate cheese.

Step 4. Mix half of the green onion and cilantro and half of the cheese with the chicken, mayonnaise or 1/3 cup Greek yogurt, and the spices.

Step 5. Scoop chicken mixture onto the pepper wedges.

Step 6. Sprinkle with cheese. Bake just until the cheese is melted and the peppers are still crunchy, 4-5 minutes.

Step 7. Mix the other half of the green onions and cilantro with the 1/2 cup Greek yogurt. Spoon into a plastic sandwich bag and trim the corner. Remove the stone or sheet pan from the oven and squeeze yogurt mixture on top of the chicken (note: One of my kids didn’t like the cilantro and onions in the yogurt, you could always leave it out if you wanted and just use the Greek yogurt).

Step 8. Arrange on plate red, yellow, green like a stoplight and enjoy!

Stoplight Bell Pepper NachosMiss Tickles Likes It!

Start a Hobby: Make Your Own Stamps

Thoroughly Thrifty ThursdayYou’ve wandered down the stamp isle at the craft store thinking it would be fun to start stamping. But when you look at the price of individual stamps, it can be a bit discouraging if you have a limited budget. Individual stamps can cost up to $15.00 each, and how often are you going to use the same stamp? There are times when a pre-made stamp will be exactly what you need for a project. If however, you want to play around with lots of stamps and design possibilities, try making your own stamps for little cost.

I wandered down the isle of craft foam at our local craft store and bought the following items for $15. Craft foam comes in all kinds of pre-cut shapes as well as flat sheets you can cut yourself. The kind I purchased is the self adhesive type craft foam. Then it was time to play!Craft Foam Stamp SuppliesMelinda found a small empty jar and attached a little foam flower to the lid. She rubbed the flower with the stamp ink pad and stamped away. Super simple stamp!Foam stamp on lidMeanwhile, I took some of the foam letters to make the word, LOVE. I laid them out backwards on a piece of cardboard, with the adhesive side facing up. Once I had them placed where I wanted, I put a spot of glue on the foam side and glued the letters to the cardboard. Love stampThen I peeled off the backing paper. I rubbed ink on the sticky letters and it helped to cover the adhesive. The stamp worked!Cardboard backing stampSince I have a lot of craft paint at home, I lightly rubbed some paint onto the stamp with a foam brush. It gives a different look and the thicker the paint the more of an outline around the stamp design. Love stamp paint

We searched around the house to come up with more ideas for stamp backers and took apart a CD case. That worked great for holding the self adhesive craft foam.

Foam flower stampEven the center of the CD case can be used. Melinda put letters around the circle part of the case. Only just like the “LOVE” letters on the cardboard, the letters had to be put on backwards with glue. CD circle Stamp

Then Melinda tried attaching the foam to a small bottle to make a rolling stamp. She cut strips of foam from the flat sheet of craft foam and brushed paint on the strips with a foam brush. She then rolled the bottle across the paper with her fingers.

Bottle roller StampBottle Stripes StampNext she tried some shapes on the bottle, applied paint and rolled them across the paper.Rolling stampAnother effect can be made with the craft foam, by drawing on the foam with a pen (pressing hard) to make an indentation. Then using ink or paint, stamp your design. Where the pen made an indentation, you will see the design. It makes your plain shapes look like they have cutouts.Flower Foam StampWe found a few more possibilities for stamp backers in the recycling box. You can use the plastic lids from food containers as well as bottle tops for your stamp backers.Foam StampsWe did not want to stop playing with the stamp making, but there is always another day and loads of creative possibilities. What kind of stamps are you going to try making? Be creative. Be different!Be Different Stamp

Magnetic Alphabet Word Scramble Writing Prompt

Write with me WednesdayWe were eating lunch at mom’s the other day talking about blog stuff. We were planning ahead for our posts, and my Hubby had a suggestion. He was staring at the fridge in front of us at the magnetic letters. They were all jumbled up, but each of us picked out words that stood out to us. Not all the letters were there, but our brains often filled in the rest when something stood out.

Magnetic Letters Random Words

I saw the word mushroom, gem, run, and mean. Now that I have my words, I can write a paragraph, poem, or short story using those random words.

Use one or all of these pictures below or make your own alphabet jumble to see what words you can come up with to write about.

Magnetic letters random words Magnetic letters random words Magnetic letters random words Magnetic letters random words Magnetic letters random words

Happy writing!

Our First Creative Workshop

Transform it Tuesday

On Sunday night, Melinda and I hosted our first Creative Workshop. Everyone had a great time and we hope it is the beginning of many more to come. We started with an activity to get the creative juices flowing by embellishing a Declaration of Creativity. You can find your own copy to print off and decorate here.

Creative WorkshopCreative WorkshopCreative WorkshopCreative WorkshopCreative WorkshopEach one is quite unique. Here are the beautiful Declarations of Creativity:Declaration of Creativity

While the ladies were finishing their Declarations of Creativity, they chose the ingredients for their own smoothie creations for Melinda and I to whip up. Check out the pretty designs the smoothies made in the blender!

Smoothie OrdersSmoothie Design Smoothie Design 2Smoothies Made to Order

The ladies were asked to bring some garments they wanted to transform. As each garment was brought out we all brainstormed about the possibilities each item could be transformed into. It’s amazing what ideas come out! Here are a few that got completed.Skirt to Drawstring Bag3 Shirts transformed to Skirt The back of the yellow shirt became the needed extension for the striped under skirt. The shoulder straps (which included the beads) of the shirred top were sewn together and became the bow on the skirt (with a button added for center of bow.)Sweater transformed into a vestNo sewing required on this one!  The sleeves were cut off and a ribbon threaded through the back to tighten it up and give it some shape.Sewing transformationsWe can’t wait to plan more workshops. Let us know if you’d like to be included!

Announcing Four Point Families

Real Me MondayNothing could be more appropriate for today’s post than to share what’s going on in my family–can’t get any more Real Me than that.

This weekend was big for my family. We have been youth pastor’s at our church, and yesterday we announced to our church family that we would be stepping down from the staff to pursue US Missions. We have been at this church for 9 1/2 years and on staff for 7 years. We are so excited to pursue what we feel and know is what God is calling us to do. Our passion is families, and we have a strategy for ministering to families.

Announcement at church

It was bittersweet because we are leaving a position we have been in for long, but we will also continue to attend our church after we are no longer on staff. Our church is excited to launch us into this new ministry, and we are grateful for their support.


If you would like to know more about the adventure ahead of us, go to FourPointFamilies.com to find out.

Four Point Families
(And check out who took our awesome pictures at Freedom Photography)


Two Are better Than One

Weekend Wonderings

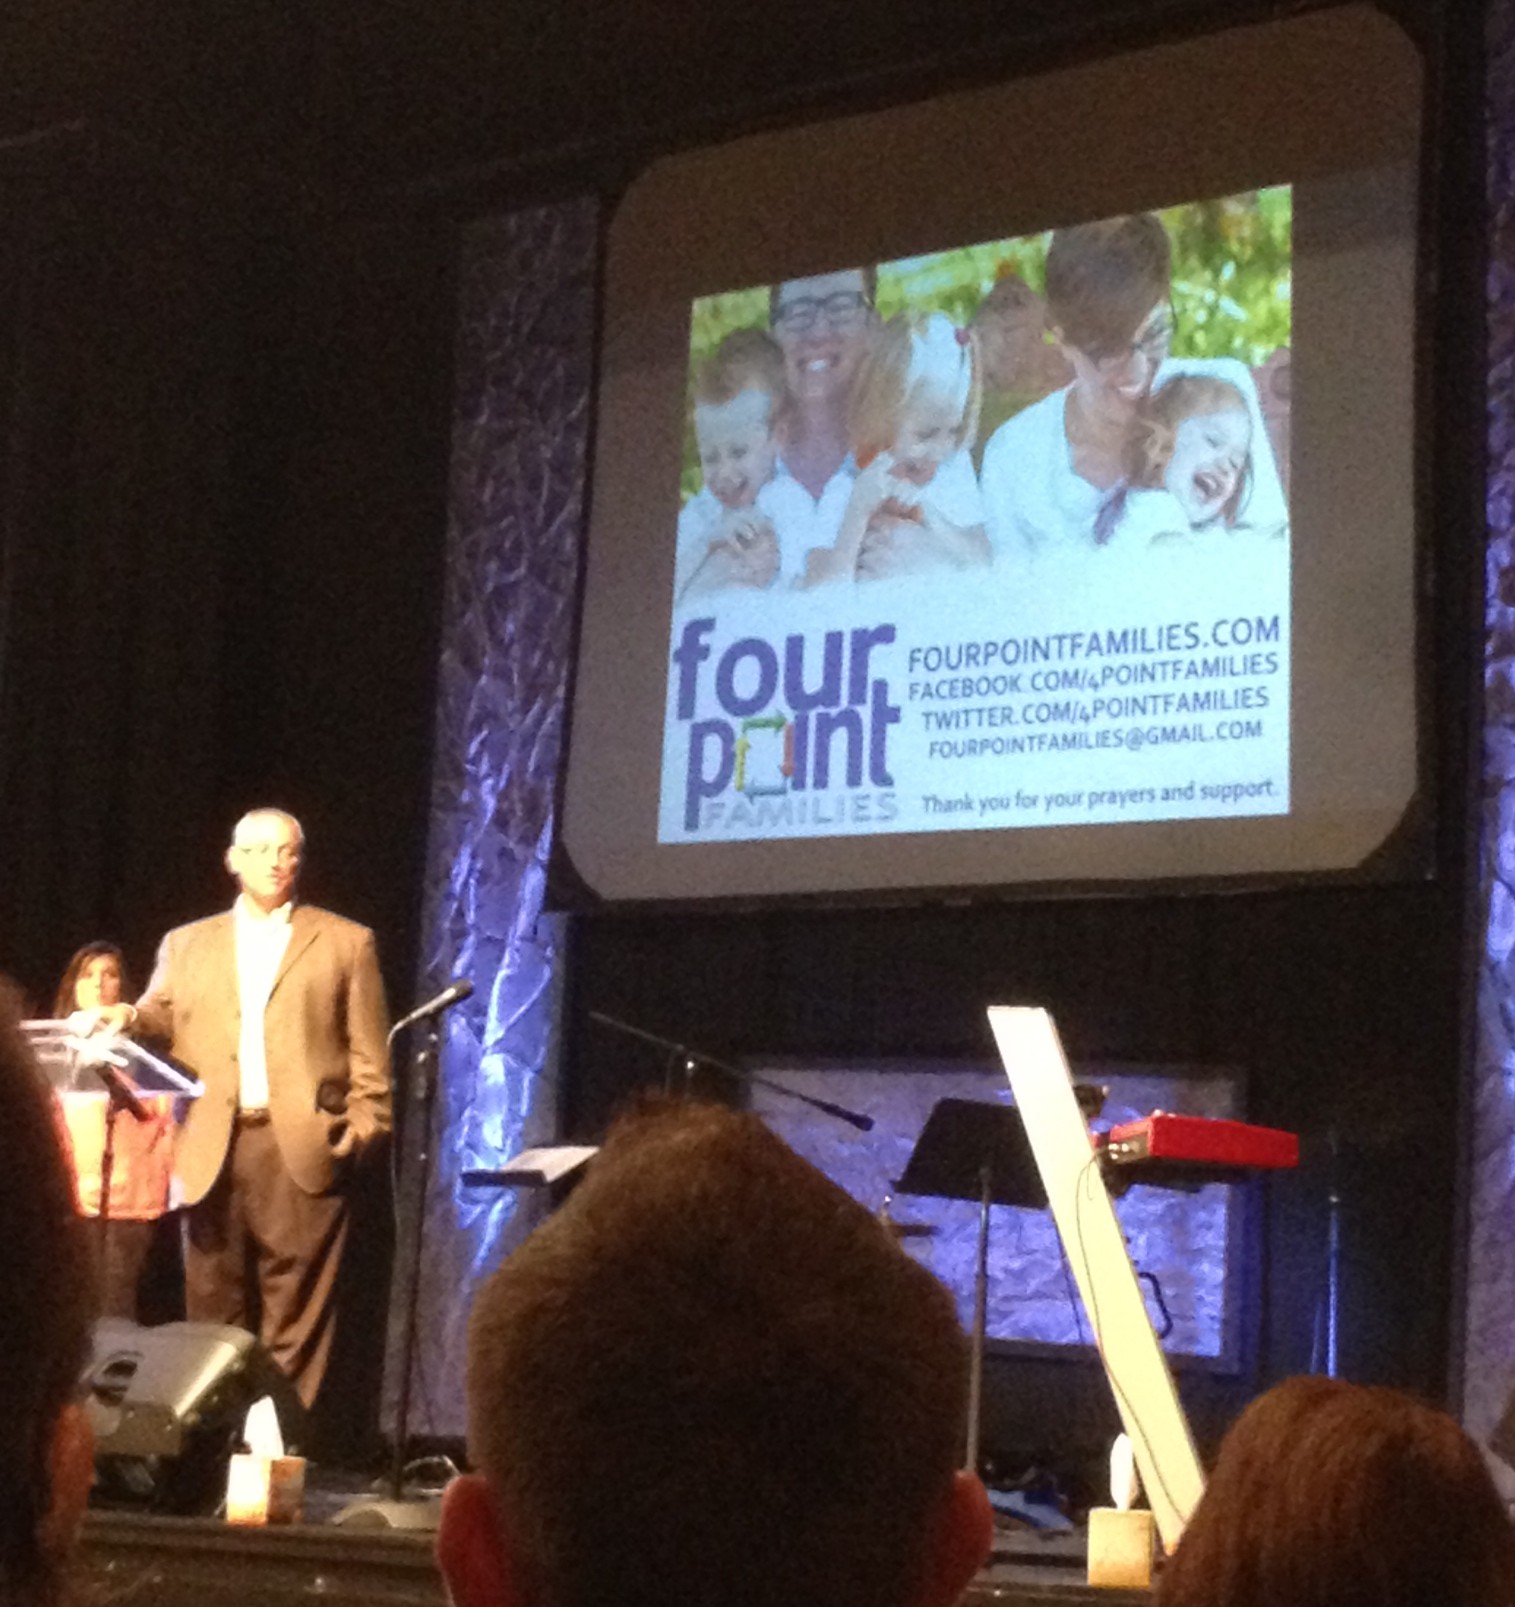
Today, we are happy once again to have Jan’s husband, Tom Johnson, share a guest post. He is a wonderful husband, dad, accomplished entertainer, actor, singer, and musician, all around fix-it guy, remodeler, furniture builder, biker, and most of all–his grandkids adore him! You can find out more about the group he performs with here. If you missed it, his previous post was about the Birthday Breakfast Club.

There is an old Hebrew proverb that says: “two are better than one, because they have a good reward for their labor.”

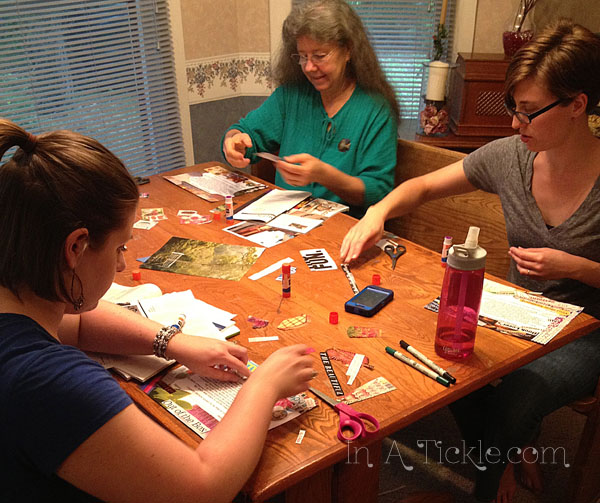
Whether you tend to be a loner, like me, or are very connected, this article is meant to inspire you to greater creativity by one simple activity:

Connect with someone who has a collaborator-spirit.

Over 35 years ago I linked up with a guy I can actually say has made me more creative and much more productive just by knowing and working with him.

Here are three reasons why:

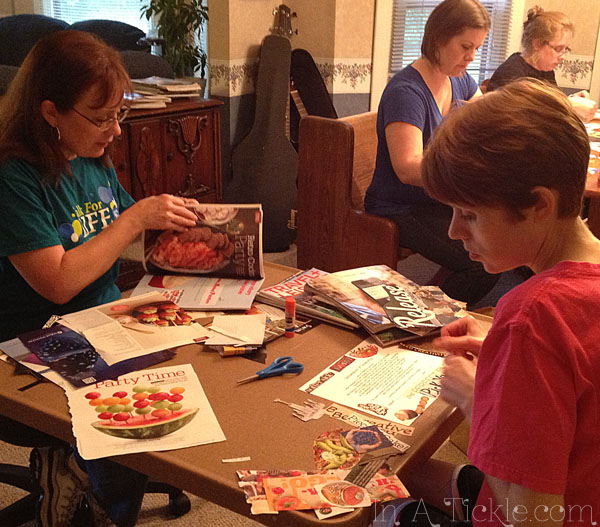
First is that you get more done when a job is shared. It’s obvious that heavy things are easier lifted when you have help, but “think tanks” generate more ideas to accomplish tasks than a single mind. A “multitude of counselors” helps you avoid mistakes or “reinventing” the wheel.” Mistakes can be avoided by having an extra set of eyes or a second opinion. And an extra pair of hands makes the job go more quickly when you coordinate your efforts.

Second, it’s more fun. Joy is not just added to but multiplied when it is shared with someone. And the feeling of accomplishing a task, especially a complicated or heavy one, brings a sense of relief and victory. High-fives, pats on the back, shared smiles, a heartfelt compliment and a sincere “thank you” once the job is completed are things you don’t experience on your own.

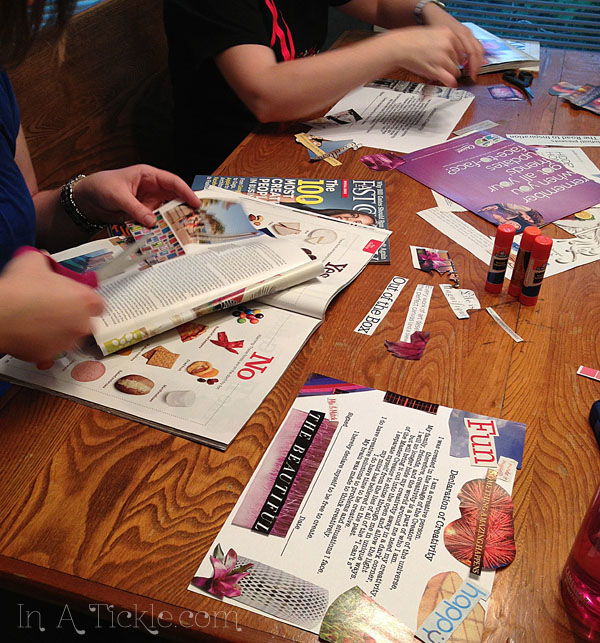
Last but not least is the benefit of the learning process you get when you work together. This actually goes back to the apprentice idea of earlier generations. Good teachers always learn more than their students. When two people learn from a single experience, the learning time can be cut in half and ideas shared together will expand exponentially.

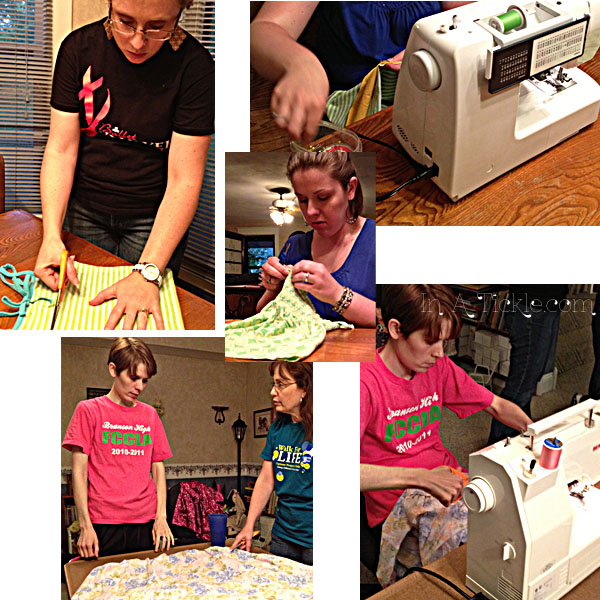
This close friend of mine is one that I can count on to help me accomplish just about any task. We have worked together so much over the years that we anticipate the next step of the process and are already in motion to get the tool, hold the board, measure the next length or laugh when something unexpected happens. Note: Now I have to admit that we don’t accomplish all of our tasks faster than if we did it alone. Sometimes we take longer breaks or get sidetracked on something trivial but that’s some of the fun part of the connection.Two Are Better Than One

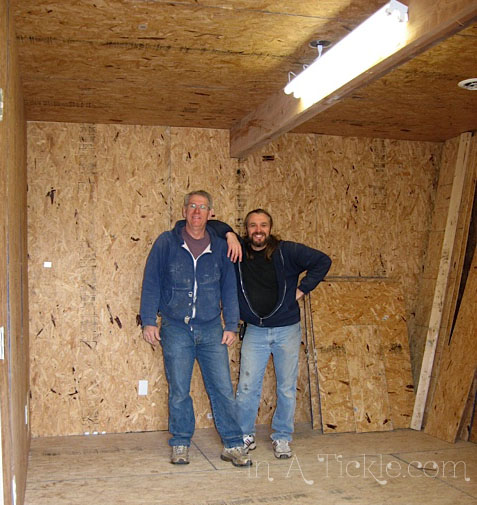
Take it from our comic book heroes. The ones that had great sidekicks were less frustrated and had someone to watch their back or come to their rescue. Robin Hood had his merry men, Batman was joined by Robin, Tarzan found his Jane, Inspector Clouseau (Pink Panther) was aided and often attacked by Kato.

If you’re not sure where to start, the authors of this blog, Jan and Melinda, are two that I would encourage you to e-mail, call, or contact. I’ve seen them grow together as a team to bring you so many fun, interesting, productive activities, and thought-provoking ideas. They could inspire you on the road to more fun and creativity.

Find your dynamic duo (or trio ) and watch how much fun you have and how much more you accomplish together. The key is: The more you do together, the easier it gets and the better you will become as you dream and create together.

Real Foody Friday

Foody Friday


What is real food? Some say it’s organic food. Some say it’s local food. Some say whatever you can buy at the store near you. Everyone seems to have an opinion these days on what you should eat. We each have to make a choice on what is best for our families in each situation. Not everyone can afford the same kinds of foods. Not everyone has the time to make everything the same way. What we do have is the responsibility to find out what is in our foods and what we are putting into our bodies and make our choices based on knowledge and not just convenience.

I started a journey to eating real foods after we found out my son had a peanut allergy. When I started reading the ingredients list on the foods I was buying, I realized that so much of it was manufactured in the same place as nuts or that the ingredients list was so long with so many things I couldn’t pronounce that I had no idea what was actually in it. I started doing more research into food and discovered a need to change our habits. I had to ask some questions and seek to find the answers.

What are the best foods for our health? How do these unpronounceable ingredients affect our bodies? How can I feed my family with the healthiest most nutritious food I can find? What is real food?

When I first started looking into this food thing, I got overwhelmed easily. Sometimes I would go to the store and just have no idea what to buy. I felt like no matter what I got, I was going to choose something that was bad for my family. I realized that I had to take it slowly and work my way up to the point I wanted to be at in our eating habits. I had to take baby steps toward healthier eating and leave the rest up to God.

Fridge Freezer

I used to have a full pantry and a half empty (or full of expired leftovers) fridge. Now its the opposite. My fridge is overflowing, and I have actually been able to downsize my pantry  to make room for my craft supplies. I try to buy food in it’s most basic form. I would love to buy everything organic, but that’s not always possible. It’s been a process of five years to get to the point that I am at today. I feel like there is so much more that I could do to be even healthier, but I also know that it’s a process. I have to work new things into my routine as I can.

Pantry

My half empty pantry

So what is real food? The best explanation I have found comes from 100 Days of Real Food. Here she talks about what real food is and is not. I like it because it’s clear and concise. It leaves it up to you for interpretation for your situation, but it also doesn’t sugar-coat it. Even organic processed foods are under the not real list.

What are the benefits of eating real food? Real food tastes better. It makes you feel good and not like you want to throw up because you ate too much junk. You know exactly what you are getting and don’t have to wonder what yeast extract, dextrose, sodium benzoate, etc. are and what they can do to your body. It can actually be cheaper. Processed foods are convenient but not always less expensive. You can make some great meals for not a lot of money when you buy the ingredients yourself (especially if you can get good deals by buying in bulk like flour, grains, etc).

Where do you start? Next time you go grocery shopping, stop and take a close look at your cart. Is it full of fresh fruits and vegetables, fresh meats, cheeses, milk, etc. Or is it mostly just cans, boxes, and frozen dinners? What item can you switch out today that can start you on your journey to healthier, Real Food eating? Start simple with things that you already buy like cheese. Buy the block instead of the pre-shredded that has added preservatives. It doesn’t take that much more time to grate your own, and you’ll already be cutting out one more unnecessary chemical. Instead of frozen pizza, buy pre-made crust and your own toppings. It will get you used to putting together your own and then you can take the next step and start making your own crust and sauce eventually. There are ways to start you on the process without needing to spend all day in the kitchen to start. When you get more used to your new way of eating, you will find it becoming more simple every day.

Shopping Cart with Real Food

It can get overwhelming but don’t let it discourage you. Take baby steps if you have to. Change one thing at a time until you get the hang of it. If you are the kind of person that has to go extreme and throw everything out and start fresh then go for it! But if that last sentence makes your stomach tighten into a knot, don’t give up yet. You can still take it one step at a time and start your life on a healthier way of living.

Want to start reading more about Real Food eating? Check out these great Real Food blogs that I’ve been keeping up with:

And on 100 Days of Real Food, check out a list of other Real Food Blogs out there.

Start a Hobby: Embroidery

Thoroughly Thrifty Thursday

I learned to embroider from my mom and grandmothers when I was a young girl. When my children were small, I spent many hours working on projects. Embroidery was a hobby that I could easily carry with me and work on while I watched the kids play. A close friend and I often got together to sit, talk and work on our handwork projects while our children played together. (I don’t remember that we called them “play dates” back then. I think it was for our sakes that we got together, the bonus for the kids was they got to play with someone else!)

If you are looking for a new hobby, embroidery is easy to learn and inexpensive to start. You don’t need fancy equipment or lots of space. You can get started for less than $12.00.

The basics you will need are:
1. Embroidery Needles
2. Embroidery Hoop (a medium size will work just fine)
3. Embroidery Floss (you can start learning the stitches with just one color)
4. Scissors to cut embroidery floss
5. Fabric to embroider (you can start with a scrap just a little bigger than your hoop or start learning stitches on an old t-shirt or other garment)Basic Embroidery SuppliesDMC, a company that makes embroidery floss, has excellent information and tutorials to get you started from transferring a design to your fabric, to putting the fabric in the hoop, to threading the needle and getting started stitching. Visit their site to learn more.

You may have seen needlework samplers in antique stores. They usually have various stitch designs, letters of the alphabet, and so forth stitched on them with different color threads. They were commonly done as practice learning pieces to develop skills in needlework as well as to demonstrate knowledge. But long before the age of social media, samplers were also the early form of “pinning” to remember stitch work.

According to Wikipedia, “The oldest surviving samplers were constructed in the 15th and 16th centuries. As there were no pre-printed patterns available for needleworkers, a stitched model was needed. Whenever a needlewoman saw a new and interesting example of a stitching pattern, she would quickly sew a small sample of it onto a piece of cloth – her ‘sampler’. The patterns were sewn randomly onto the fabric as a reference for future use, and the woman would collect extra stitches and patterns throughout her lifetime.” Many of these samplers were considered valuable and passed on to heirs.

Perhaps a good way for you to start learning to embroider would be to make your own sampler. Just start by making a short line of one stitch. Then start another line of embroidery learning another stitch. It’s fun to try new stitches and much less intimidating to try out stitches on a sampler. Learn embroidery by making a samplerAfter you have tried the basic stitches on the DMC site, you can find other variations and more intricate stitches on this site, called Sarah’s Hand Embroidery Tutorials. She also features unique embroidery stitches from various countries.

Have fun stitching!


Writing Inspiration from Scott Berkun

Write with me Wednesday


My Hubby writes a blog on occasion. He would like to do it more often, but he often found himself stuck with writers block. He has recently needed to find a way to push himself past that to make himself write more. He came across a blog by a writer/speaker named Scott Berkun. Since then, he has been inspired much more often and is excited to be writing more consistently.

He showed me a video that Scott Berkun made of himself writing a 1000 word essay on how to write a 1000 word essay. The video is a screen shot of his whole process with his commentary of how he writes.


Check out Scott Berkun’s blog for some ways to get yourself started writing. Then write!