
I like to experiment with my creativity tools to find new ways of using what I already have. Sometimes it leads to a mess, and sometimes it leads to a new discovery. I wanted to make a gelli print with very small circles in which the space around the circles was what printed and the space inside the circles did not. I knew I could do it with big paper circles as masks (see this post) by laying down the circles on the gelli plate, rolling paint over them and picking up the circles before pulling my print (like the picture below.)
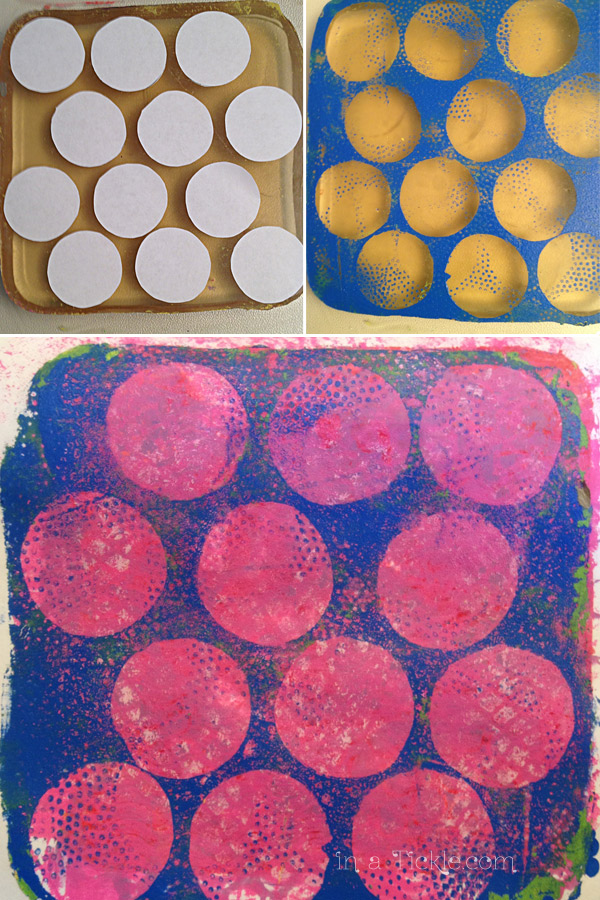
So I decided to try putting small circles cut from a regular paper hole punch on the gelli plate, roll paint over it and then quickly try to pick up each tiny circle before the paint dried. On my first attempt, I covered the whole gelli plate with small paper circles. After trying to pick up several circles (unsuccessfully trying to pick them up without leaving a finger smudge), I decided that my plan would not work. There would be completely dried paint on the gelli plate before I got all the circles off. So I just placed a piece of paper over the whole thing to pull off as much paint as possible and was very surprised when the print on the paper was just the look I was going for! I think that the paper circles had absorbed more of the paint and maybe even started to dry a little so the print picked up the paint from around the circles on the gelli print. I tried the process again to see if it was just a fluke– and this time took pictures.
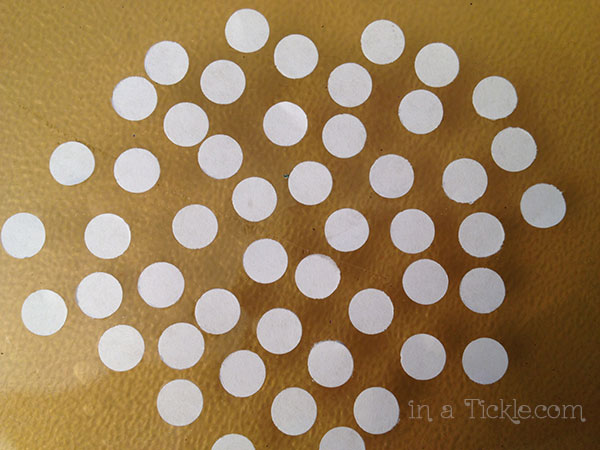
First step was to cut plain paper circles with a regular hole punch. Then I randomly laid them on the gelli plate, gently pushing on the paper to make sure it suctioned to the gellli plate. Otherwise when I rolled the brayer over it with paint, the circle would stick to the brayer.
The next step was to roll paint over the circles using a brayer.

I let that sit for a few seconds (holding to my theory that the paint needed to soak into the paper and dry a bit). I placed my paper over the gelli plate, rubbed the back of the paper and then pulled the paper up to see the print and this is what happened. (Disclaimer: This may have been a different print pulled from different dots from the two photos above. I did several and may not have matched them up right!)
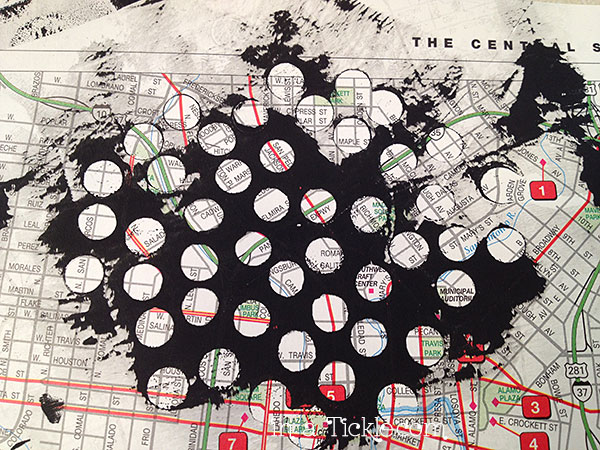
I also wanted to see how this process would work on some other types of paper. This one was gelli print on a map paper.
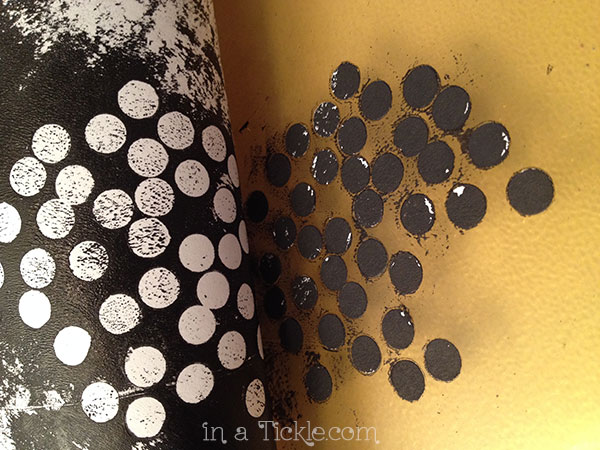
Then I tried some old book paper. More of the paint on top of the paper circles transferred to the book paper (perhaps because the old book paper had a rougher texture than the map or regular copy paper I was using before.)

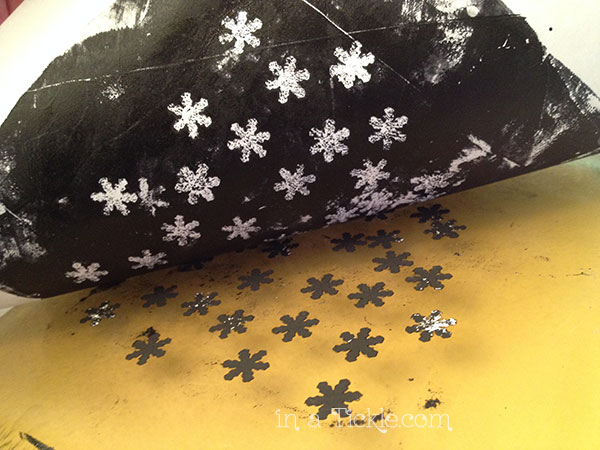
I tried a more delicate punch and covered the gelli plate with small paper snowflakes.
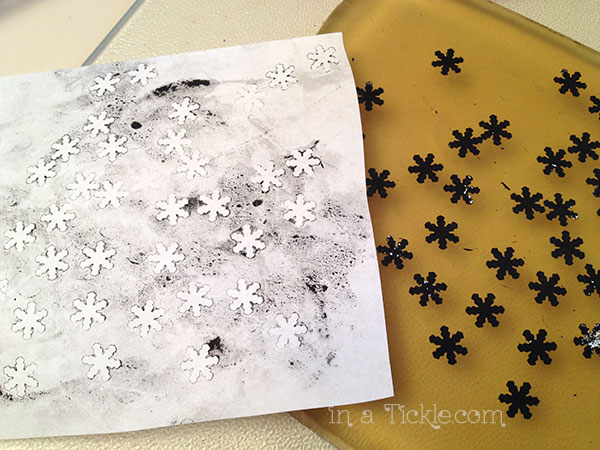
This is what the ghost print looked like (ghost prints are subsequent prints pulled after the first one without adding more paint).
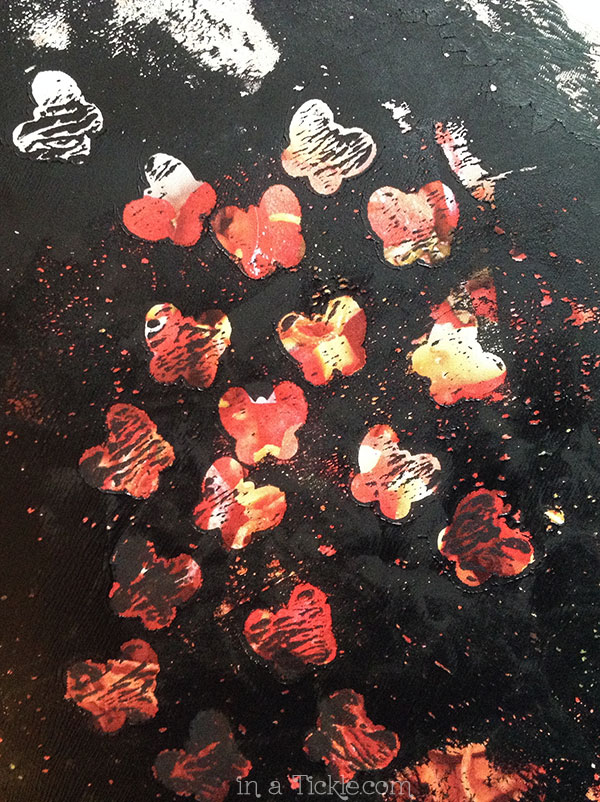
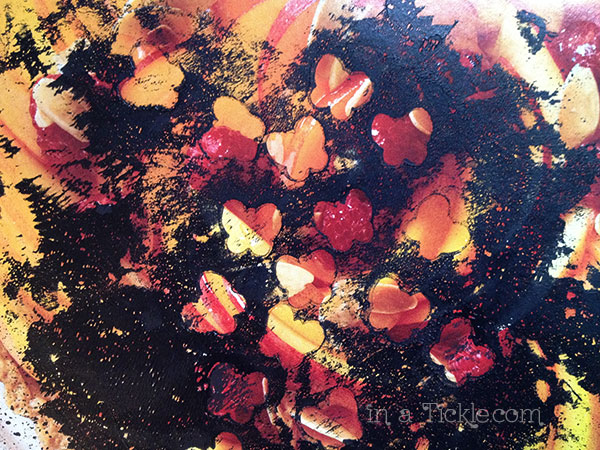
I punched out some small paper butterflies and used slick magazine pages for my print paper.
I’ll show you in another post the project I originally had in mind for a Documented Life Project challenge when I started playing with this technique. Do you have small paper punches and a gelli plate on hand? Give this technique a try and leave a note in the comments about how it worked for you. If you don’t have a gelli plate, you can make your own gelli plate and start creating fun designs of your own.