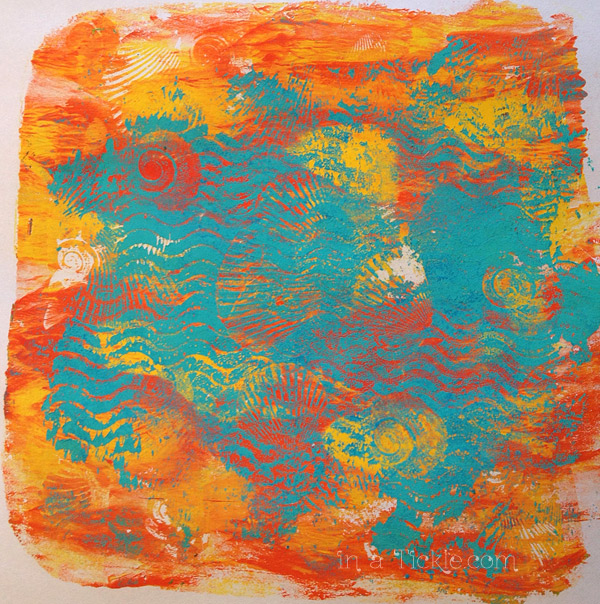
Pretty crazy that it’s taking me four days to show you part of what I did on the first day of gelli printing, but I did not want to wear you out by putting it all into one post! If you have missed the other posts you can read them now- {Part 1} {Part 2} {Part 3}.
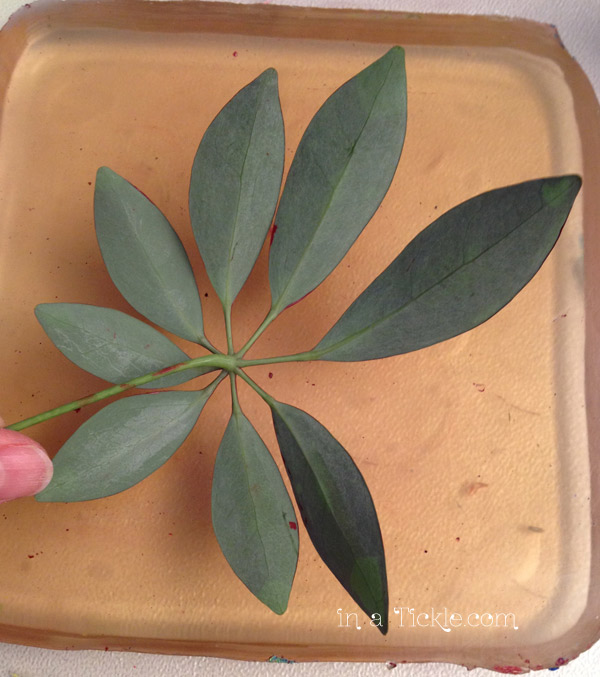
I wondered what would happen if I used leaves for my texture in the paint on the gelli plate. Since my source of leaves right now is pretty limited, I picked part of a house plant. (If you notice paint on these leaves, I did not take the picture until I was completely finished.)
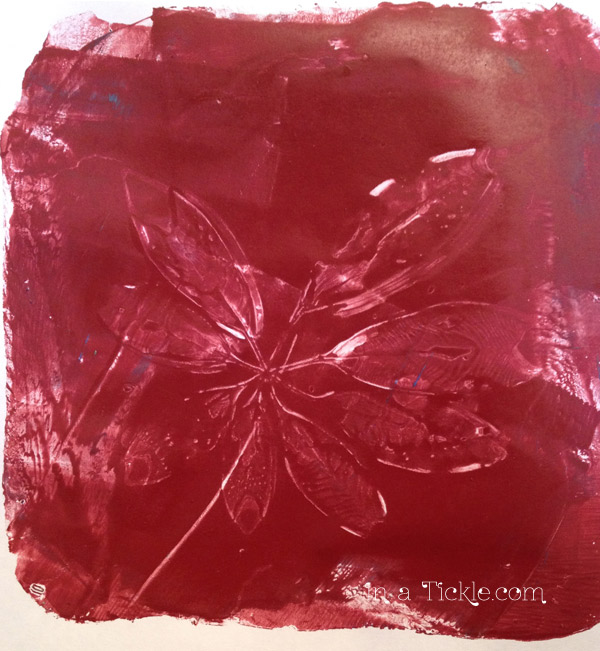
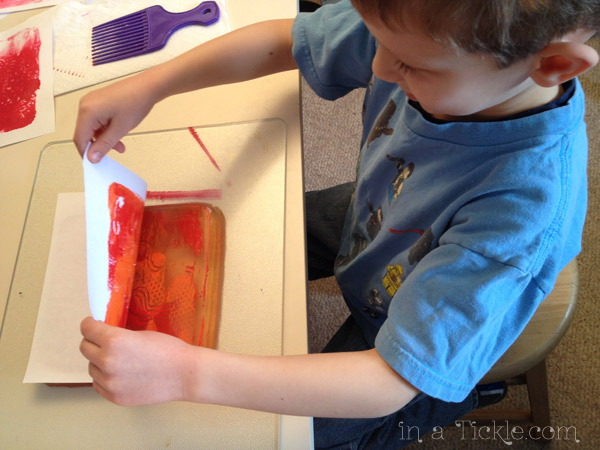
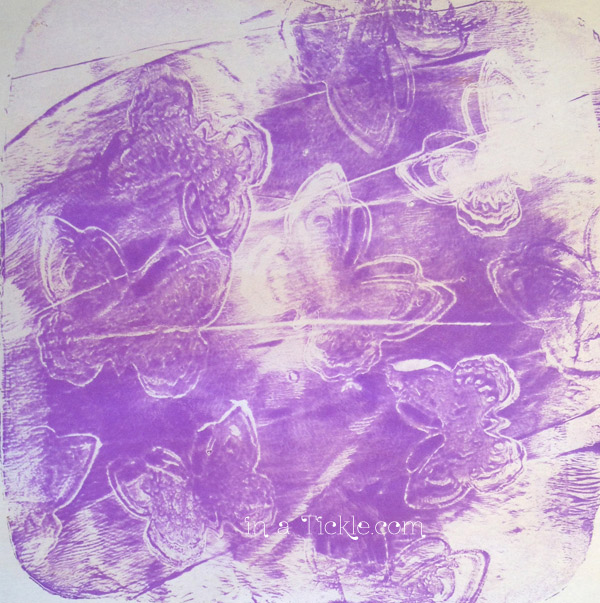
I covered the gelli plate with a dark red paint and pressed the leaves and stem lightly onto the paint. Here is the first print from that.
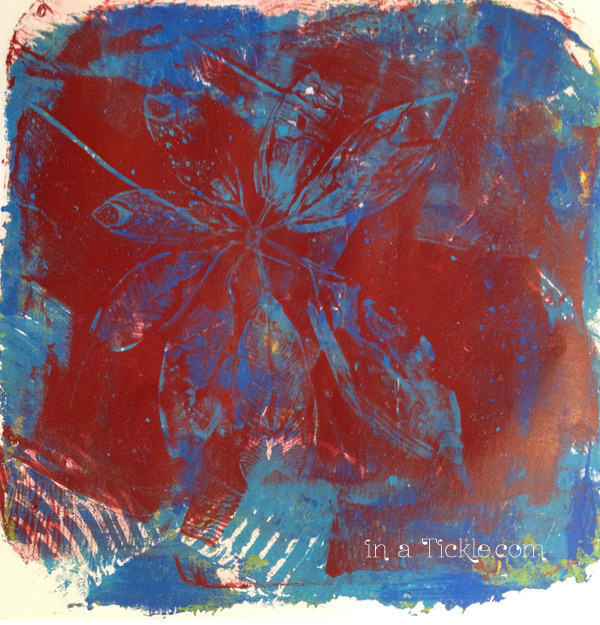
I decided to print the ghost print on this blue print I had previously made.
I love the way it turned out!
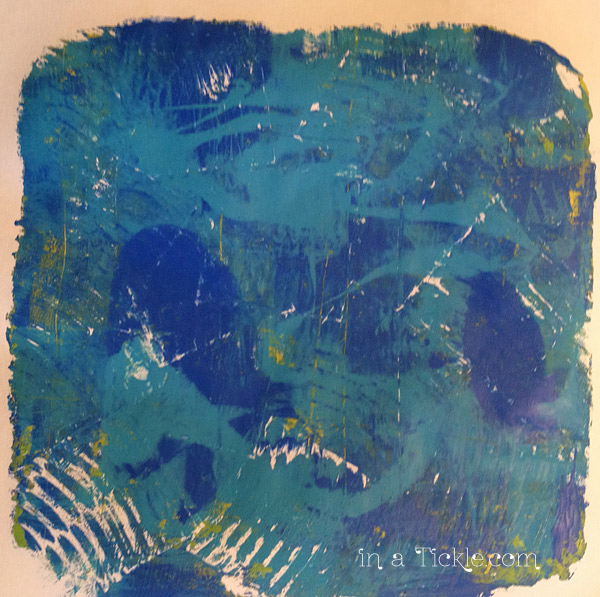
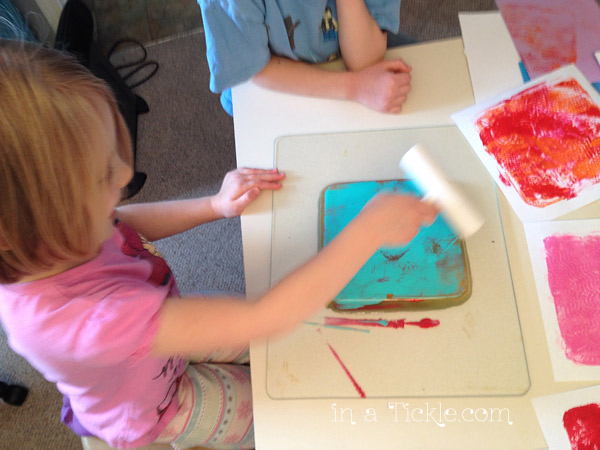
There was still paint left on the gelli plate so I made a third print from it.
I decided the paint left on the leaves needed to go somewhere so I opened a page in my sketch book and printed them on it.
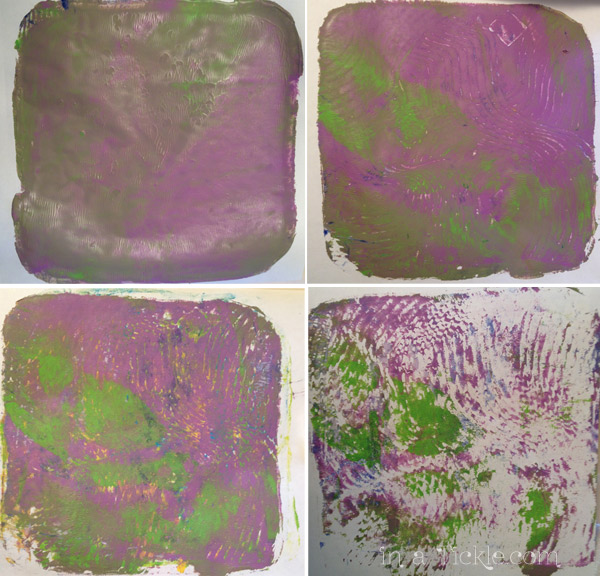
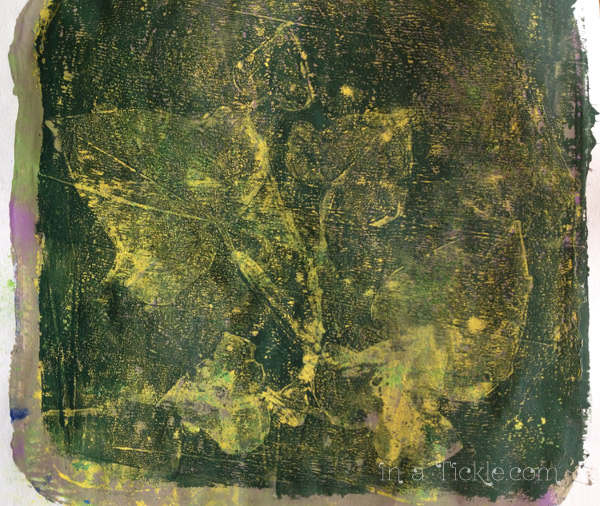
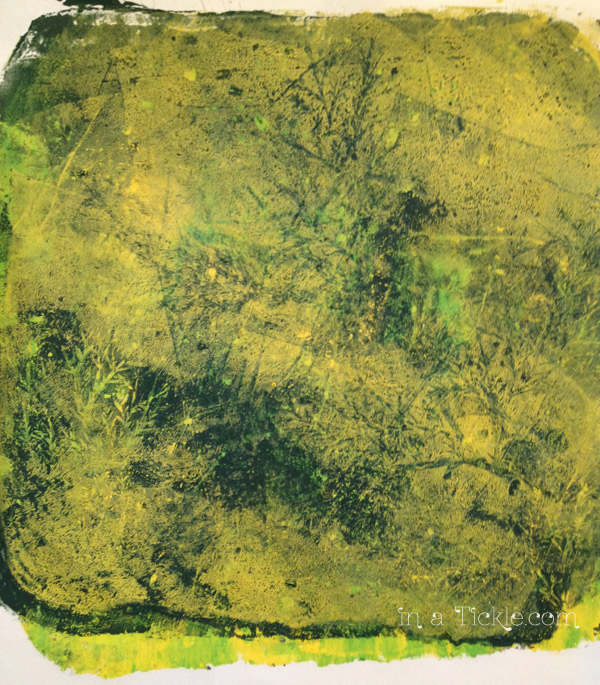
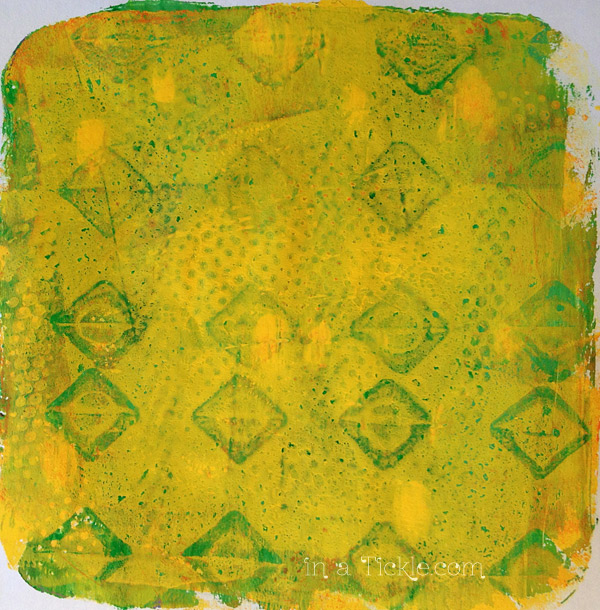
That was so much fun I went out to the yard to see if there were any leaves I could use. I picked some ivy and a branch of evergreen to try. Here is one of the ivy prints. I printed some lighter yellow over one of those muddy looking prints I showed you in {Part 3} as you can tell from the side. Then I covered the gelli plate with dark green and laid my branch and various ivy leaves in the paint. Even if you print something you do not like, you can always print something else over it later like I did. What you originally did not like may add some subtle undertones that give your print depth.
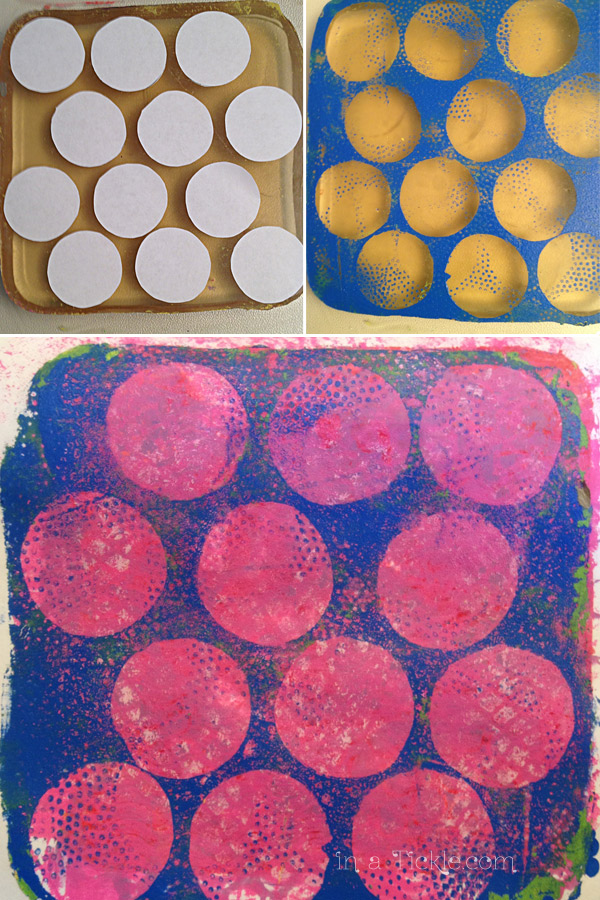
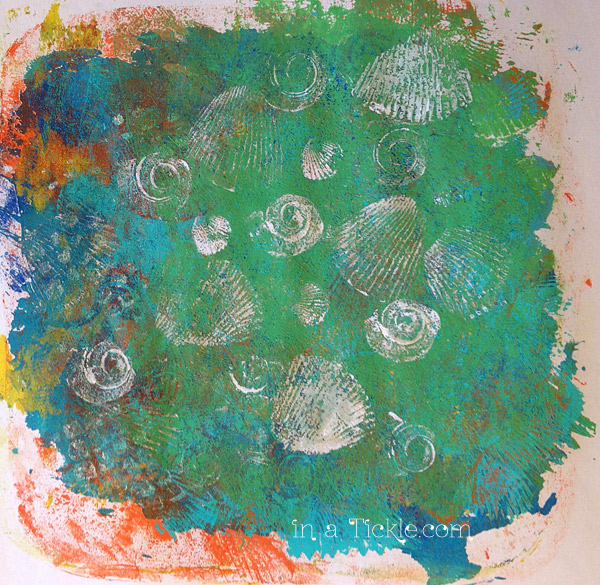
Next I tried using the leaves as a mask instead of texture. I laid the leaves on the gelli plate and used a brush to paint dark green paint around each leaf. Then I printed that onto a previously printed paper. You can see the brush strokes.

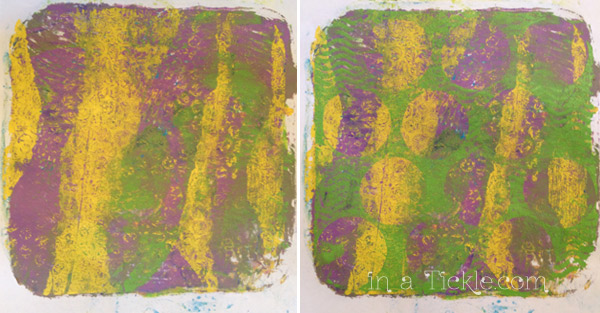
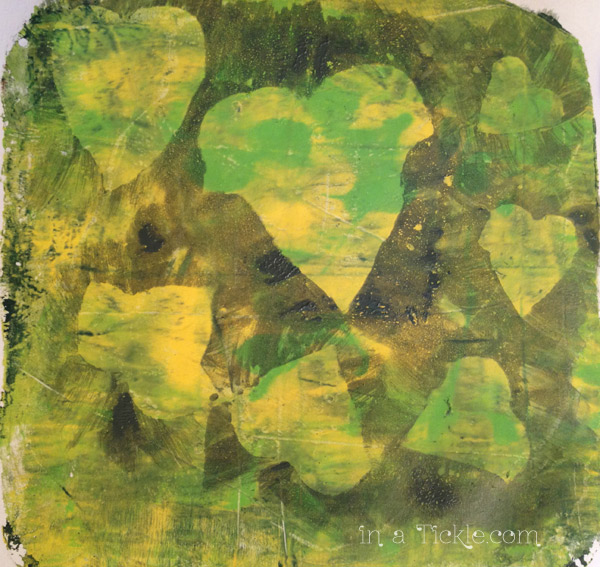
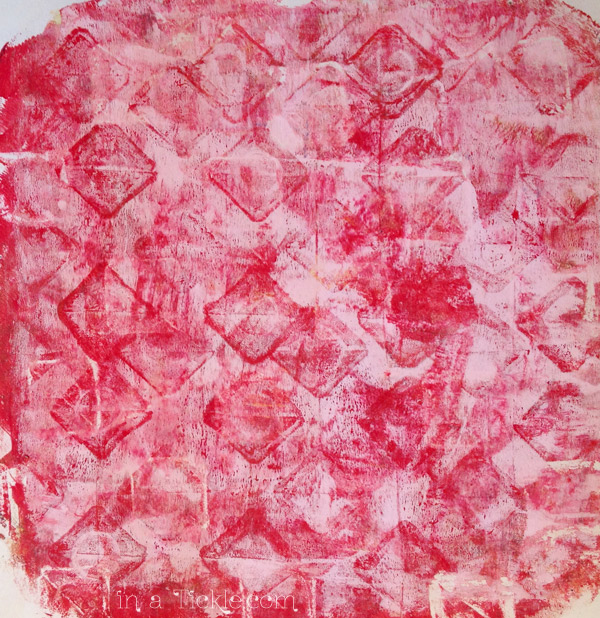
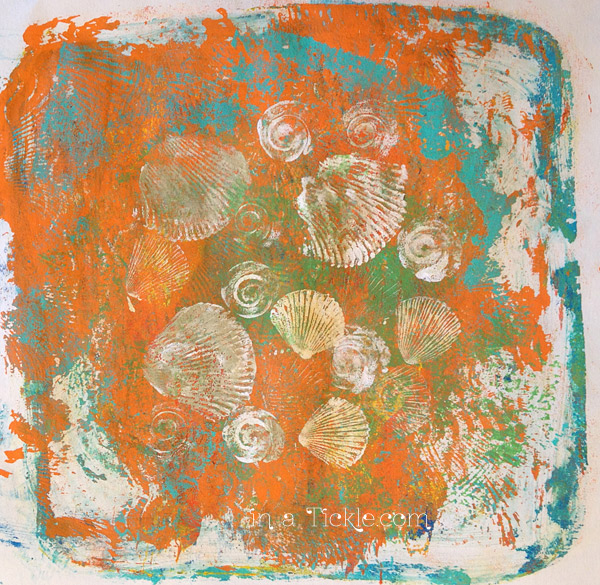
I printed the ghost print onto another previously printed paper of brighter yellow and green colors.
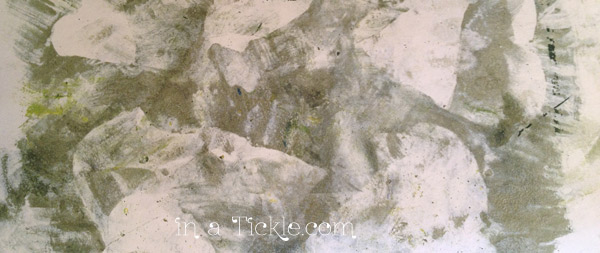
There was still paint left on the gelli plate and this is the ghost print from that. I laid the paper down on it in different positions several times to get all the paint lifted. It gave the print a very muted unique look.
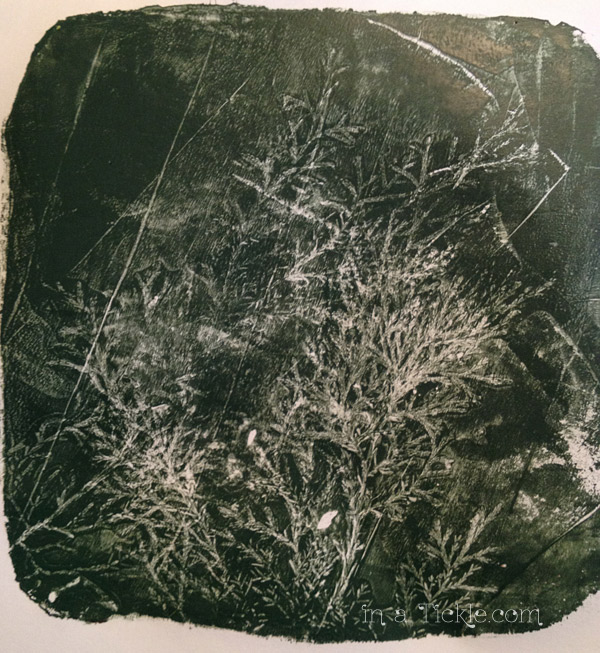
Lastly I tried the evergreen branches. They were rather sharp and left some holes poked into my gelli plate. So after I was finished with these, I washed the plate off, broke it up and remelted it in the microwave and reset it for another day.
Now I can’t wait for spring and all of the variety of leaves and flowers I can use with my gelli plate.
Well, I hope I’ve gotten you at least a little bit curious about trying to make prints with a gelli plate for yourself. There are so many videos on You Tube to help give you more ideas of the many techniques you can try with gelli printing. Watch a few. Make a gelli plate. Have fun creating!

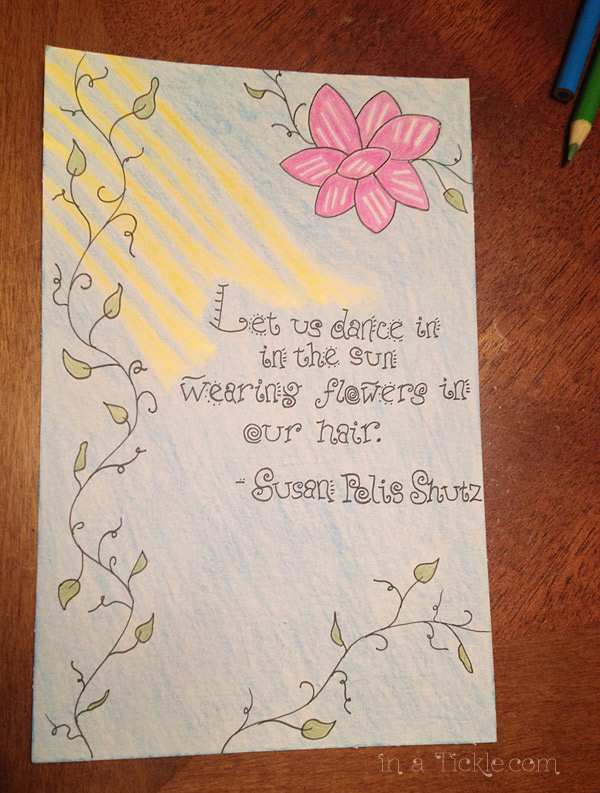
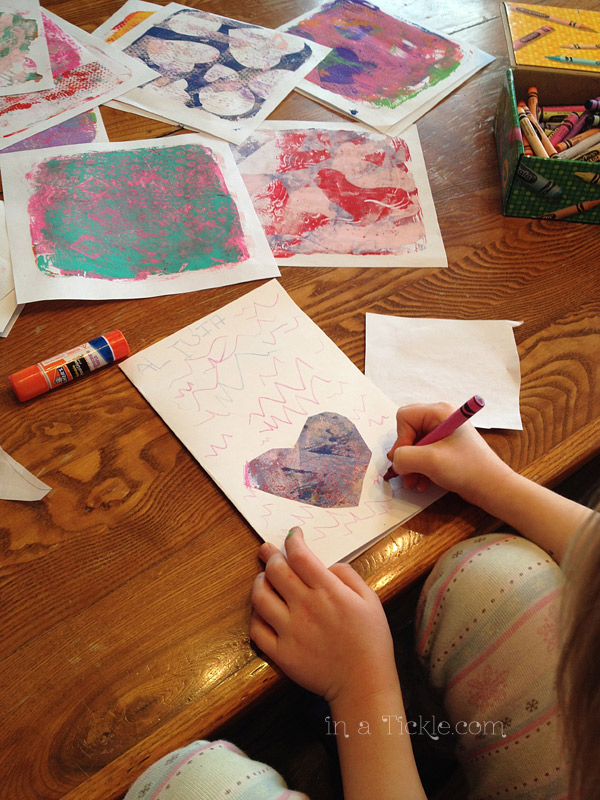
 After their prints dried they began using some of their art to make Valentine’s cards.
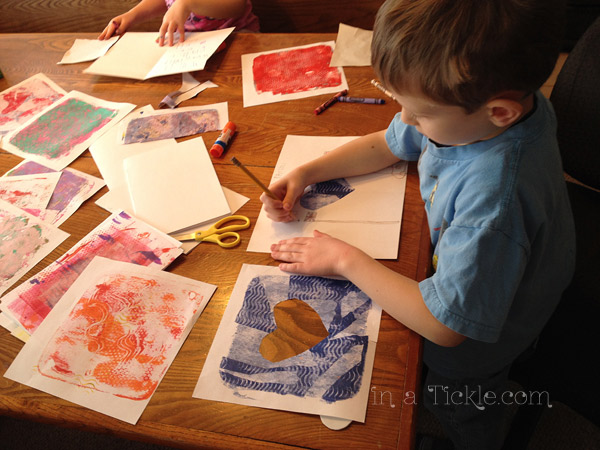
 Ninja Boy was proud of the gelli printed flag he made.


 I
I