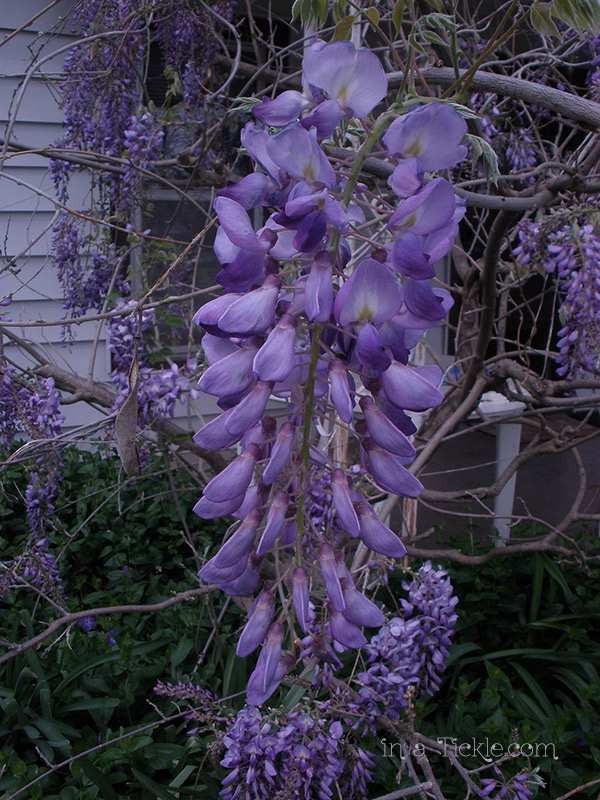
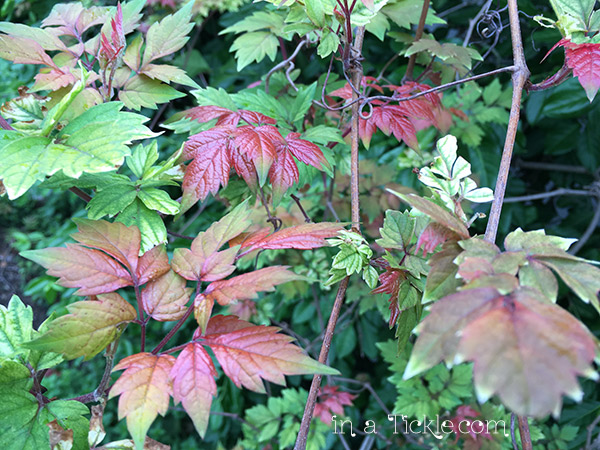
Our front porch is populated by three different kinds of vines. Wisteria takes sole possession of one side, the other by some type of laurel bush/vine (which I don’t like) and a unique vine I have loved since we moved into the house. In spring, my favorite vine explodes with new leaves of a fiery red color and as the leaves mature the color changes to a light washed out green and then, finally, a darker green. It doesn’t matter how much we cut it back, it grows like crazy popping up in the middle of all the other plants. With an intense session of online investigation, I finally discovered it is an Ampelopsis Arborea or, more commonly called, Peppervine. The photo below shows new leaves and, if you look closely, the tips of some leaves are already starting to turn green.

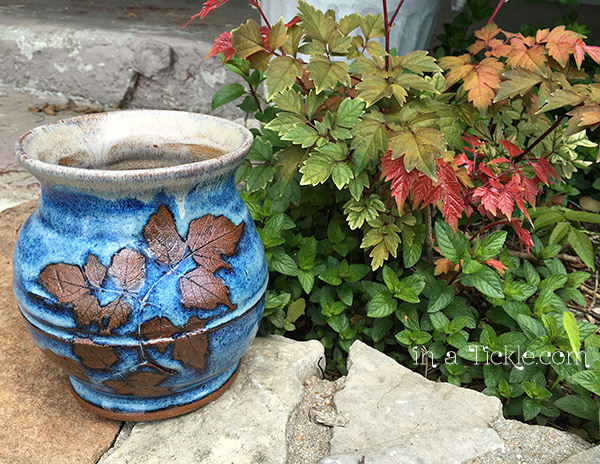
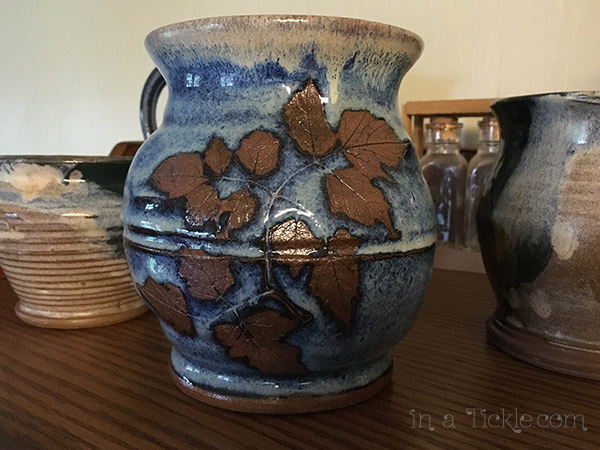
This past December my husband Tom surprised me with some pottery he made that incorporated the leaves from this vine in the design.
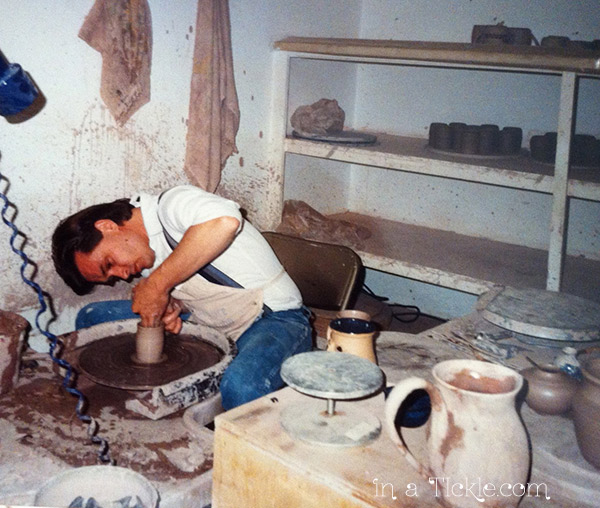
Let’s take a step back and share a little history with you. In the summer of 1990, Tom had the opportunity to work for a potter friend and learned to throw pottery, eventually creating his own line of “Ugly Mugs,” beverage mugs with quite a variety of unique faces.
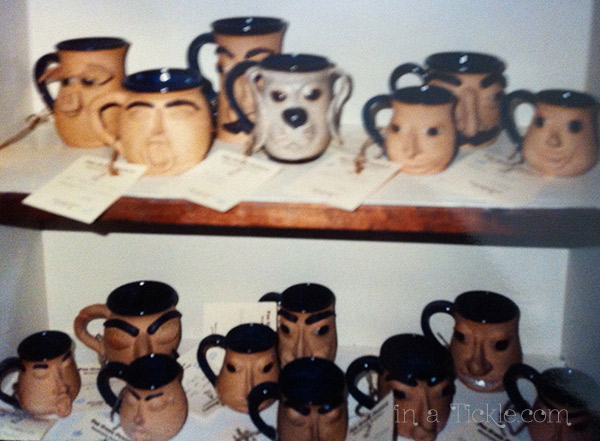
This fuzzy photo shows you some of his “Ugly Mugs”.
Well, I guess in his case, learning to throw pottery is like learning to ride a bike— once you’ve learned you can pick it back up at any time. Two years ago one of the crafters at Silver Dollar City’s Fall Harvest Festival, Nancy Fairbanks, discovered his pottery past and invited him to give the wheel a spin when he wasn’t on stage singing with the Sons of the Silver Dollar.
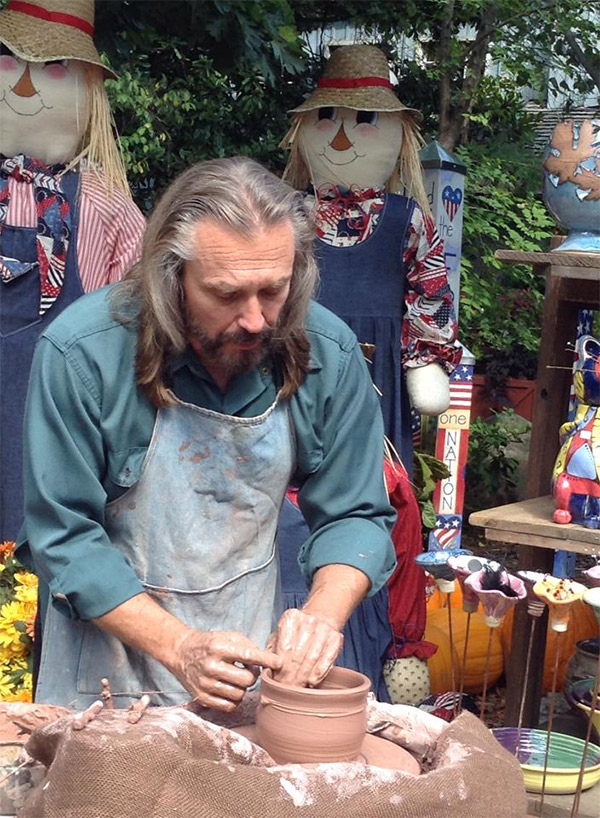
Photo credit: Nancy Fairbanks
Again this past fall, Nancy Fairbanks invited him to play in the clay.

Nancy Fairbanks and her daughter pose with Tom at Silver Dollar City. Photo credit: Nancy Fairbanks
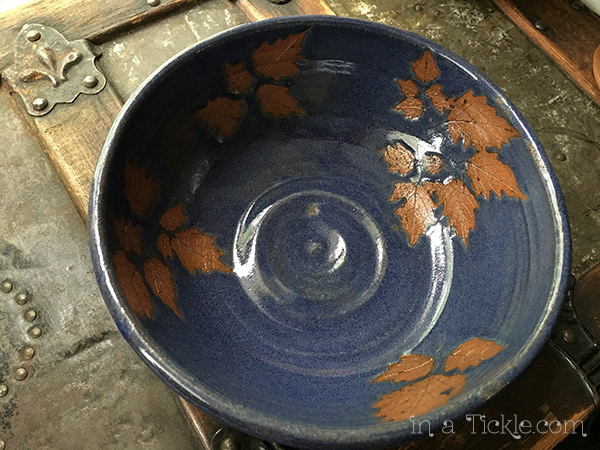
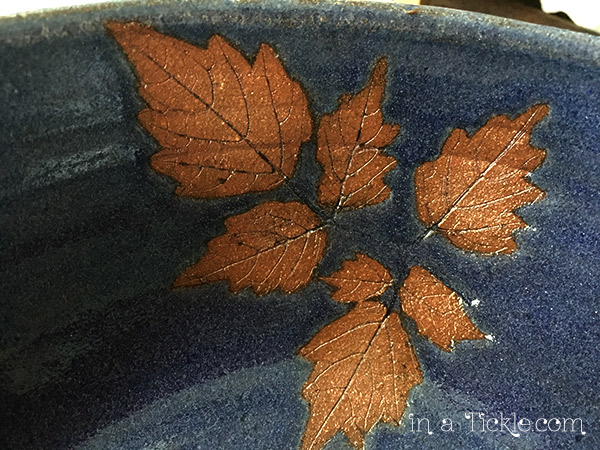
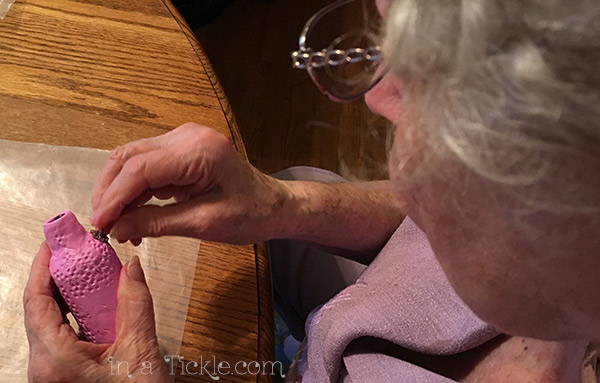
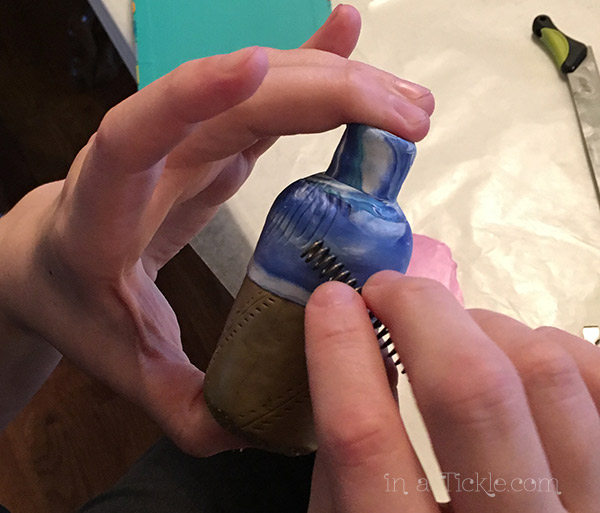
Nancy is well know for incorporating nature into her pottery. This inspired him to bring some leaves from our Peppervine and then to make impressions in the clay bowl and vase.
One of the pieces has the leaf impressions on the inside of the bowl. After throwing the bowl on the wheel he pressed the leaves into the wet clay. Later, during the glazing process, Nancy applied wax to the leaf patterns which kept the glaze from covering them. Once in the kiln, the fiery heat melts the glaze into the clay but keeps the leaf patterns clear.
So, now I have my favorite vines both inside and out to enjoy whenever I want.


 It didn’t take long to realize that this assistance was needed in more homes than I could ever visit. This is why my wife, Melinda, and I spent that last six months writing