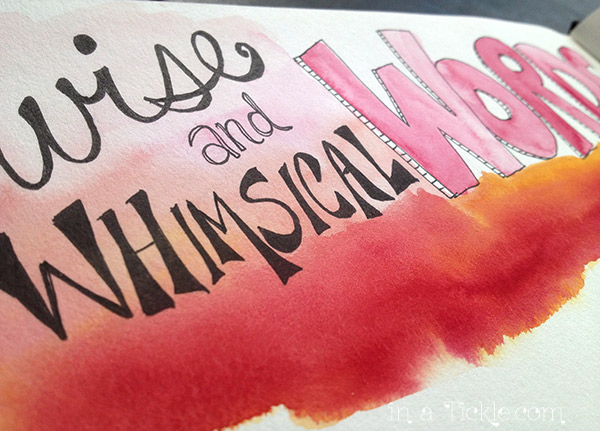
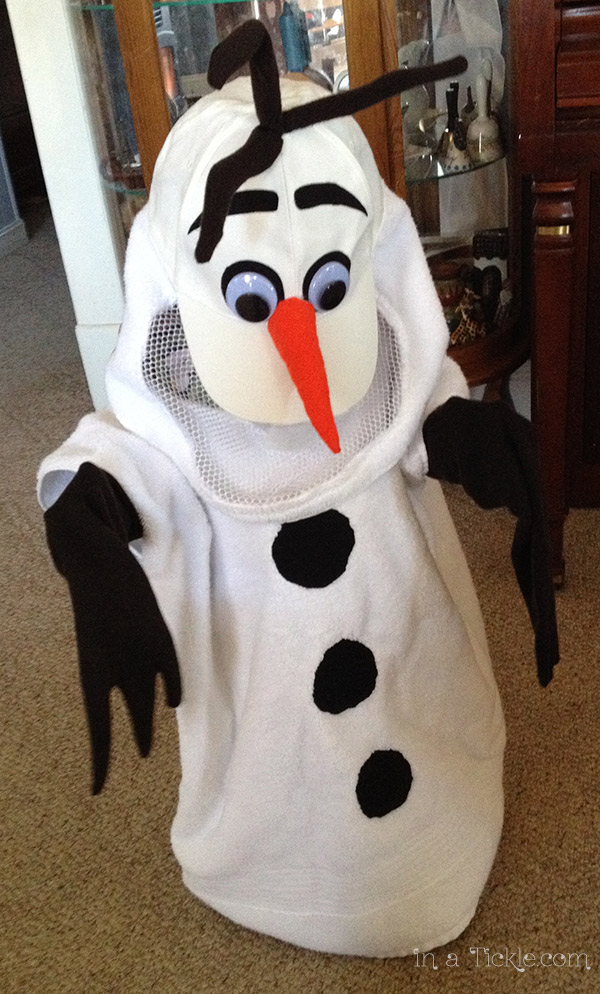
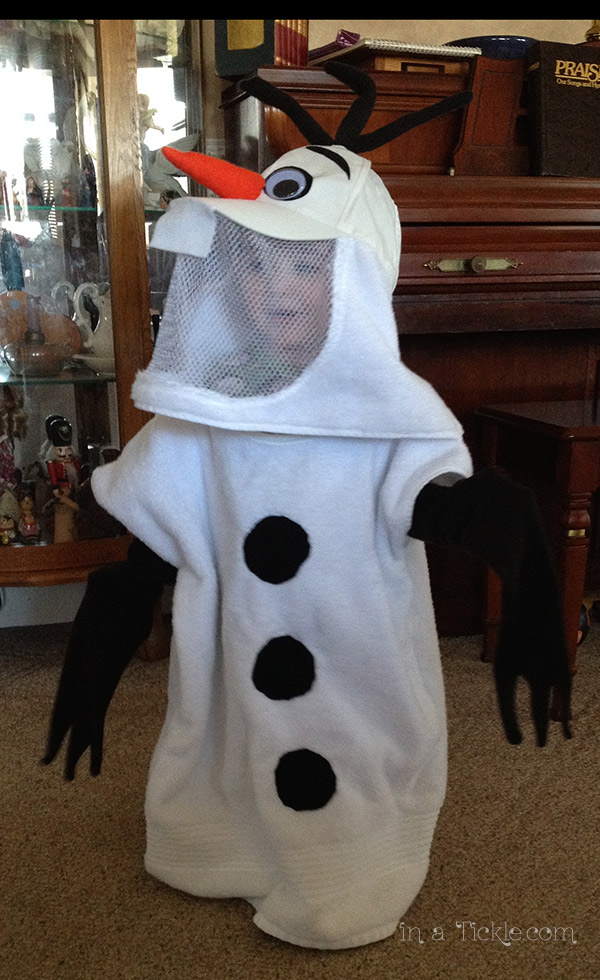
My grandkids love playing dress-up with the Anna and Elsa apron costumes and accessories I made last year. This Christmas, I made an Olaf costume for each family thinking their little brothers would enjoy being snowmen.
Ninja Boy enjoys donning the costume and collecting hugs from everyone! Now that he is eight, he is usually not too crazy about hugging but as soon as the costume goes on, he freely dispenses warm hugs. (He’s quite the actor!)

“Hi, everyone. I’m Olaf, and I like warm hugs!”
To make the costume, I started with a large white cotton bath towel, cut about a ten inch strip off one side and folded the towel in half wrong side out. I sewed the sides together leaving arm holes and finished the arm openings by sewing bias tape over the cut edge. Using a child’s shirt as a guide I cut an opening for the neck and finished that edge with bias tape as well.
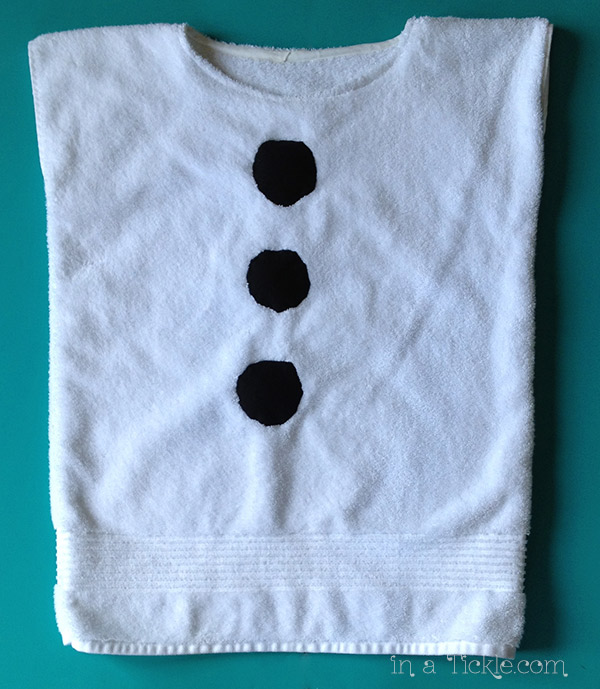
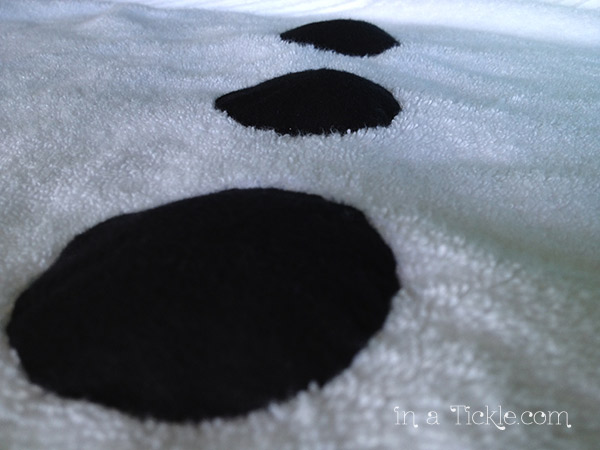
The buttons were made from circles of black flannel. I turned under the edges of the flannel and hand stitched them in place on the front of the towel. Before completing stitching the edges down I tucked in a little stuffing to make the buttons puffy. I did not try to make exact circles as I turned under the flannel edge because I wanted them to look rough like pieces of coal.
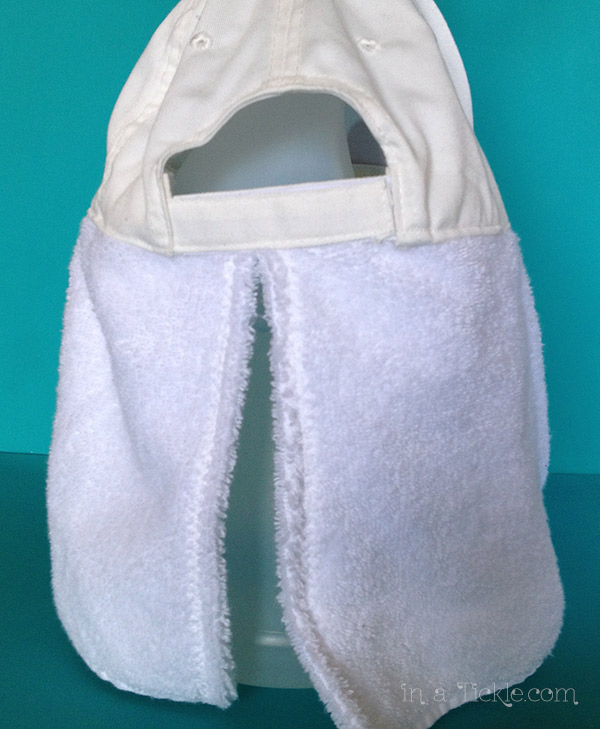
To make the snowman head, I used a white baseball cap for the base. Using the leftover strip of towel (cut from the bath towel) I measured the distance around the bottom of the cap (including the distance around the brim), allowing for a folded edge on each side, and cut the strip that length. The already finished edge of the towel strip became the “hem” for the head piece and I turned under each short side and stitched a zig-zag stitch to finish.
I cut an opening for the mouth (the distance around the brim) and sewed a piece of mesh cloth from an old mesh lingerie laundry bag into that opening (so the kids would be able to see.) I stitched the towel strip and the mesh to the inside of the bottom edge of the cap and brim. I chose to stitch the adjustable strap closed because I did not want the velcro catching on the towel fabric. (See finished back of cap in picture below.)
I made the carrot nose from a triangle shaped piece of orange flannel and stuffed it with cut towel scraps to make it firm and somewhat lumpy. I hand basted the large end of the carrot together and hot glued it to the front of the cap and part of the brim. I used Heat’n Bond adhesive to iron black flannel circles for the base of the eyes and eyebrows to the cap. To easily iron the pieces in place, I held a thick hot pad inside the cap with one hand and ironed the pieces in place with the other hand. I didn’t burn any fingers in the process! I hot glued googly eyes over the black circles.
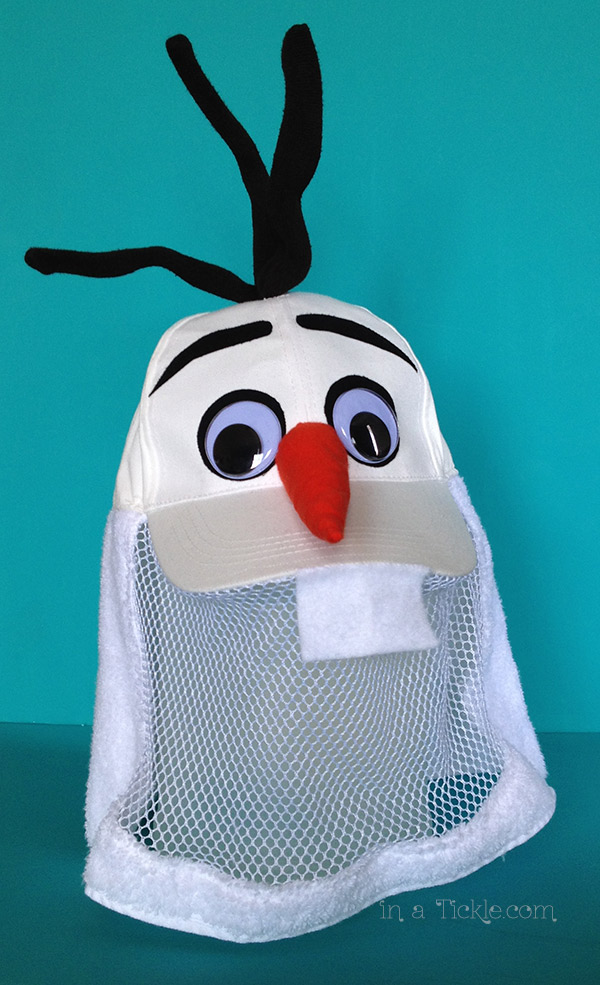
I hand stitched a large felt tooth to the front of the brim and then ran a thin bead of glue along the edge underneath to keep it from flipping up.
To make the “sticks” on top of the head, I covered some doubled over pipe cleaners with tubes made from an old brown sweater. I cut a slit in the top center seam and stuck the pipe cleaner tubes into the hole, then hand stitched them to the seams inside of the crown of the cap.
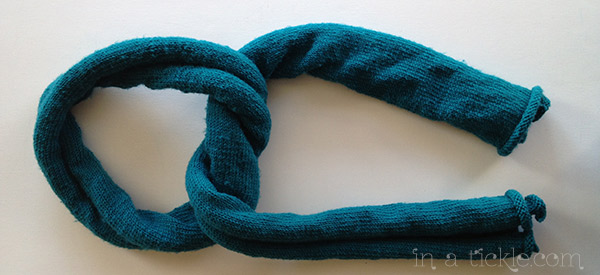
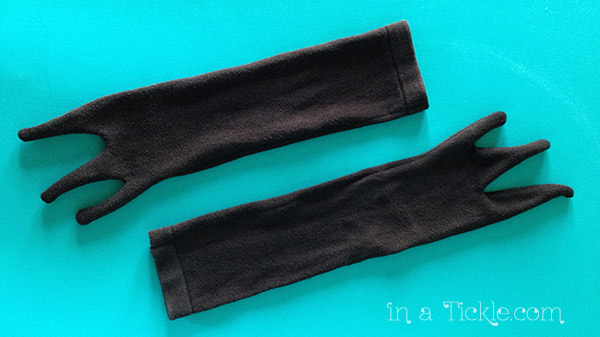
Using the same brown sweater, I made “stick” arm gloves. The hem edge of the sweater was the hem of the gloves.
“Winter’s a good time to stay in and cuddle, but put me in summer and I’ll be a… happy snowman!”


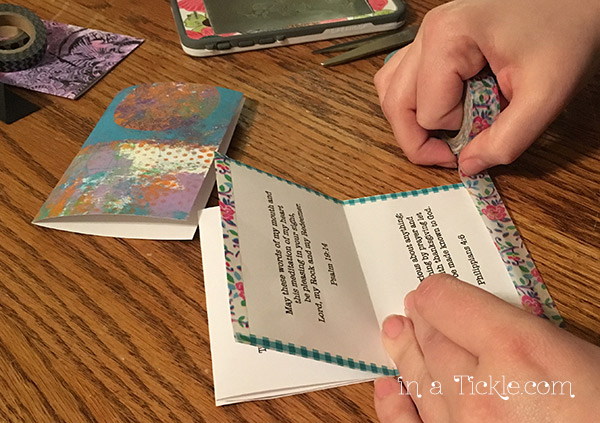
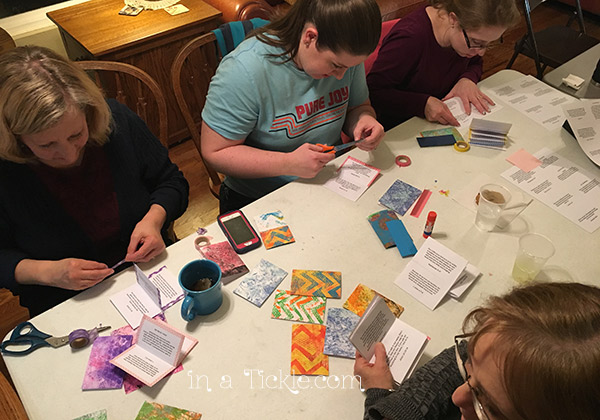
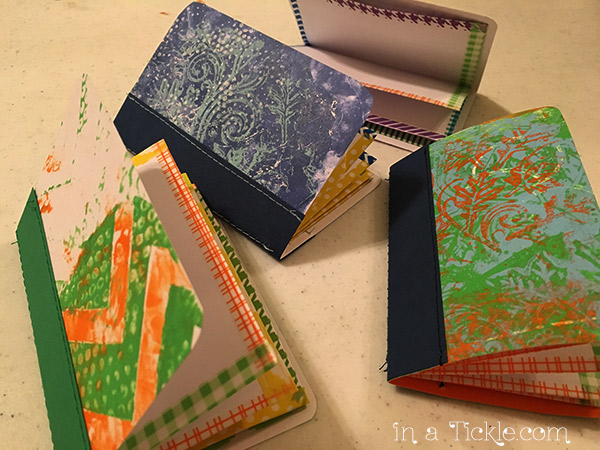
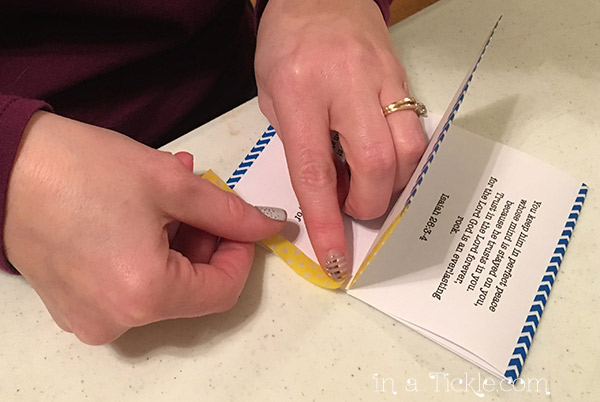
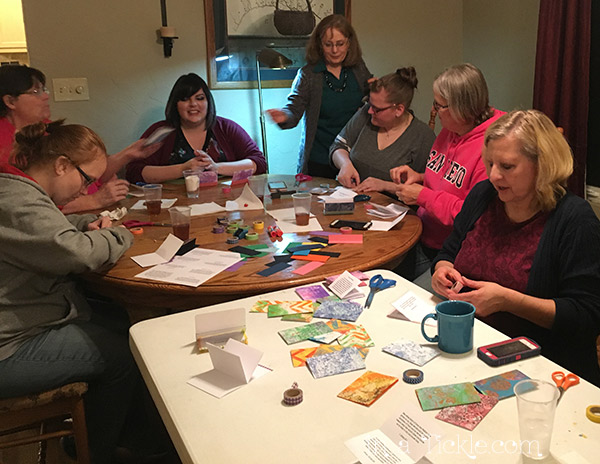
 For the inside pages of the book, they could choose from three different sheets of paper with verses printed or plain paper to write their own sentiments. (See below for paper folding instructions.) Several ladies discovered a new fun crafting tool called washi tape, which they used to seal and decorate the edges of the paper pages.
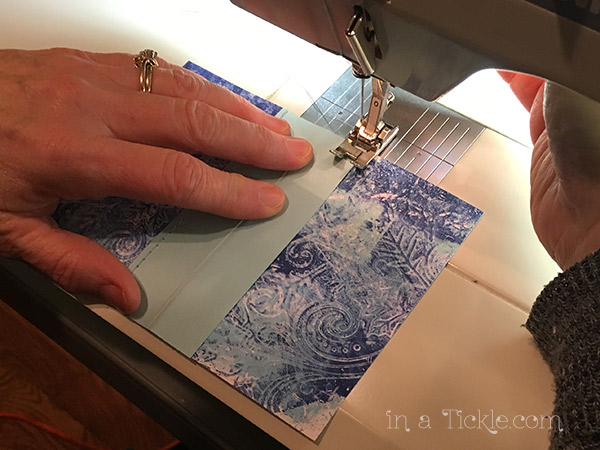
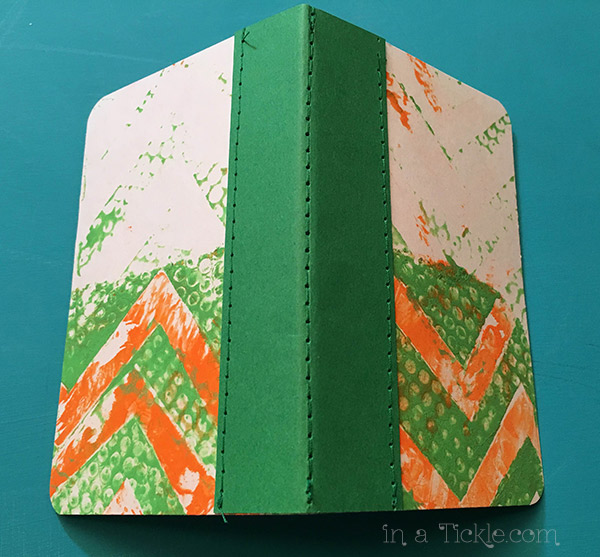